Showing posts with label 20mm. Show all posts

Wednesday 28 March 2018

Abel Archer 83-84 25-03-2018

This is a quick update on a recent day of play I had. Tony Baker and I decided to use a MADGamers gaming day to run through the Rapid Fire Abel Archer rule set. If you have followed me here before you will know that I had another game recently with this ruleset. This game was set as a prequel to that game. For this we decided in advance that we would play the scenario twice with each player getting a chance to switch around. 


One of the key differences for this game was that would be using the random event cards that Tony has come up with for the game. This is a set of random events some of which are beneficial, some of which are amusing. There are as many blank cards in the deck as there are usable cards to make it suitable random. 

As always I have a load of pictures to accompany the story. And I am always happy to discuss the details in further detail. If you wish to do that grab me on the forum or Facebook group. 


Game 1 
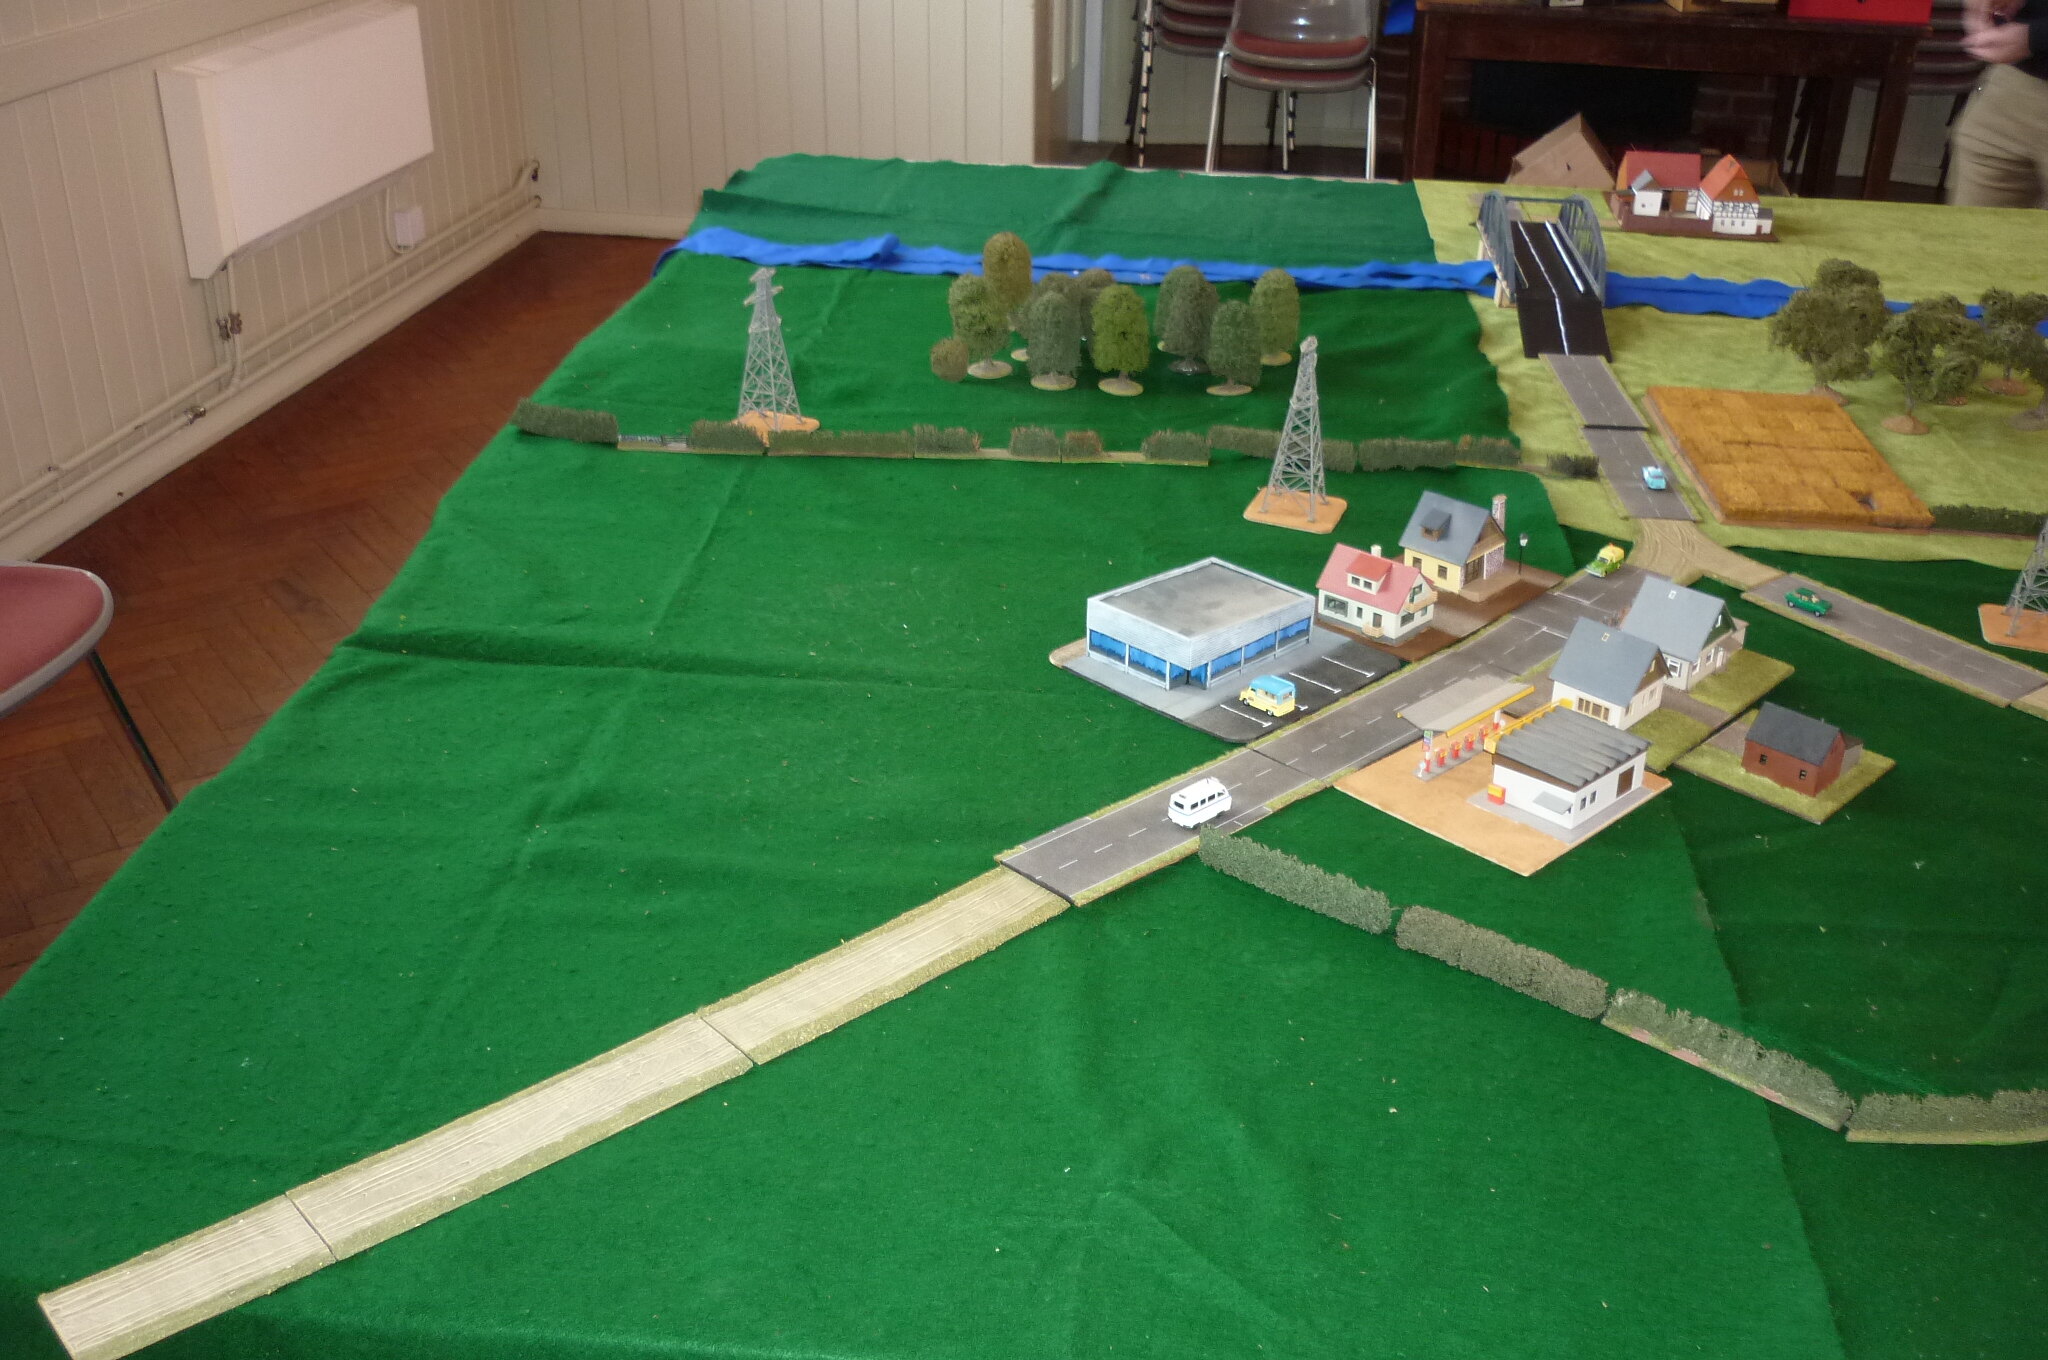
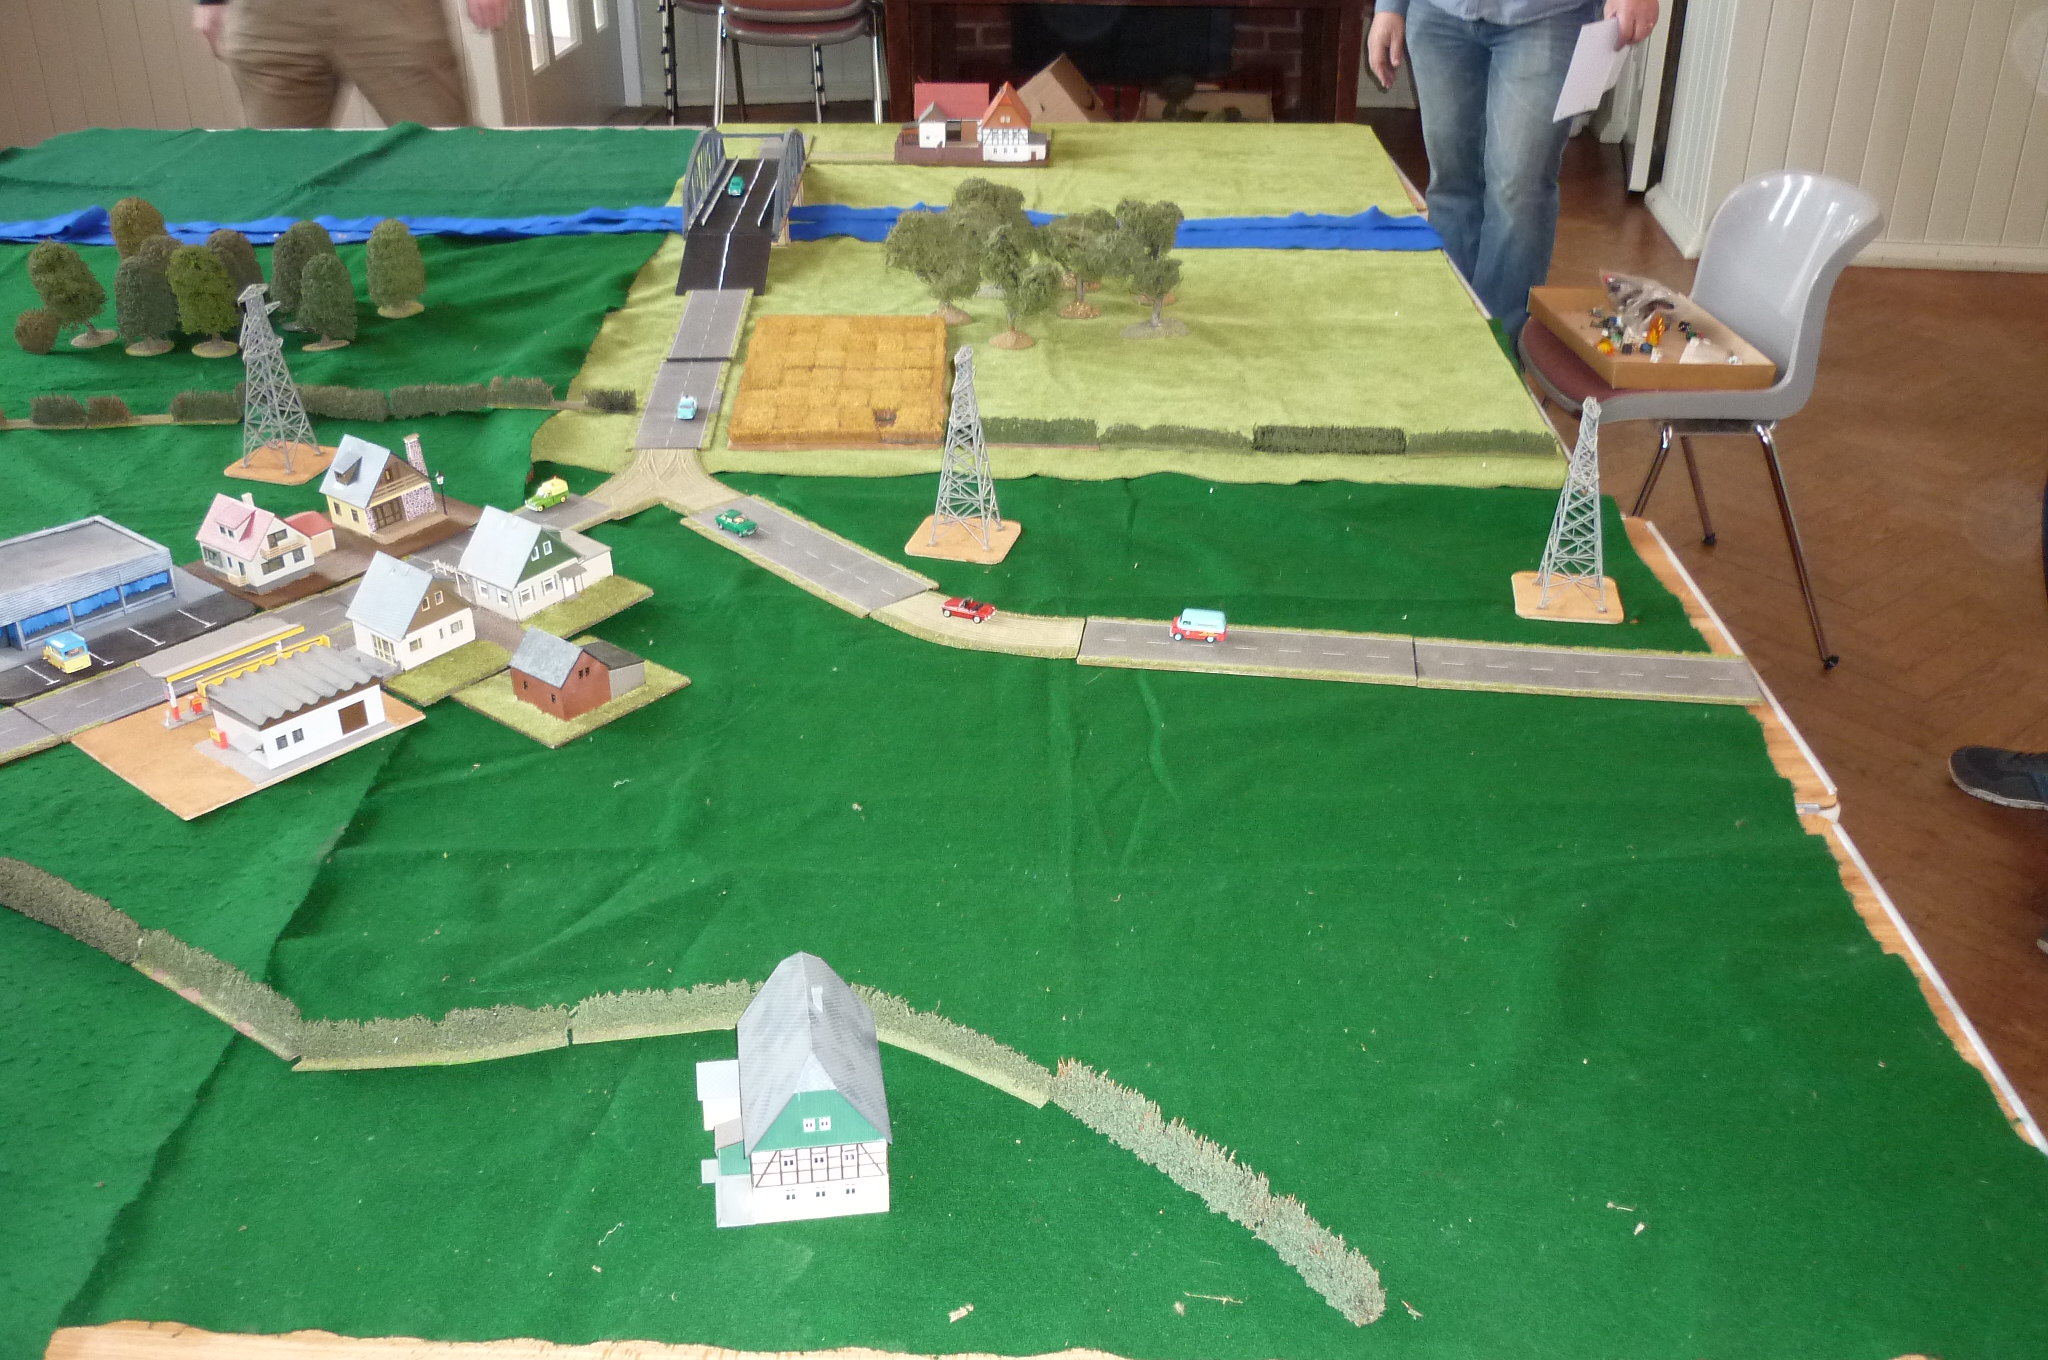
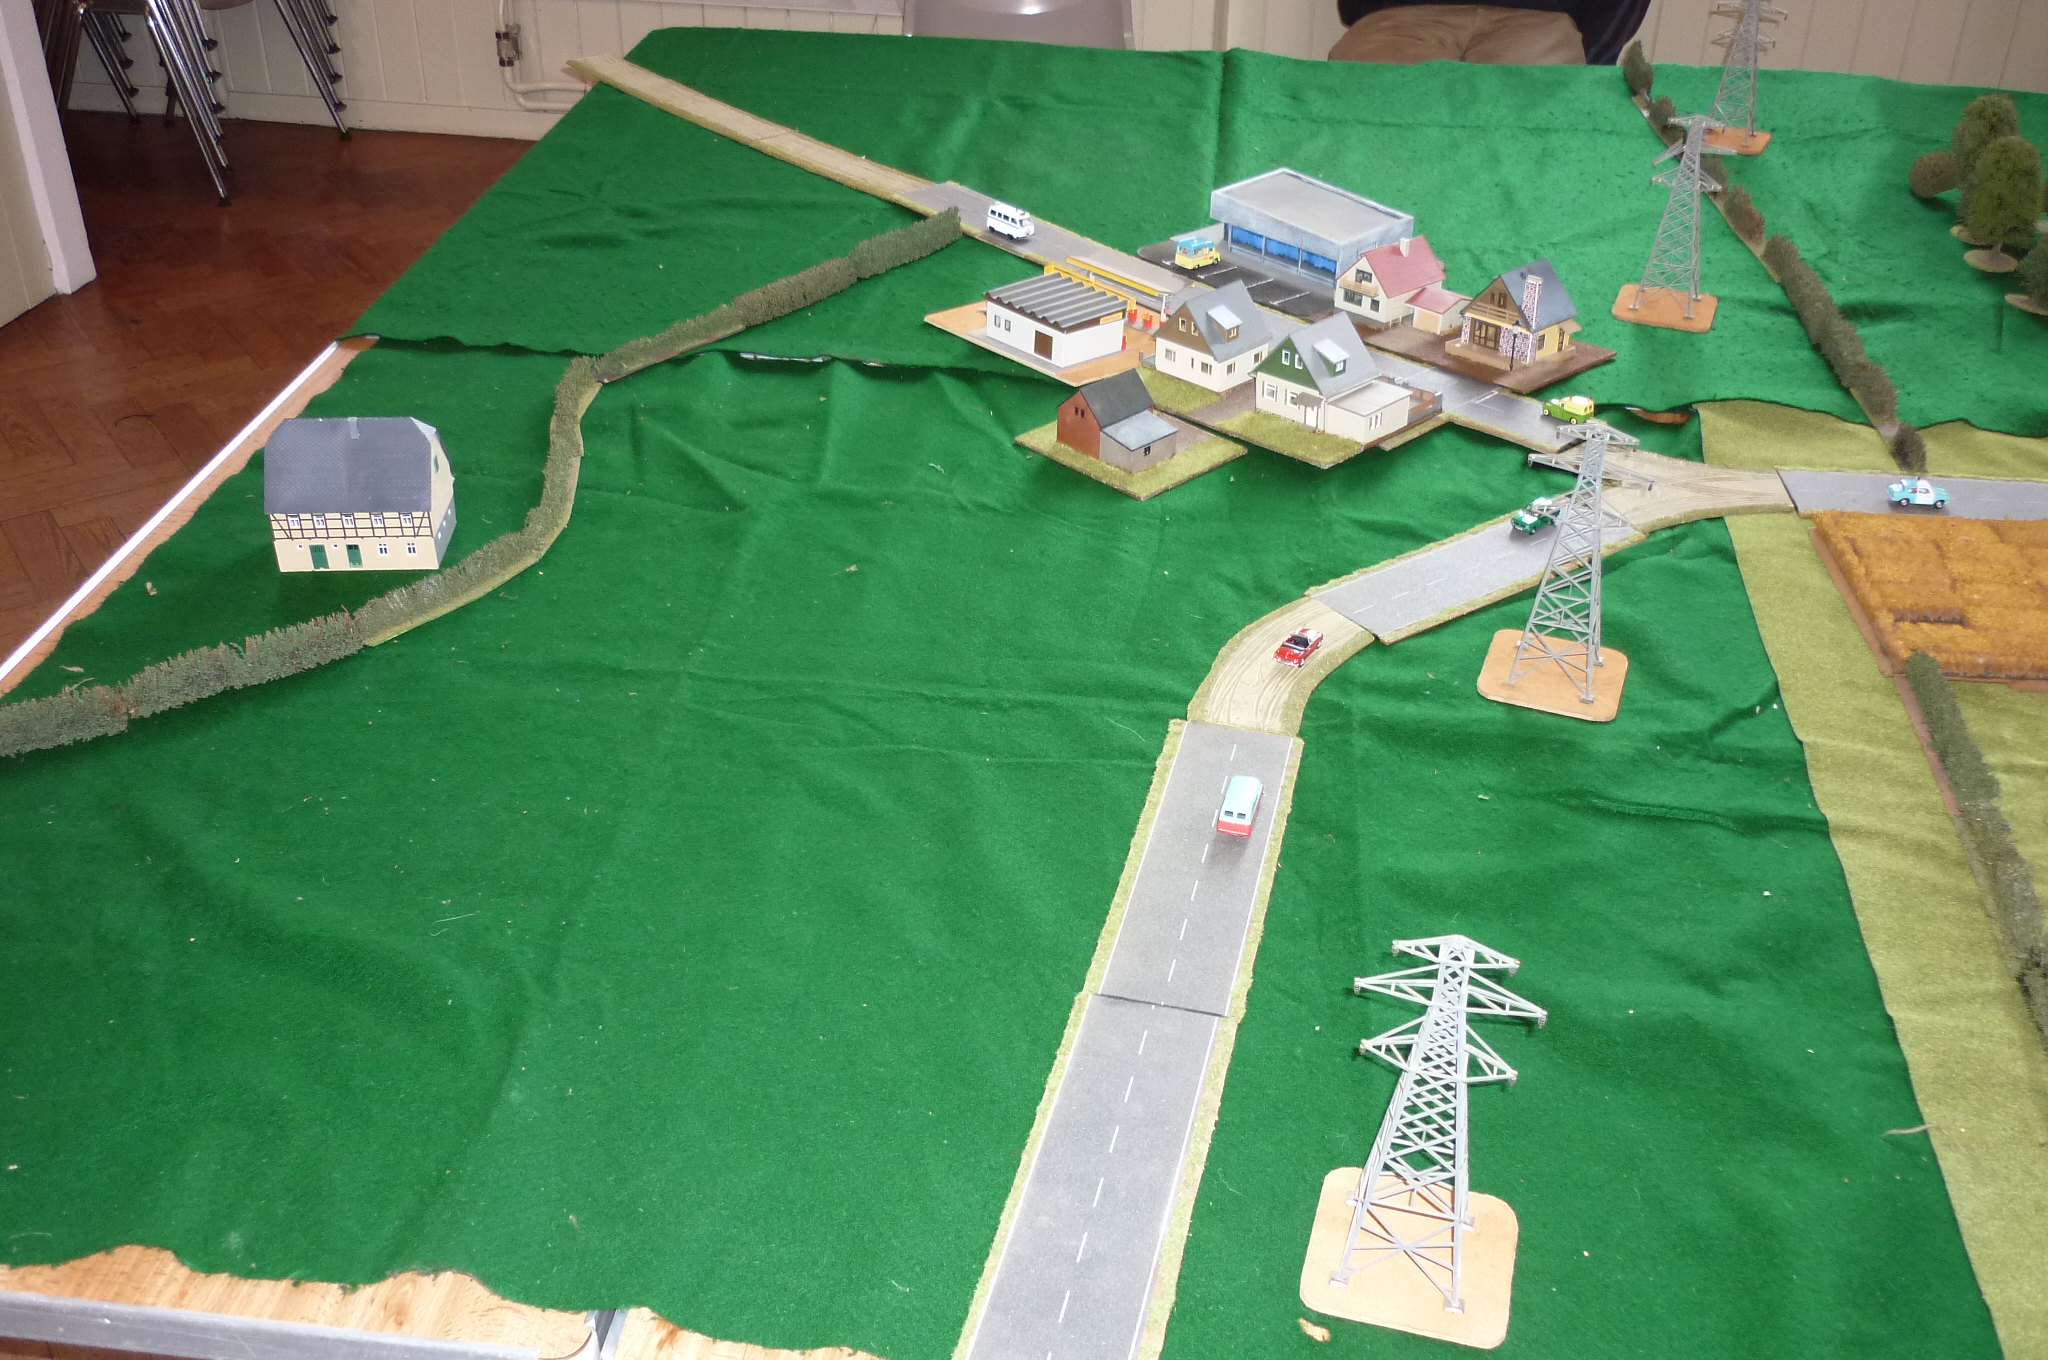
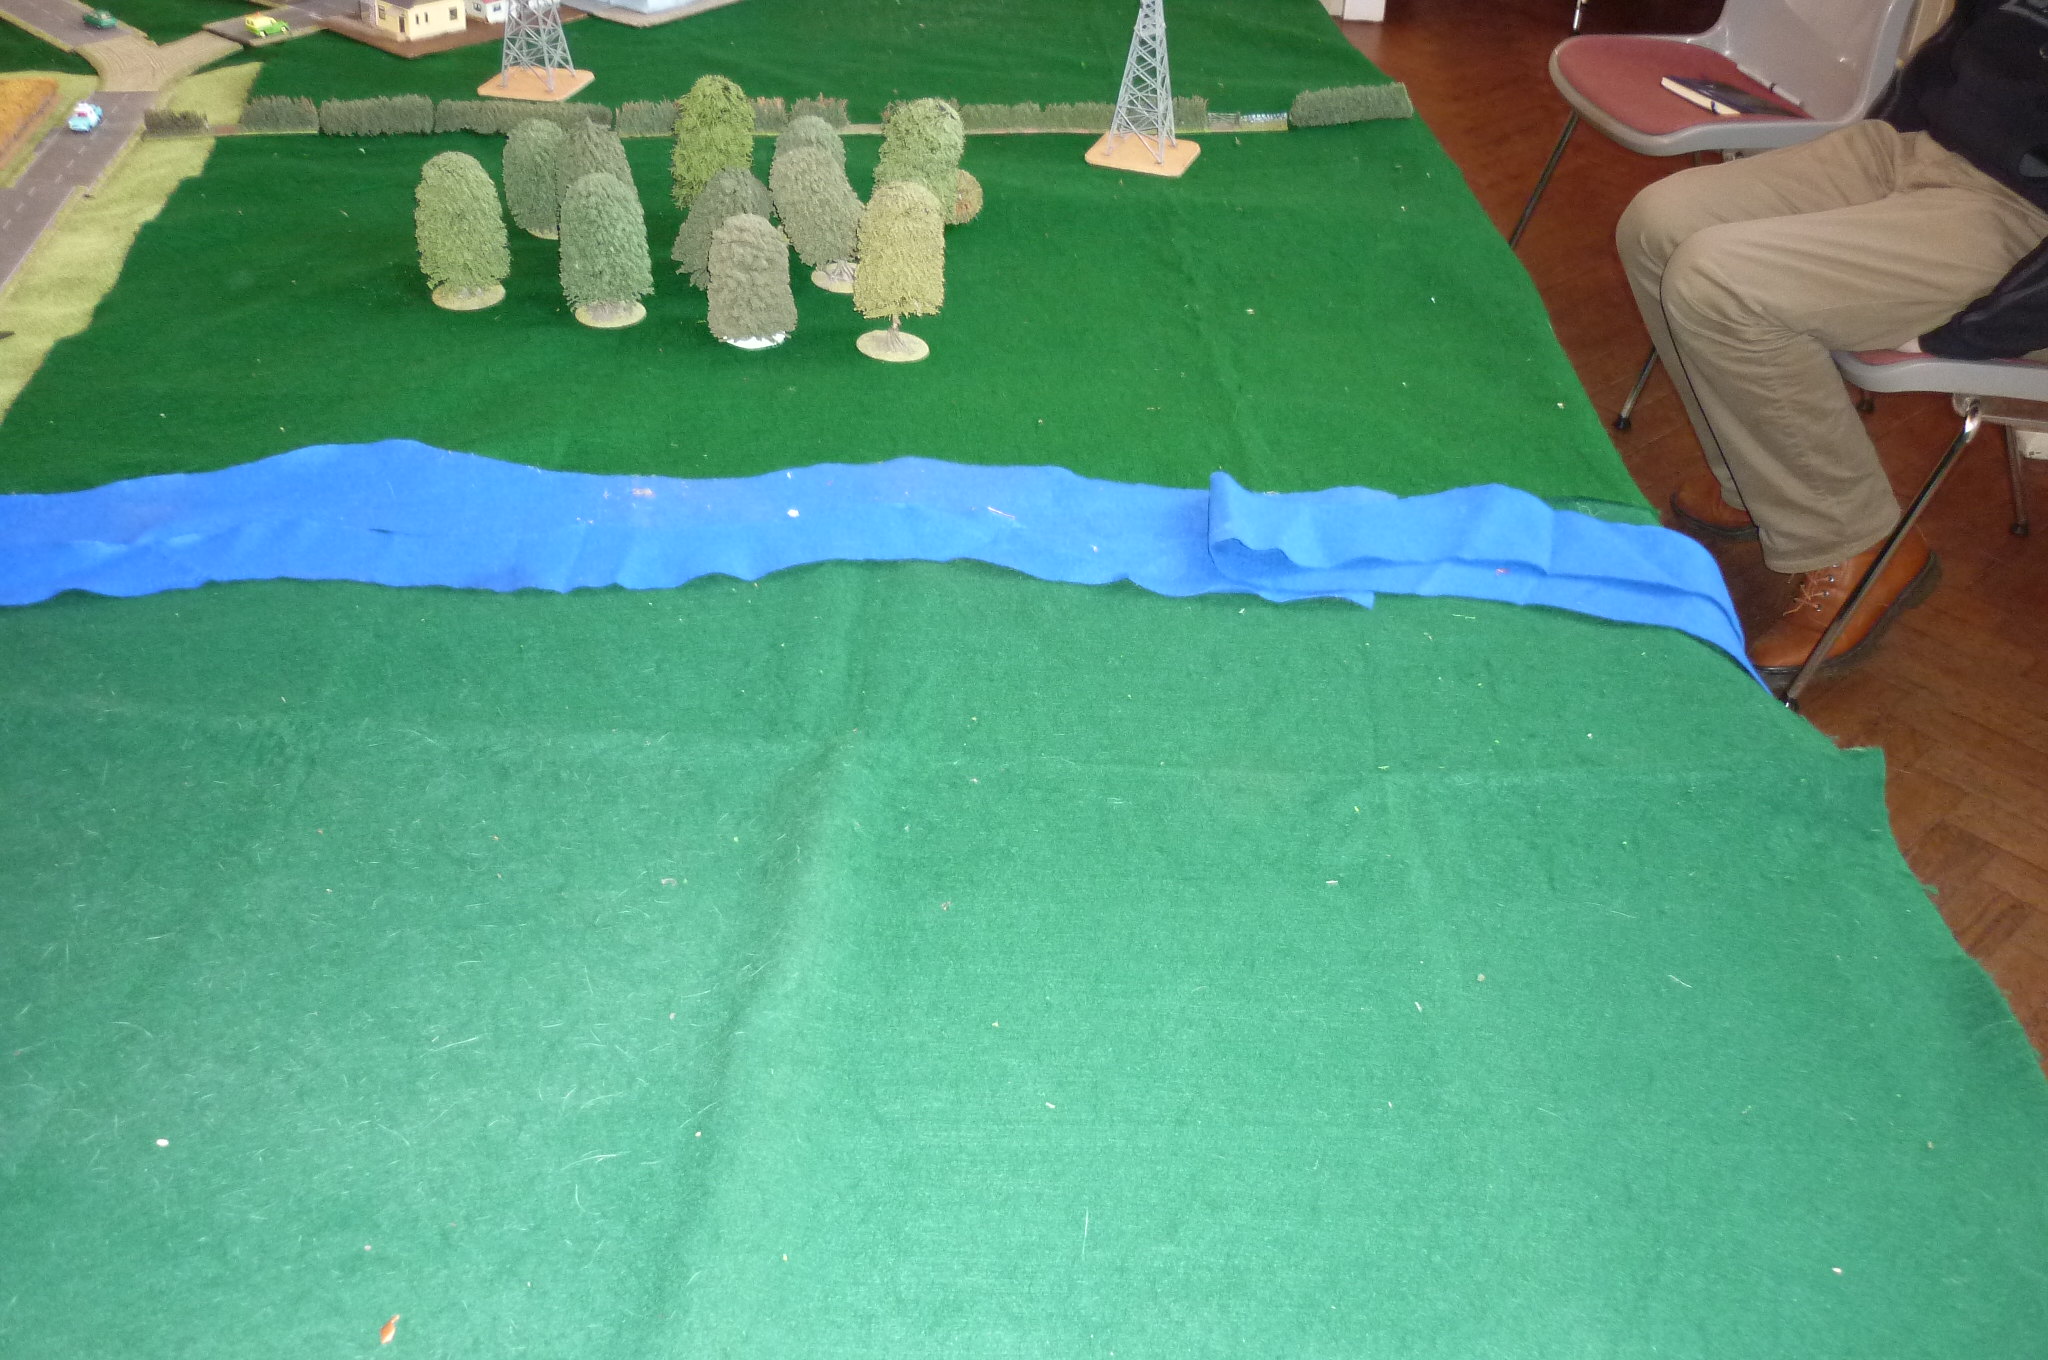
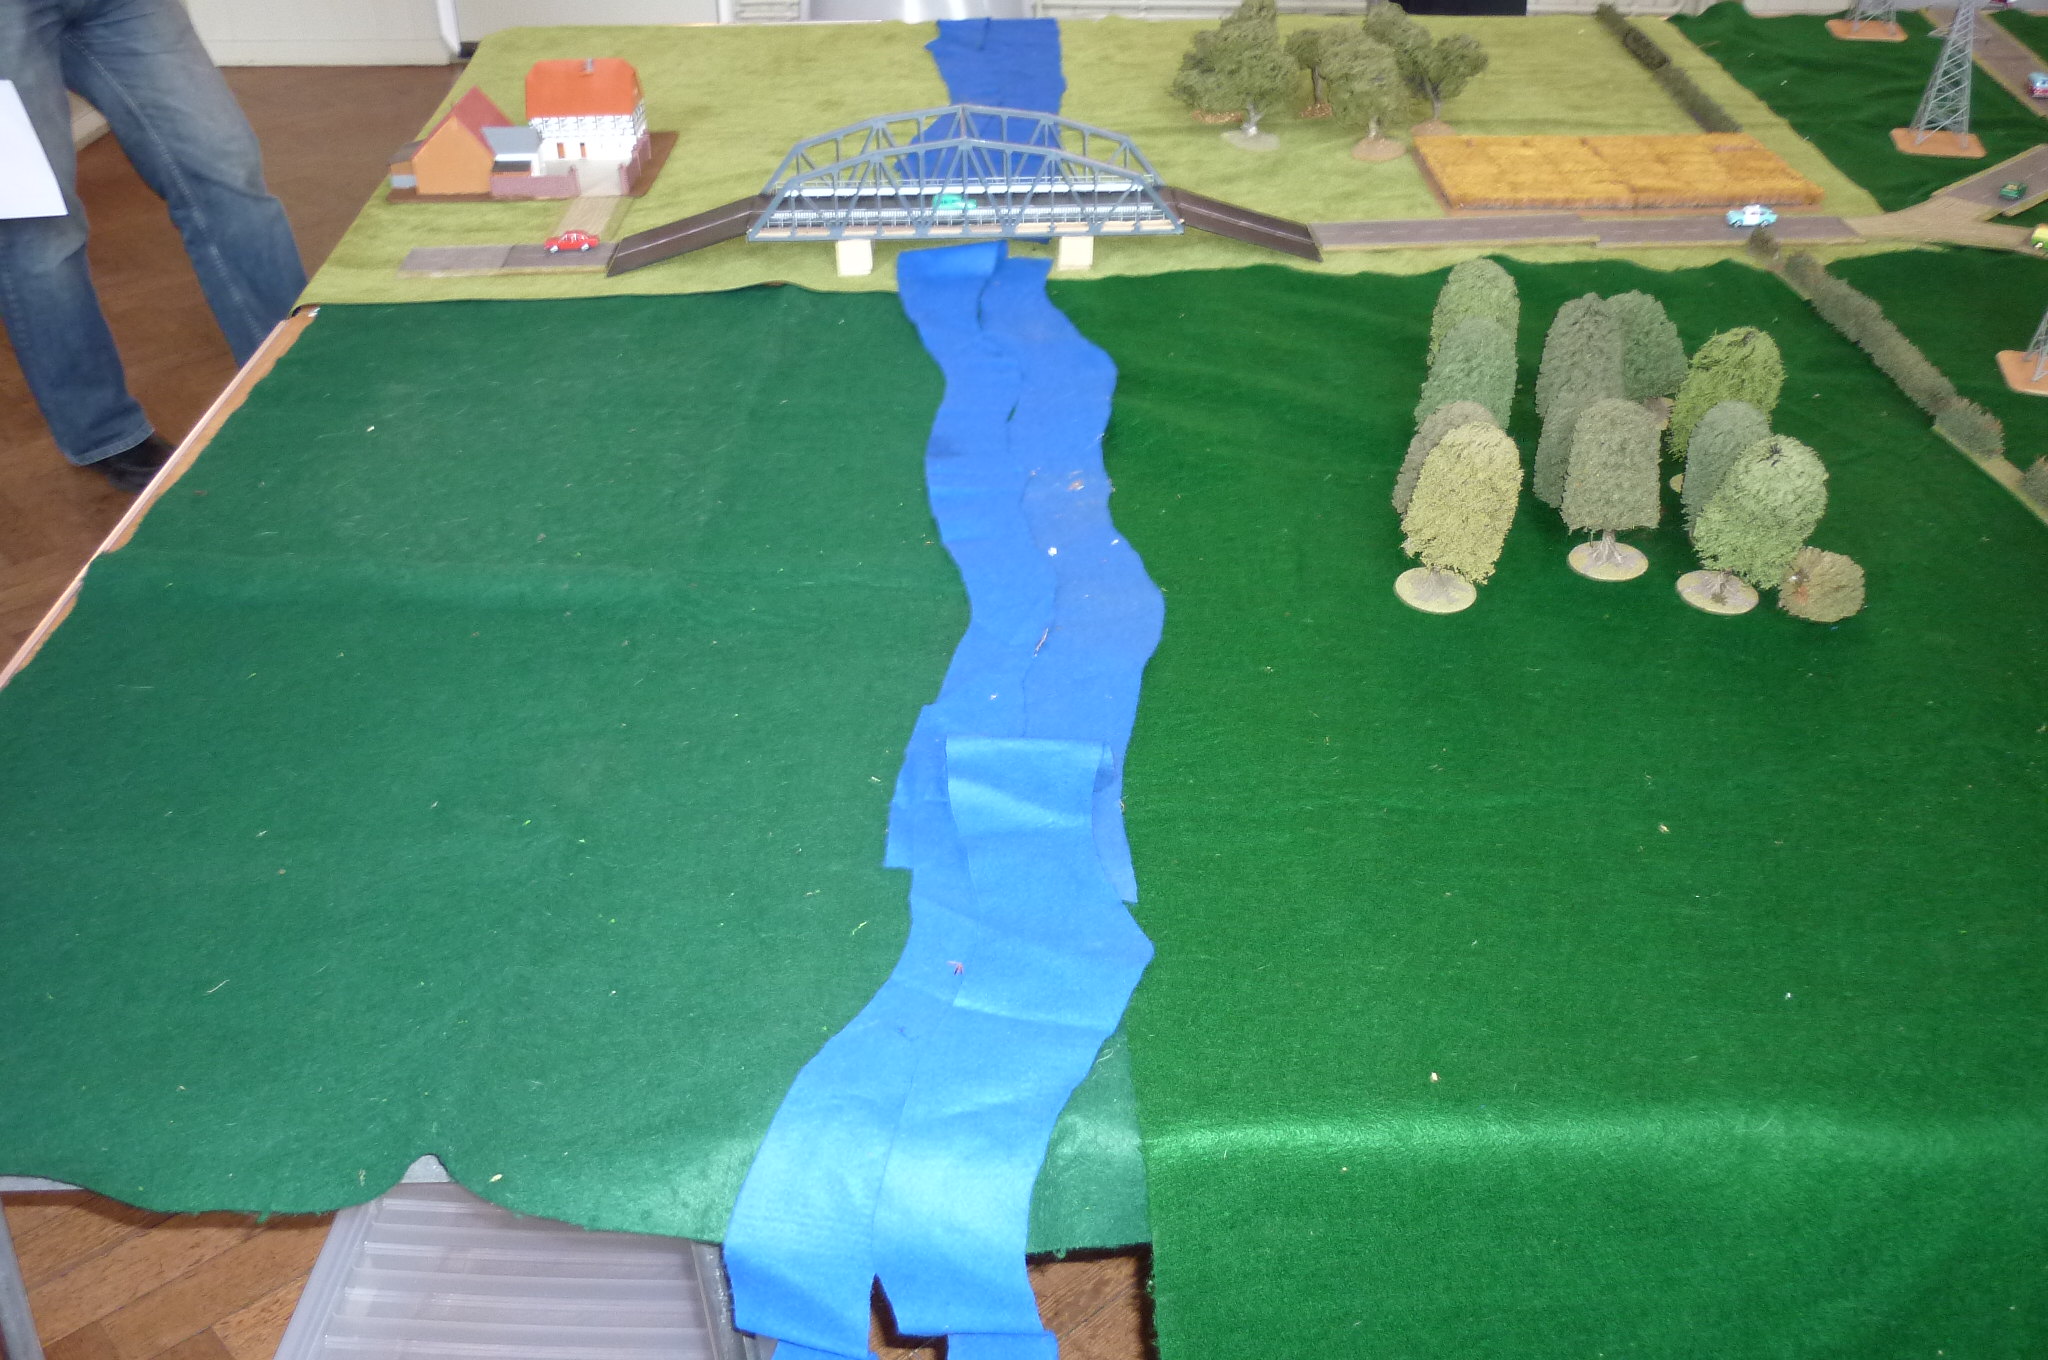
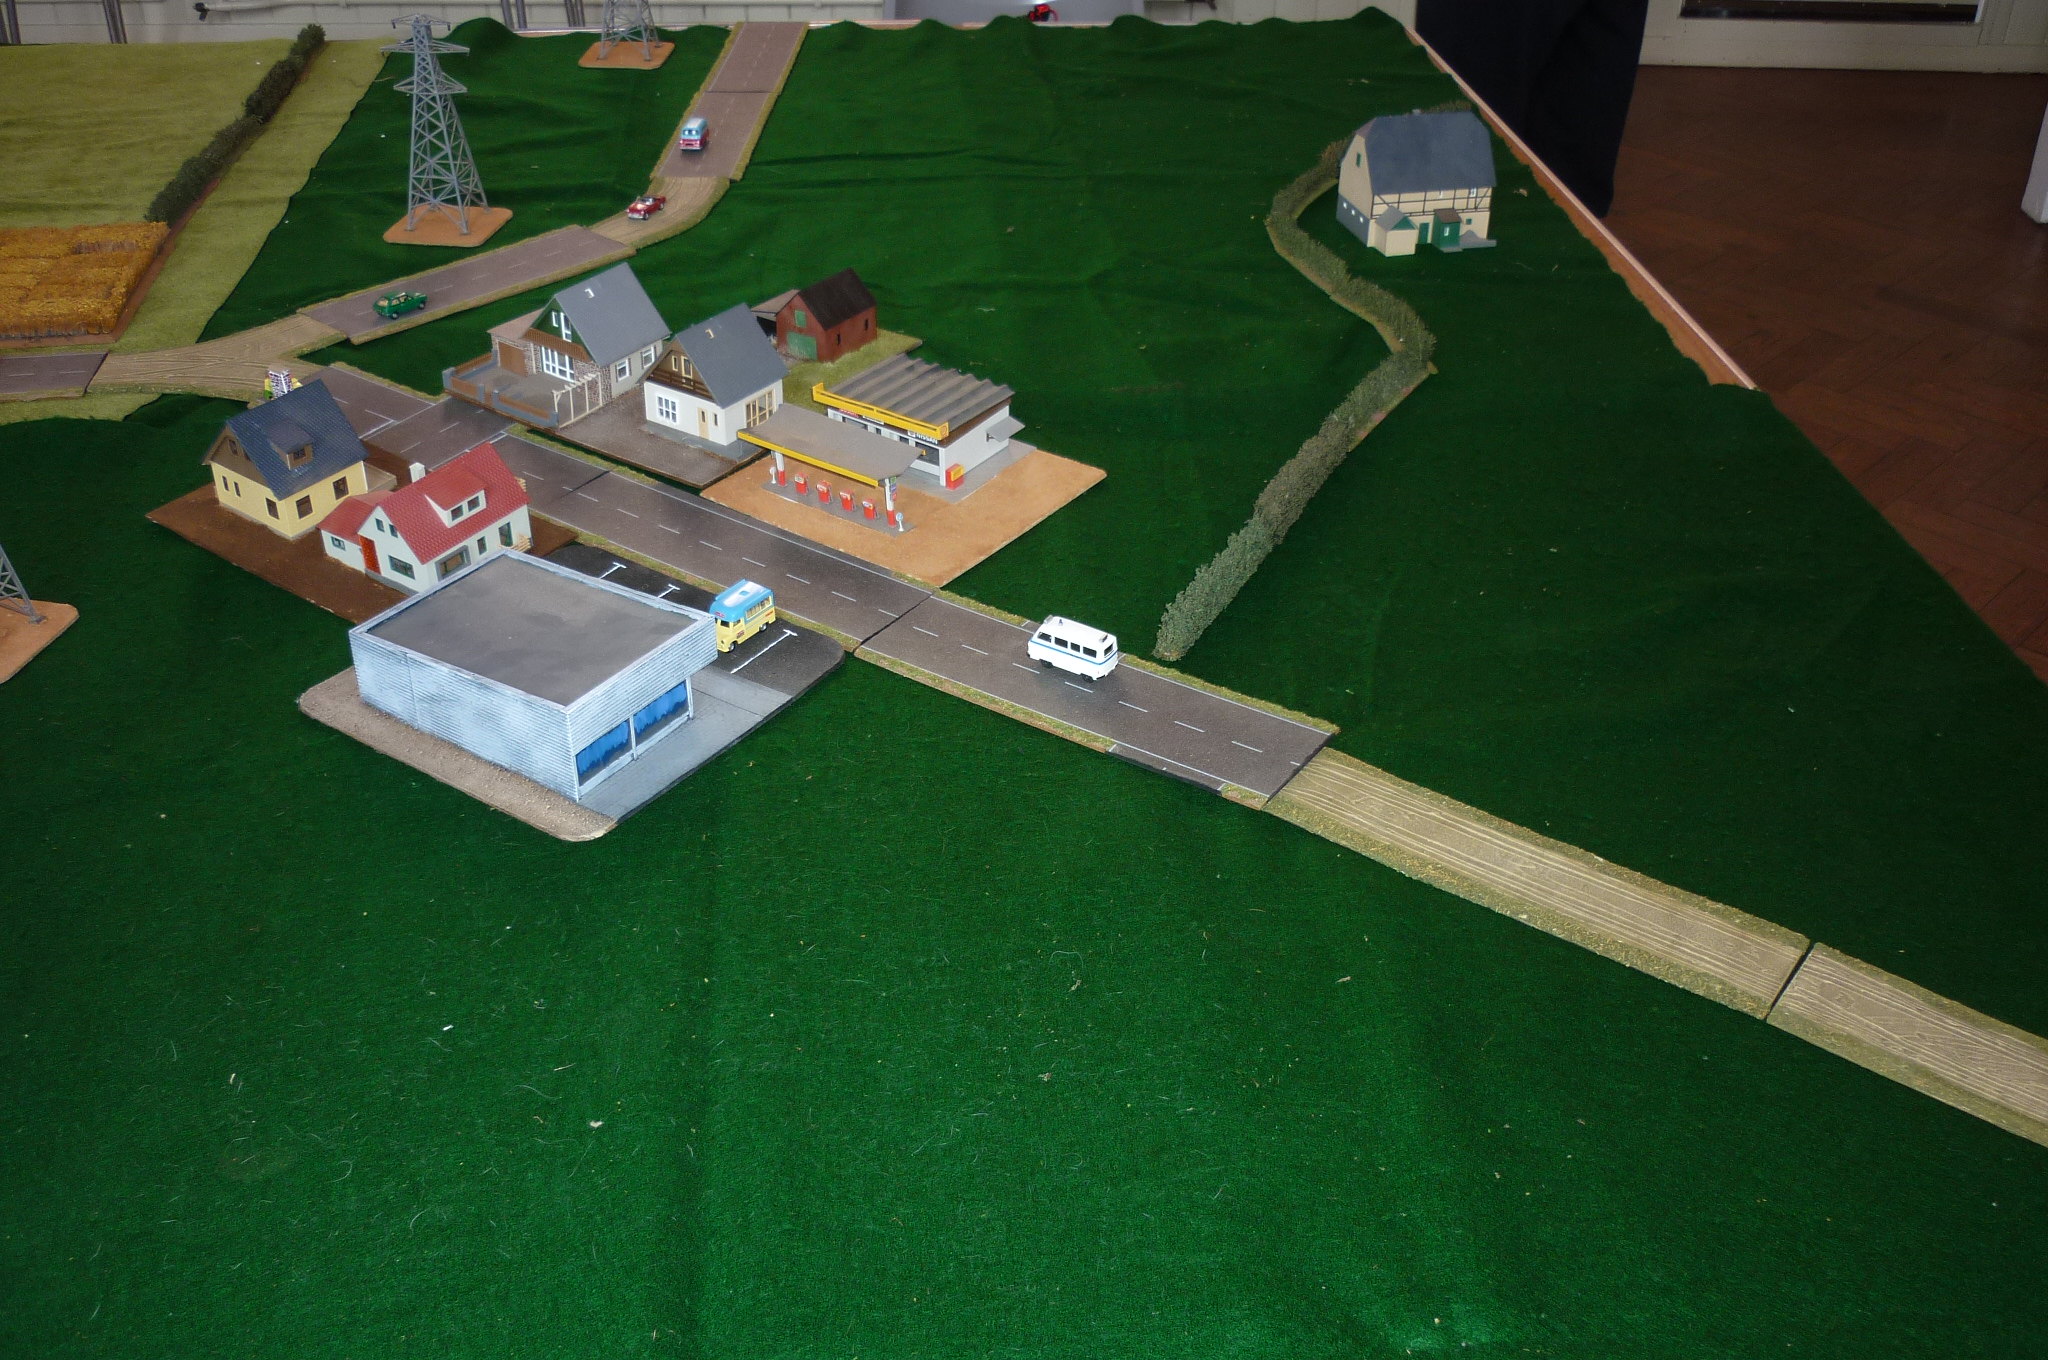
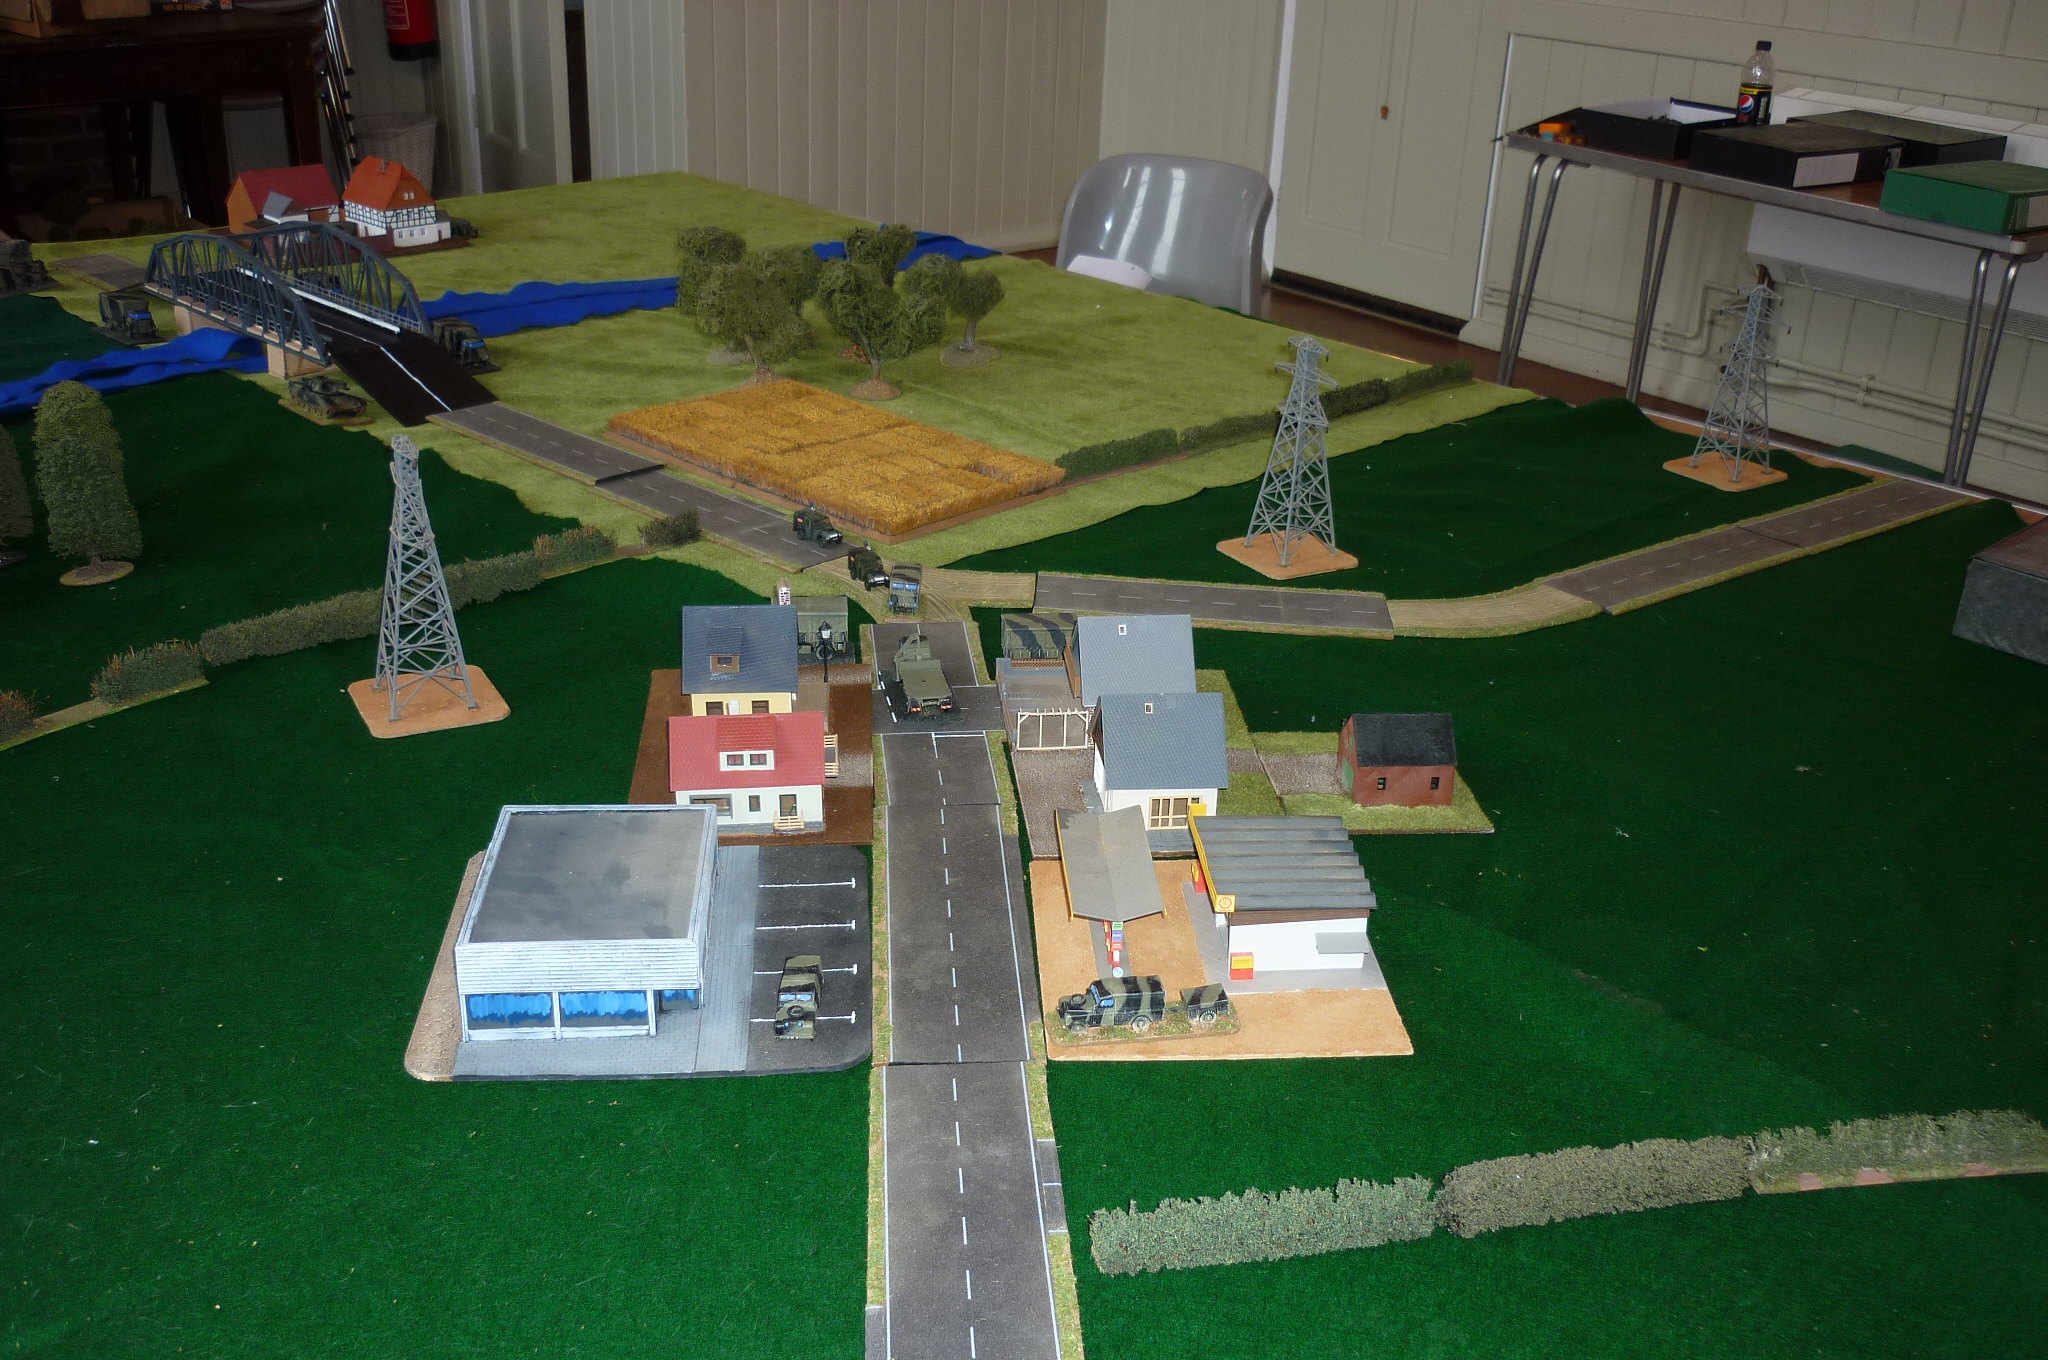
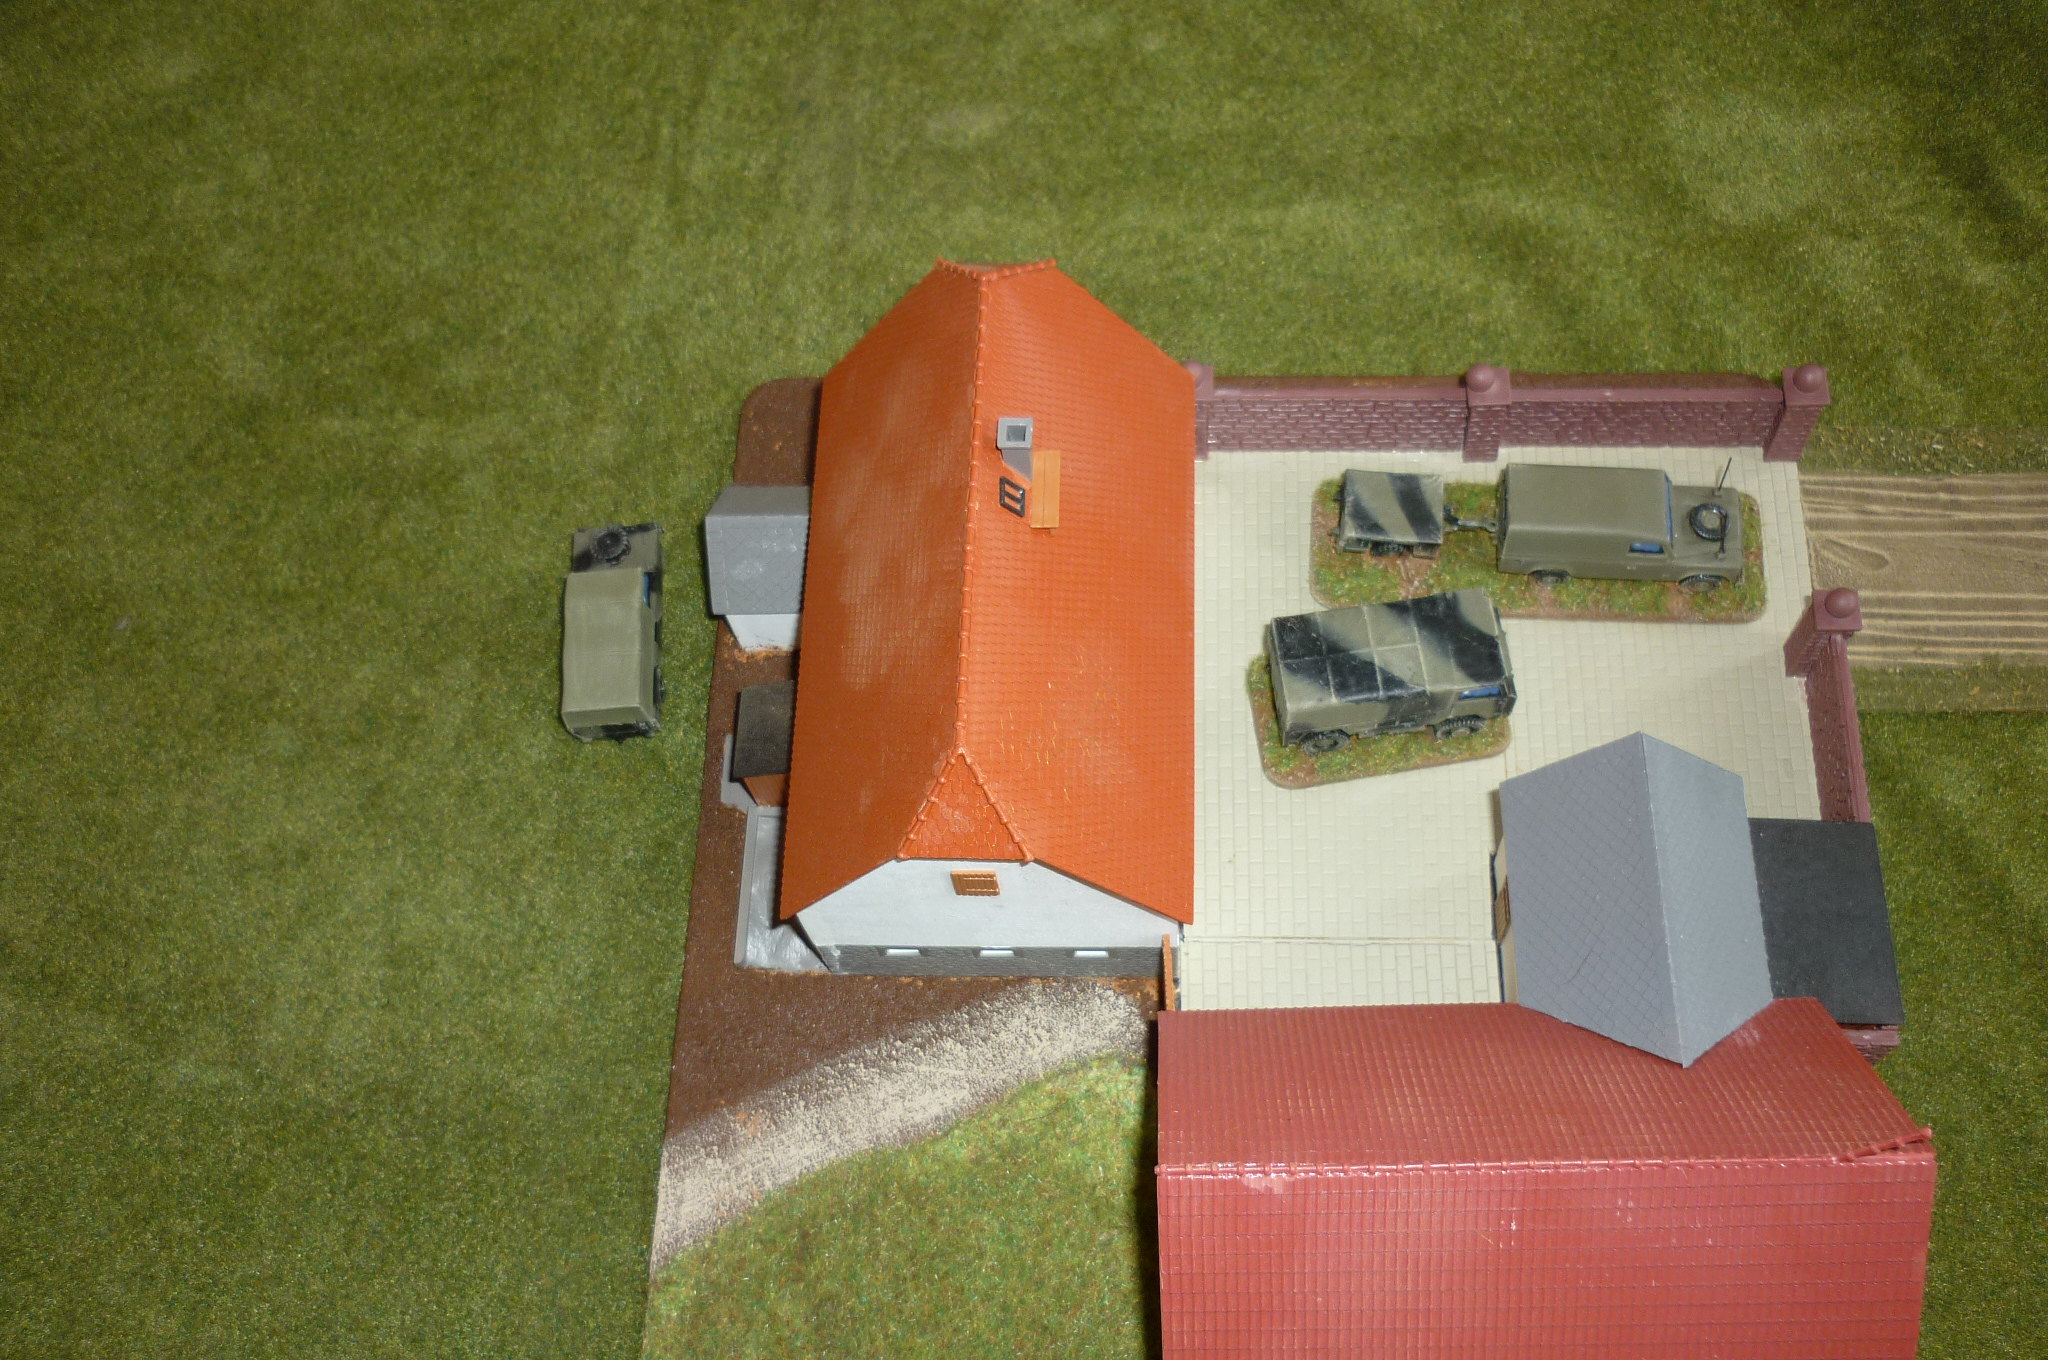
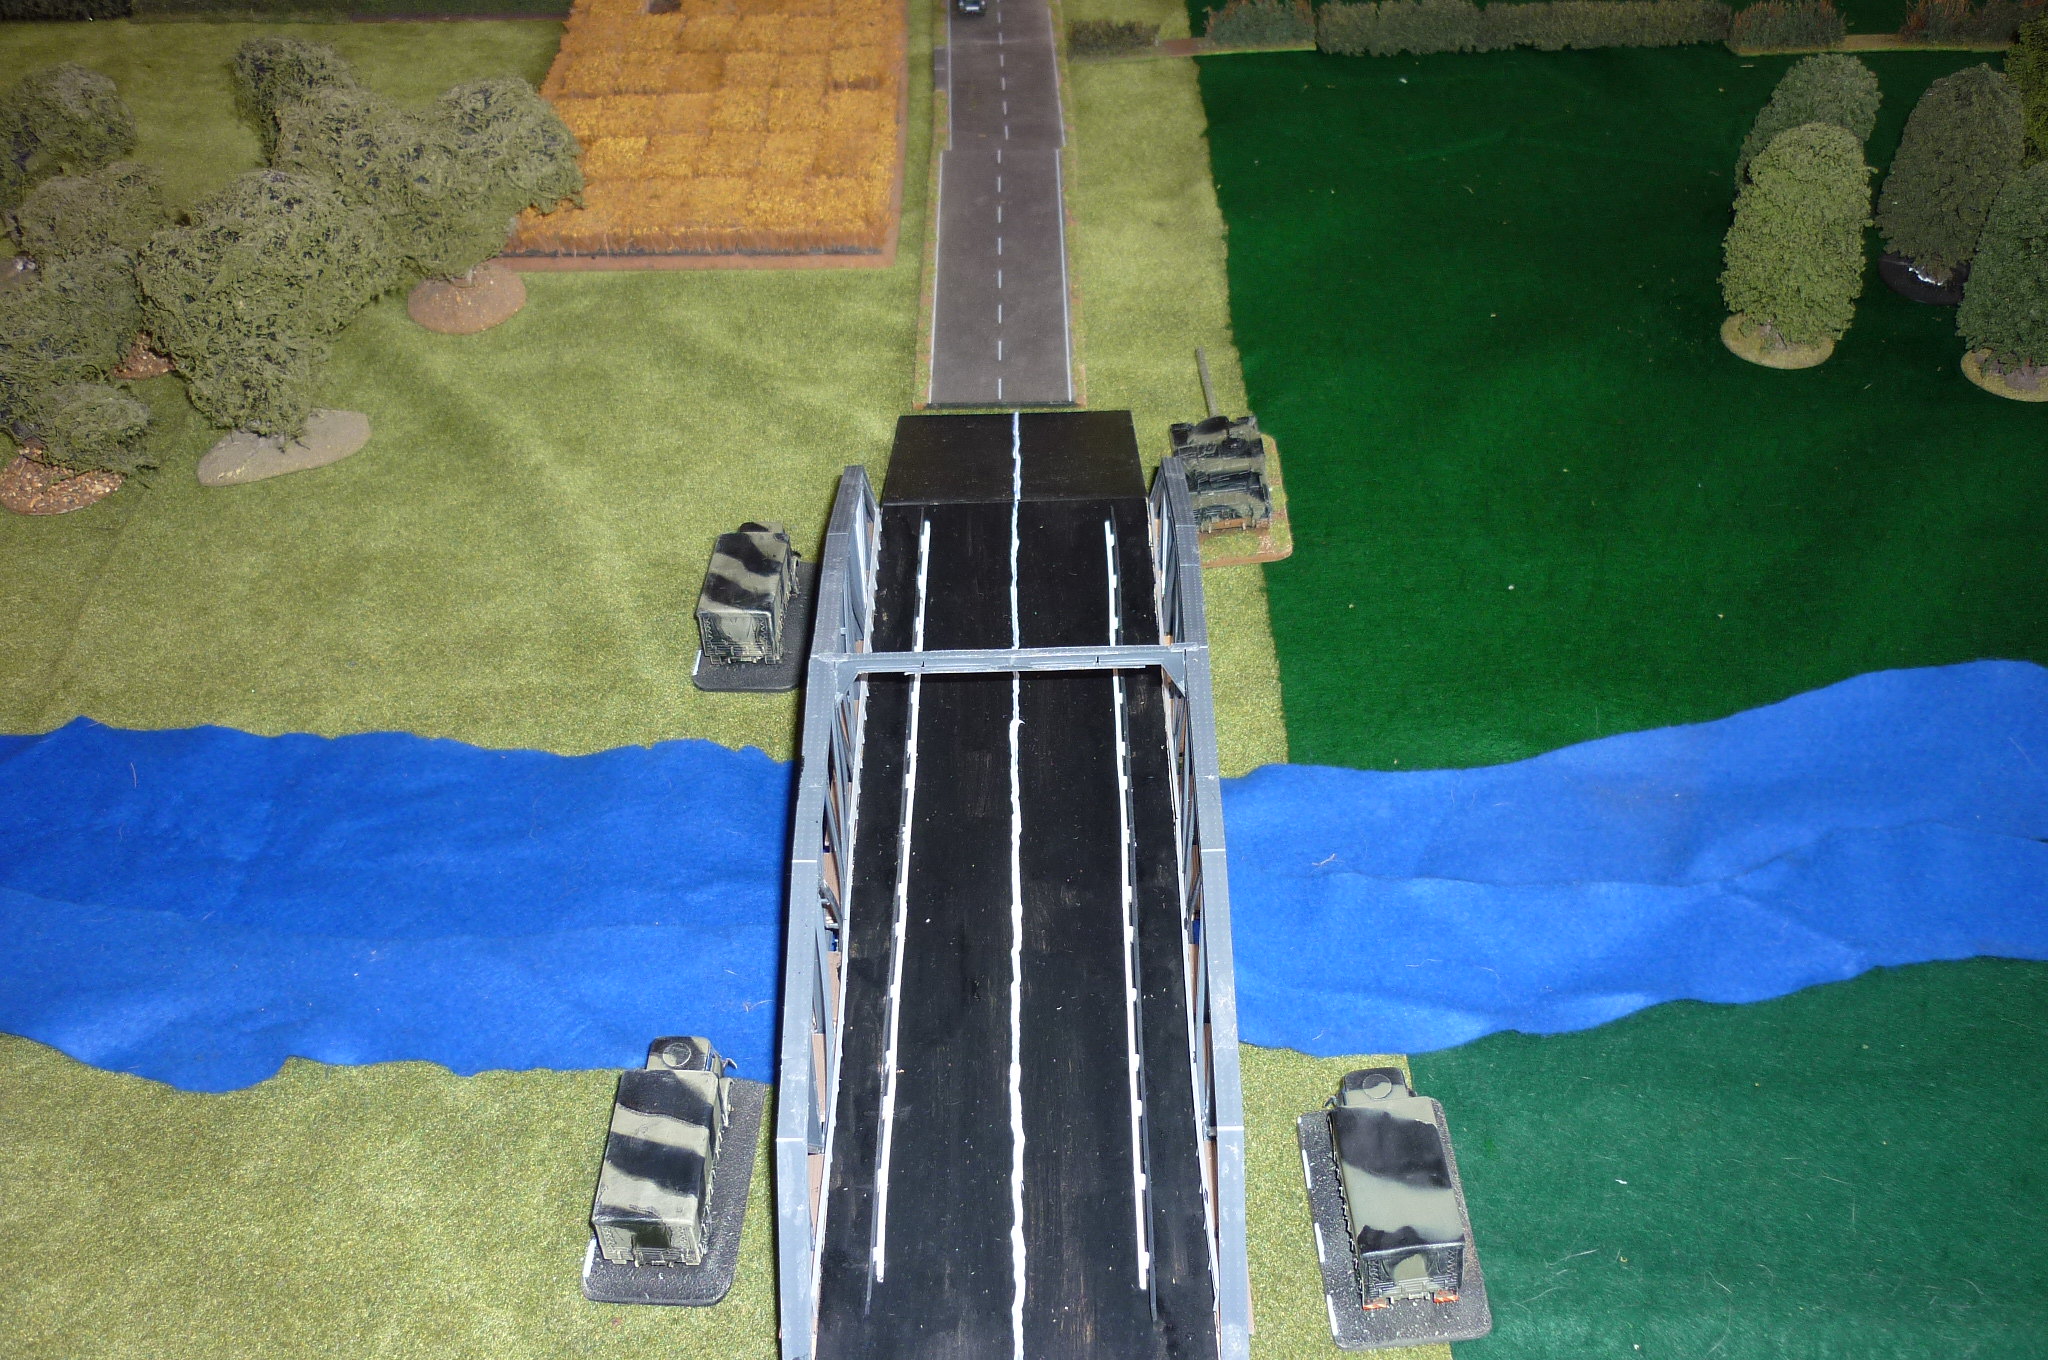
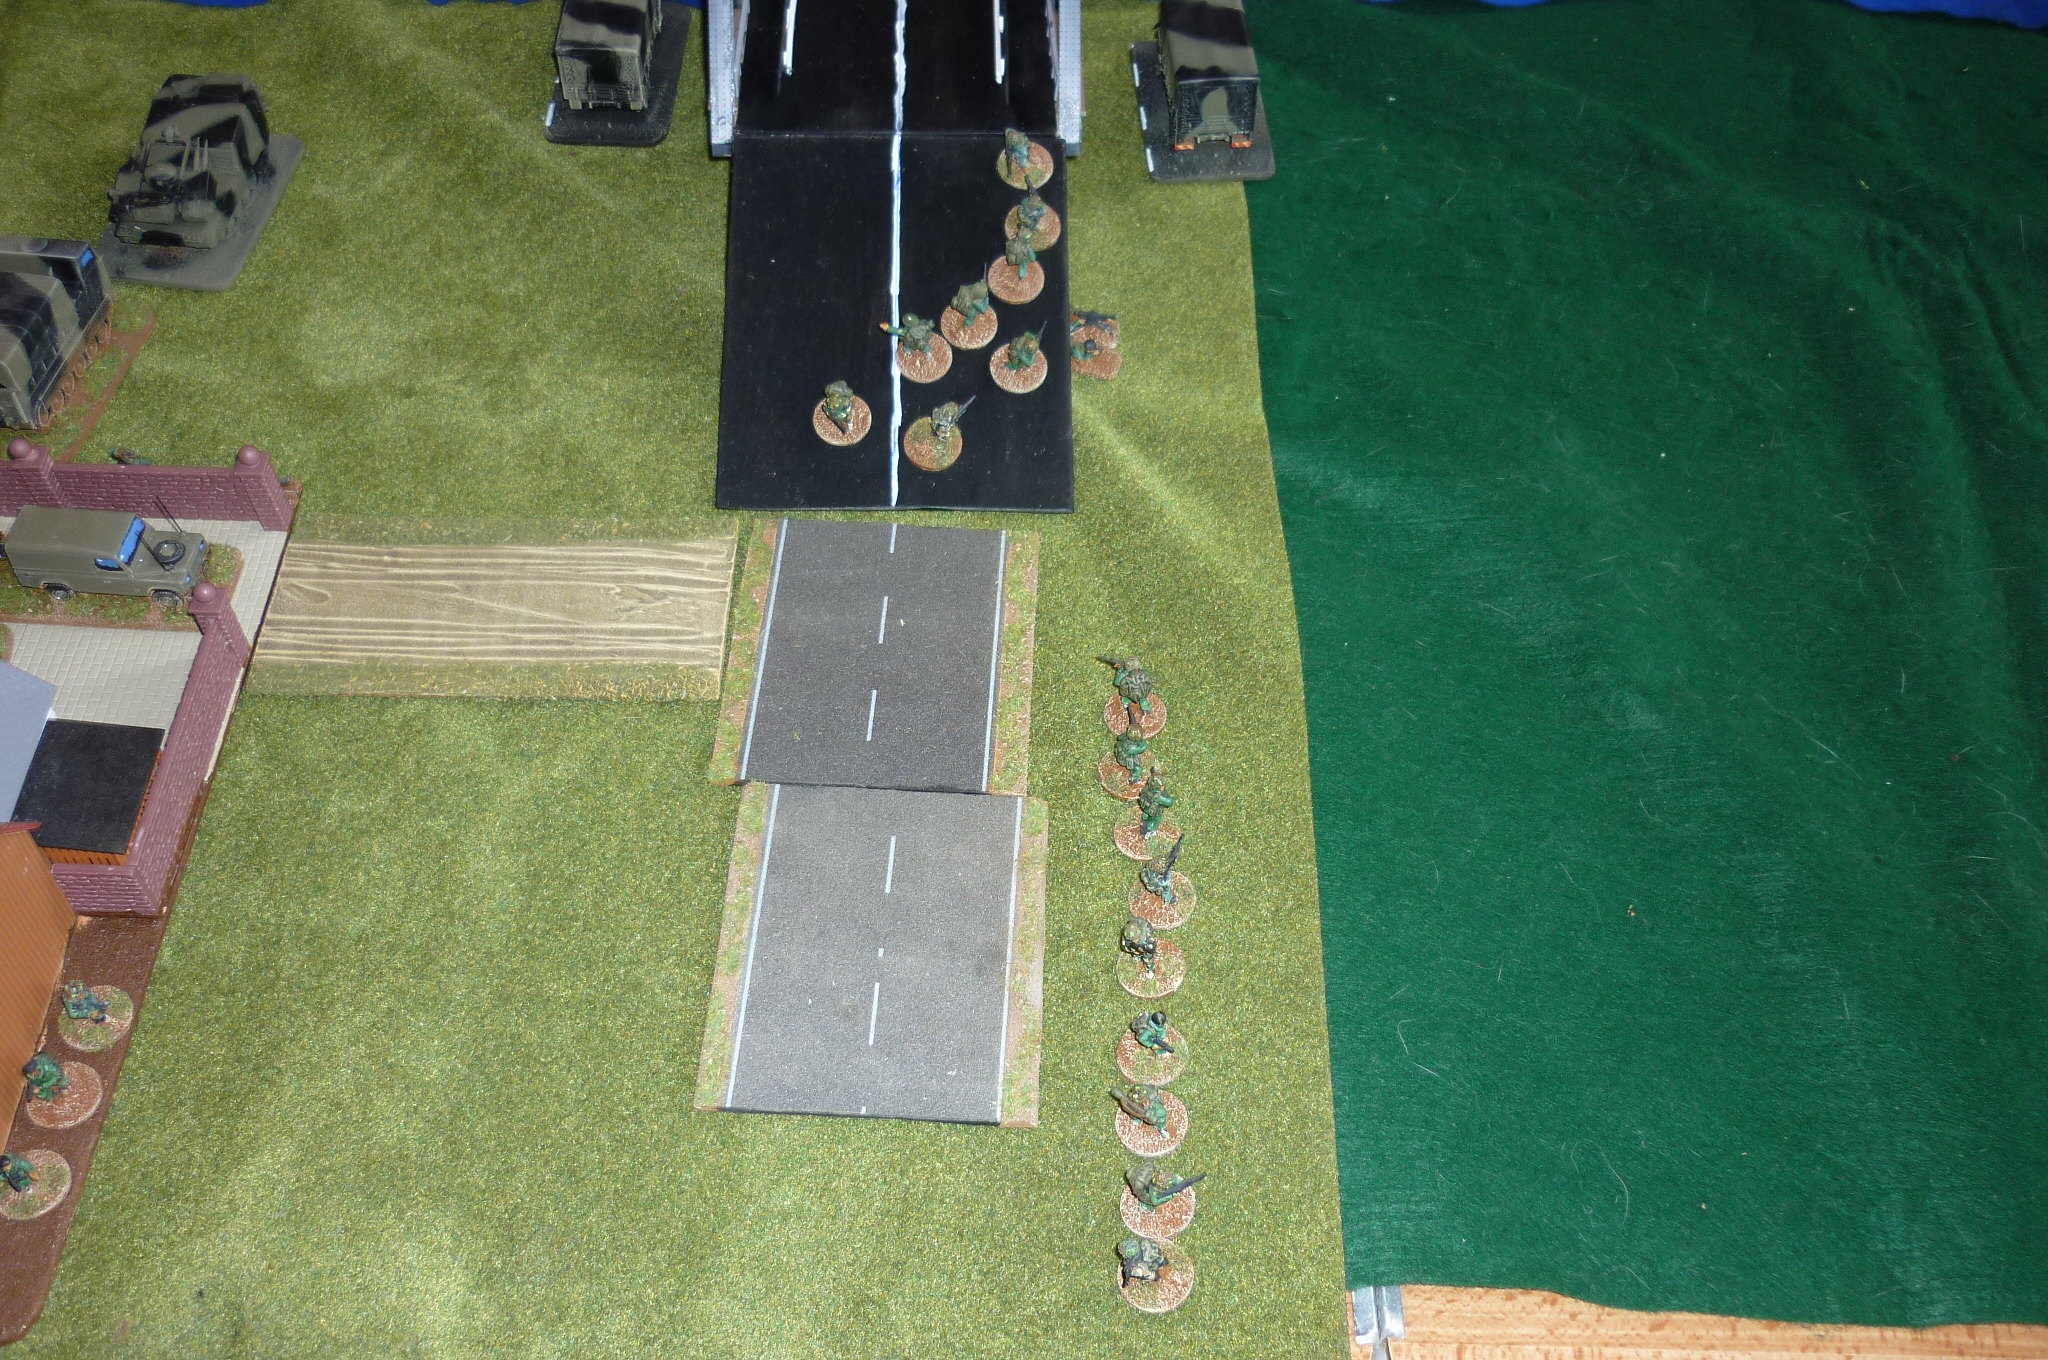
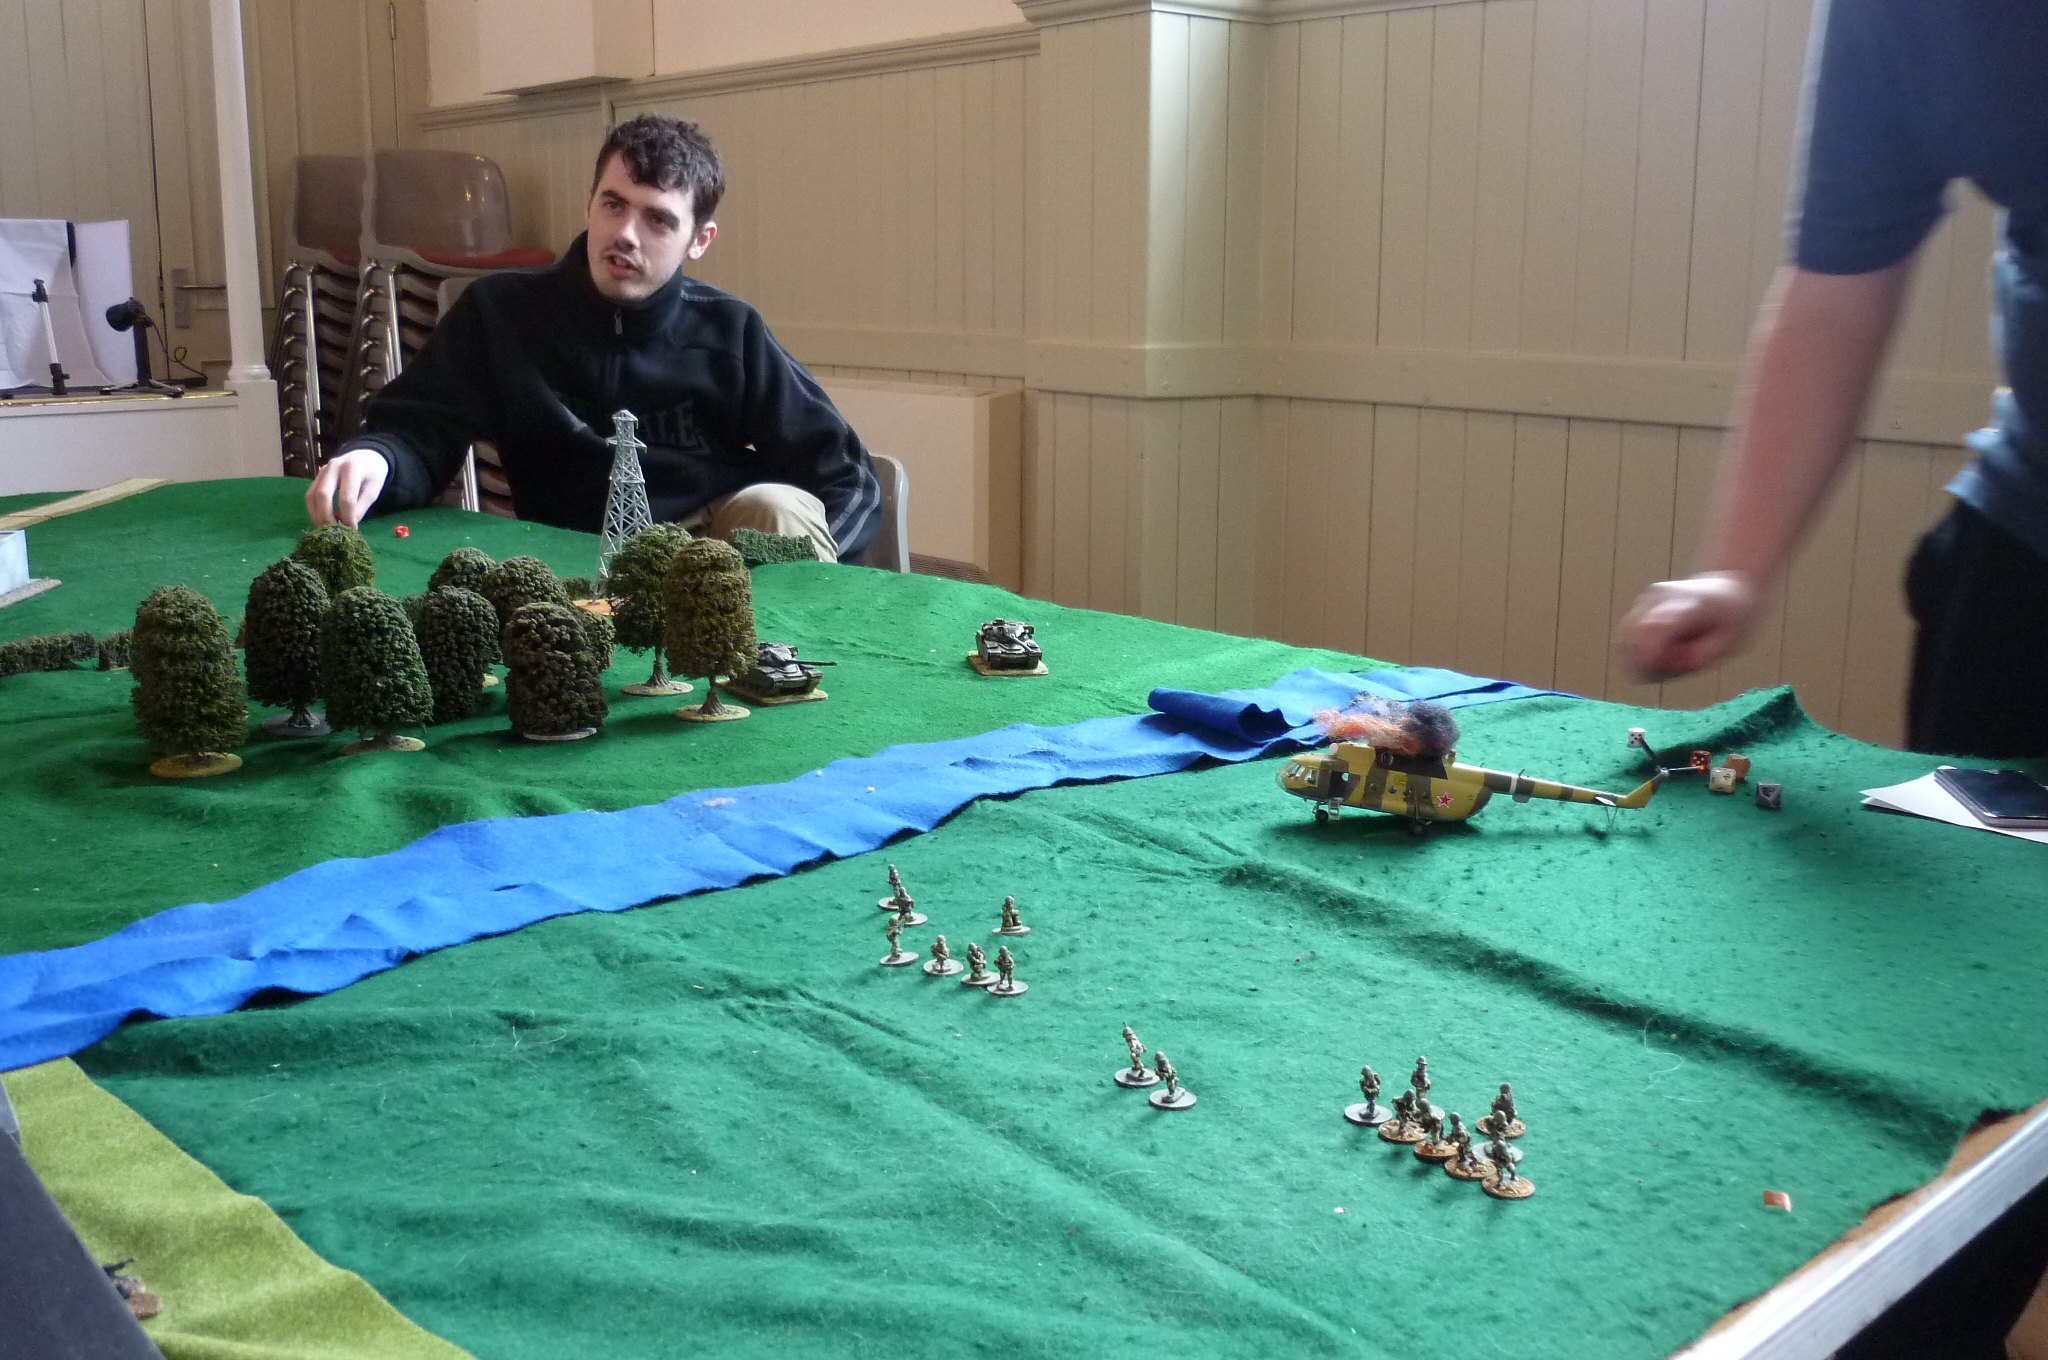
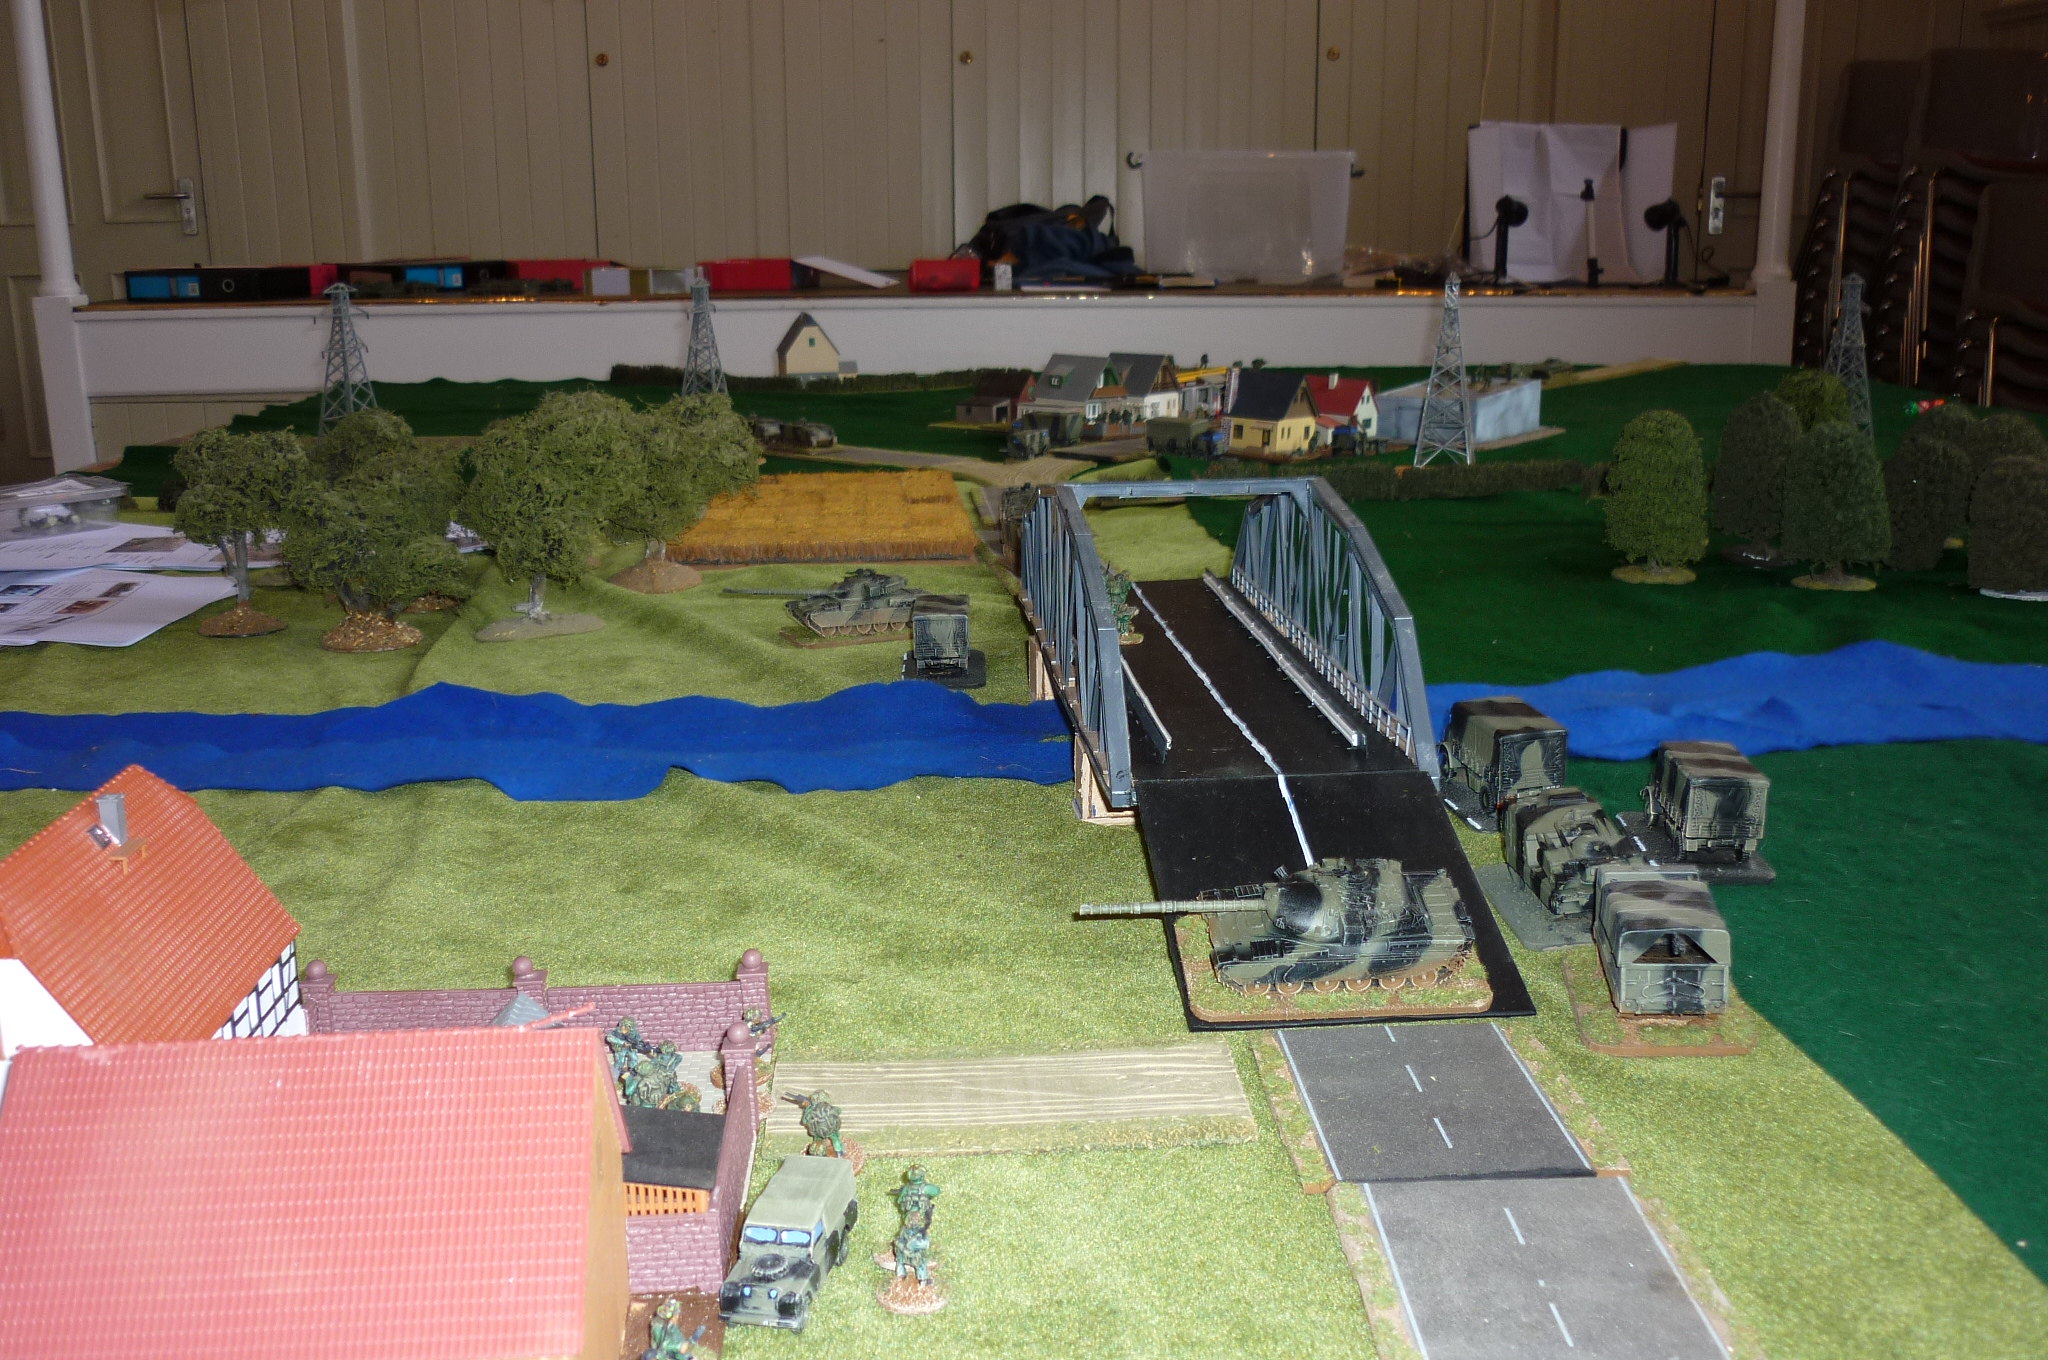
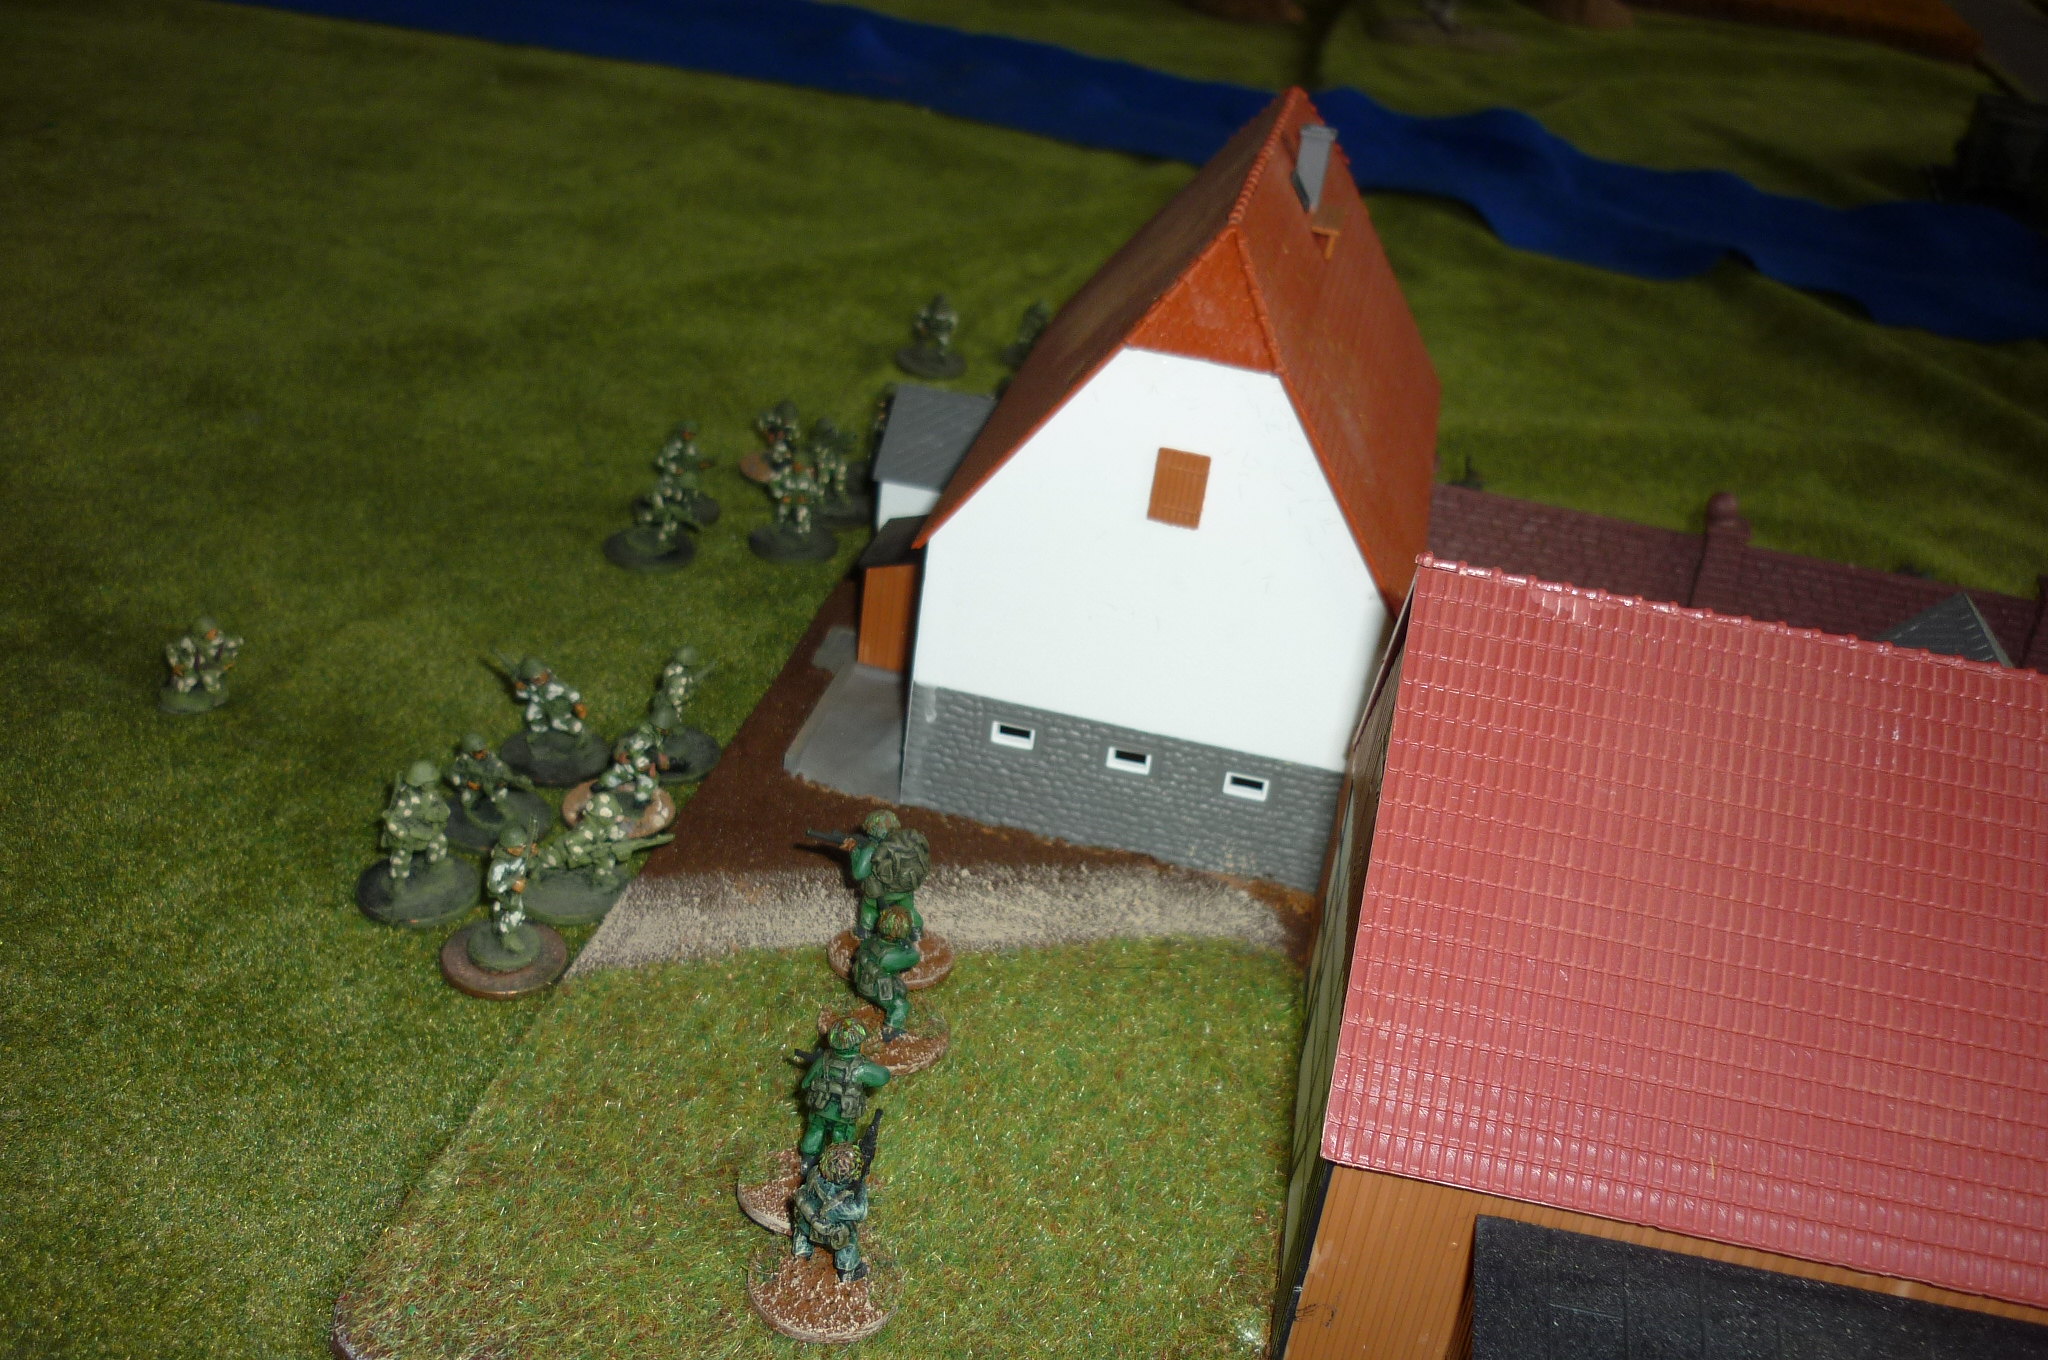
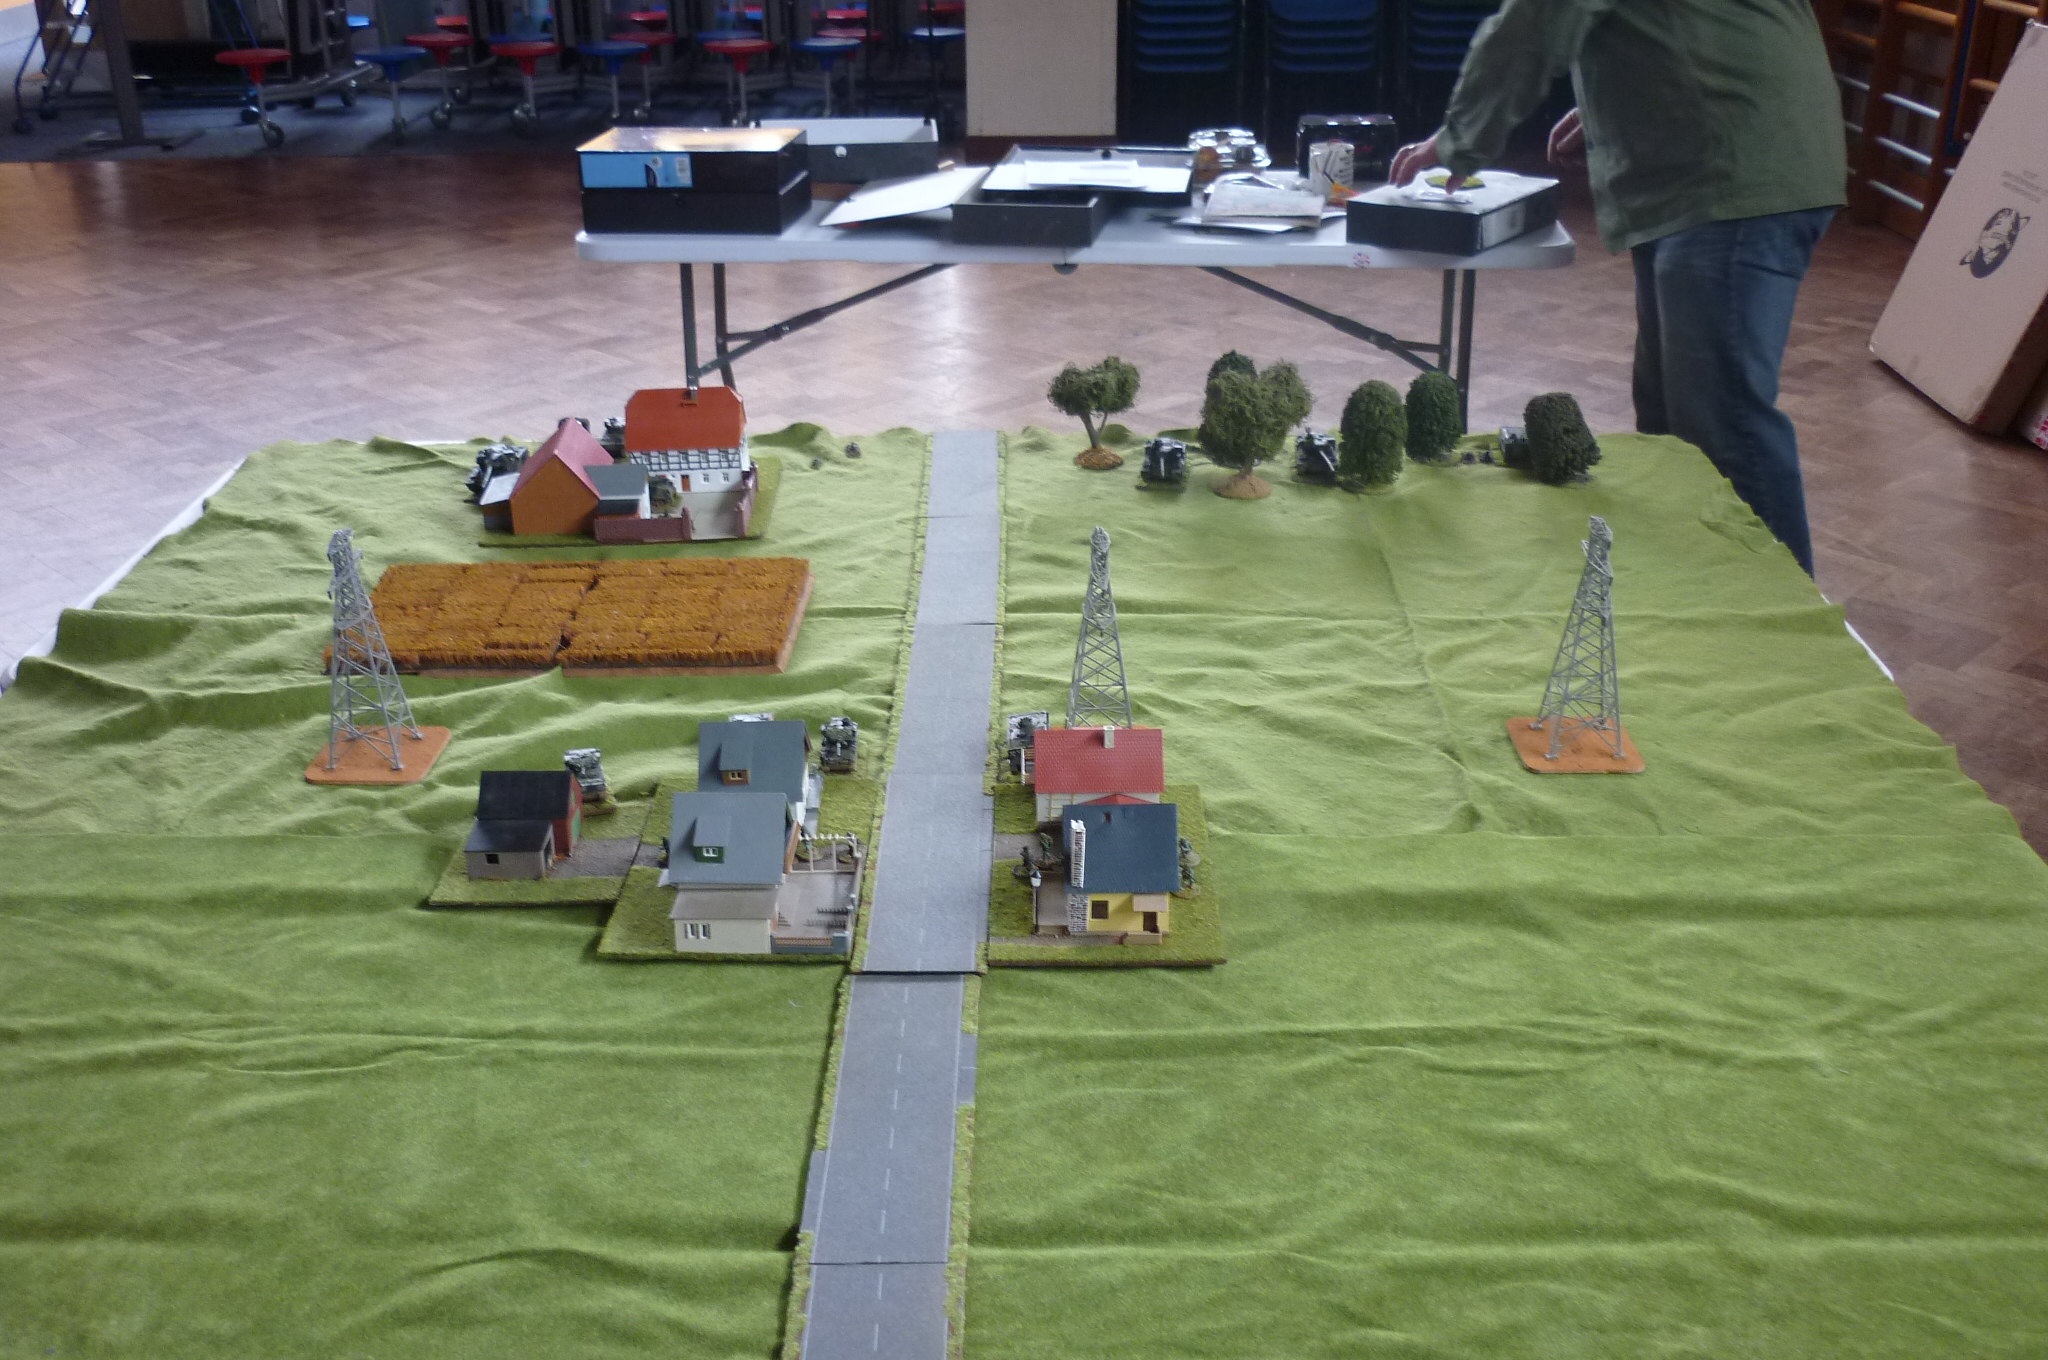
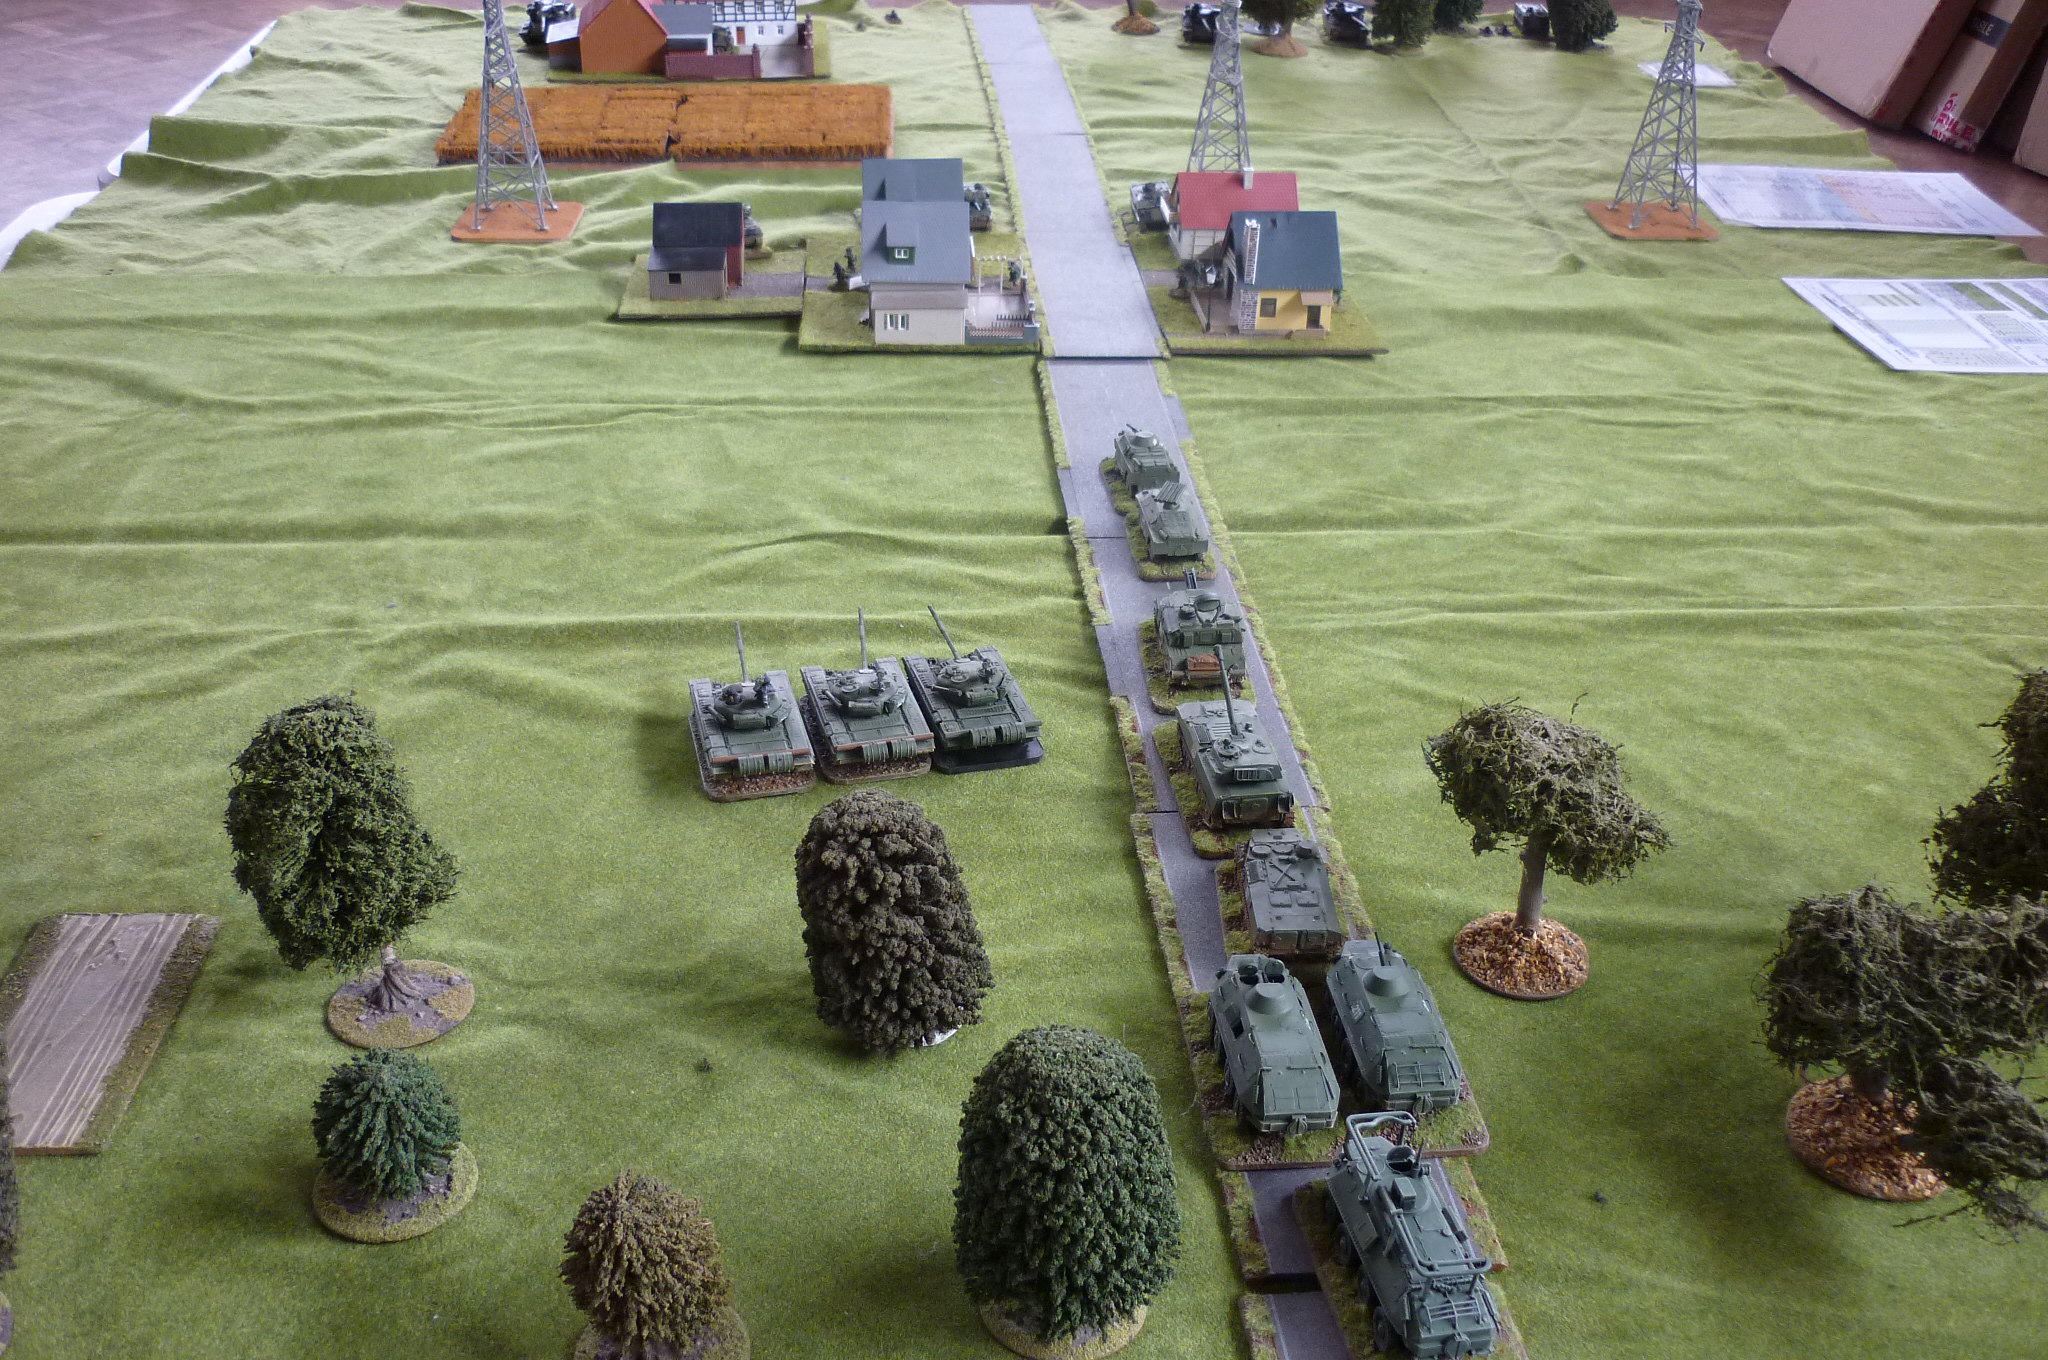
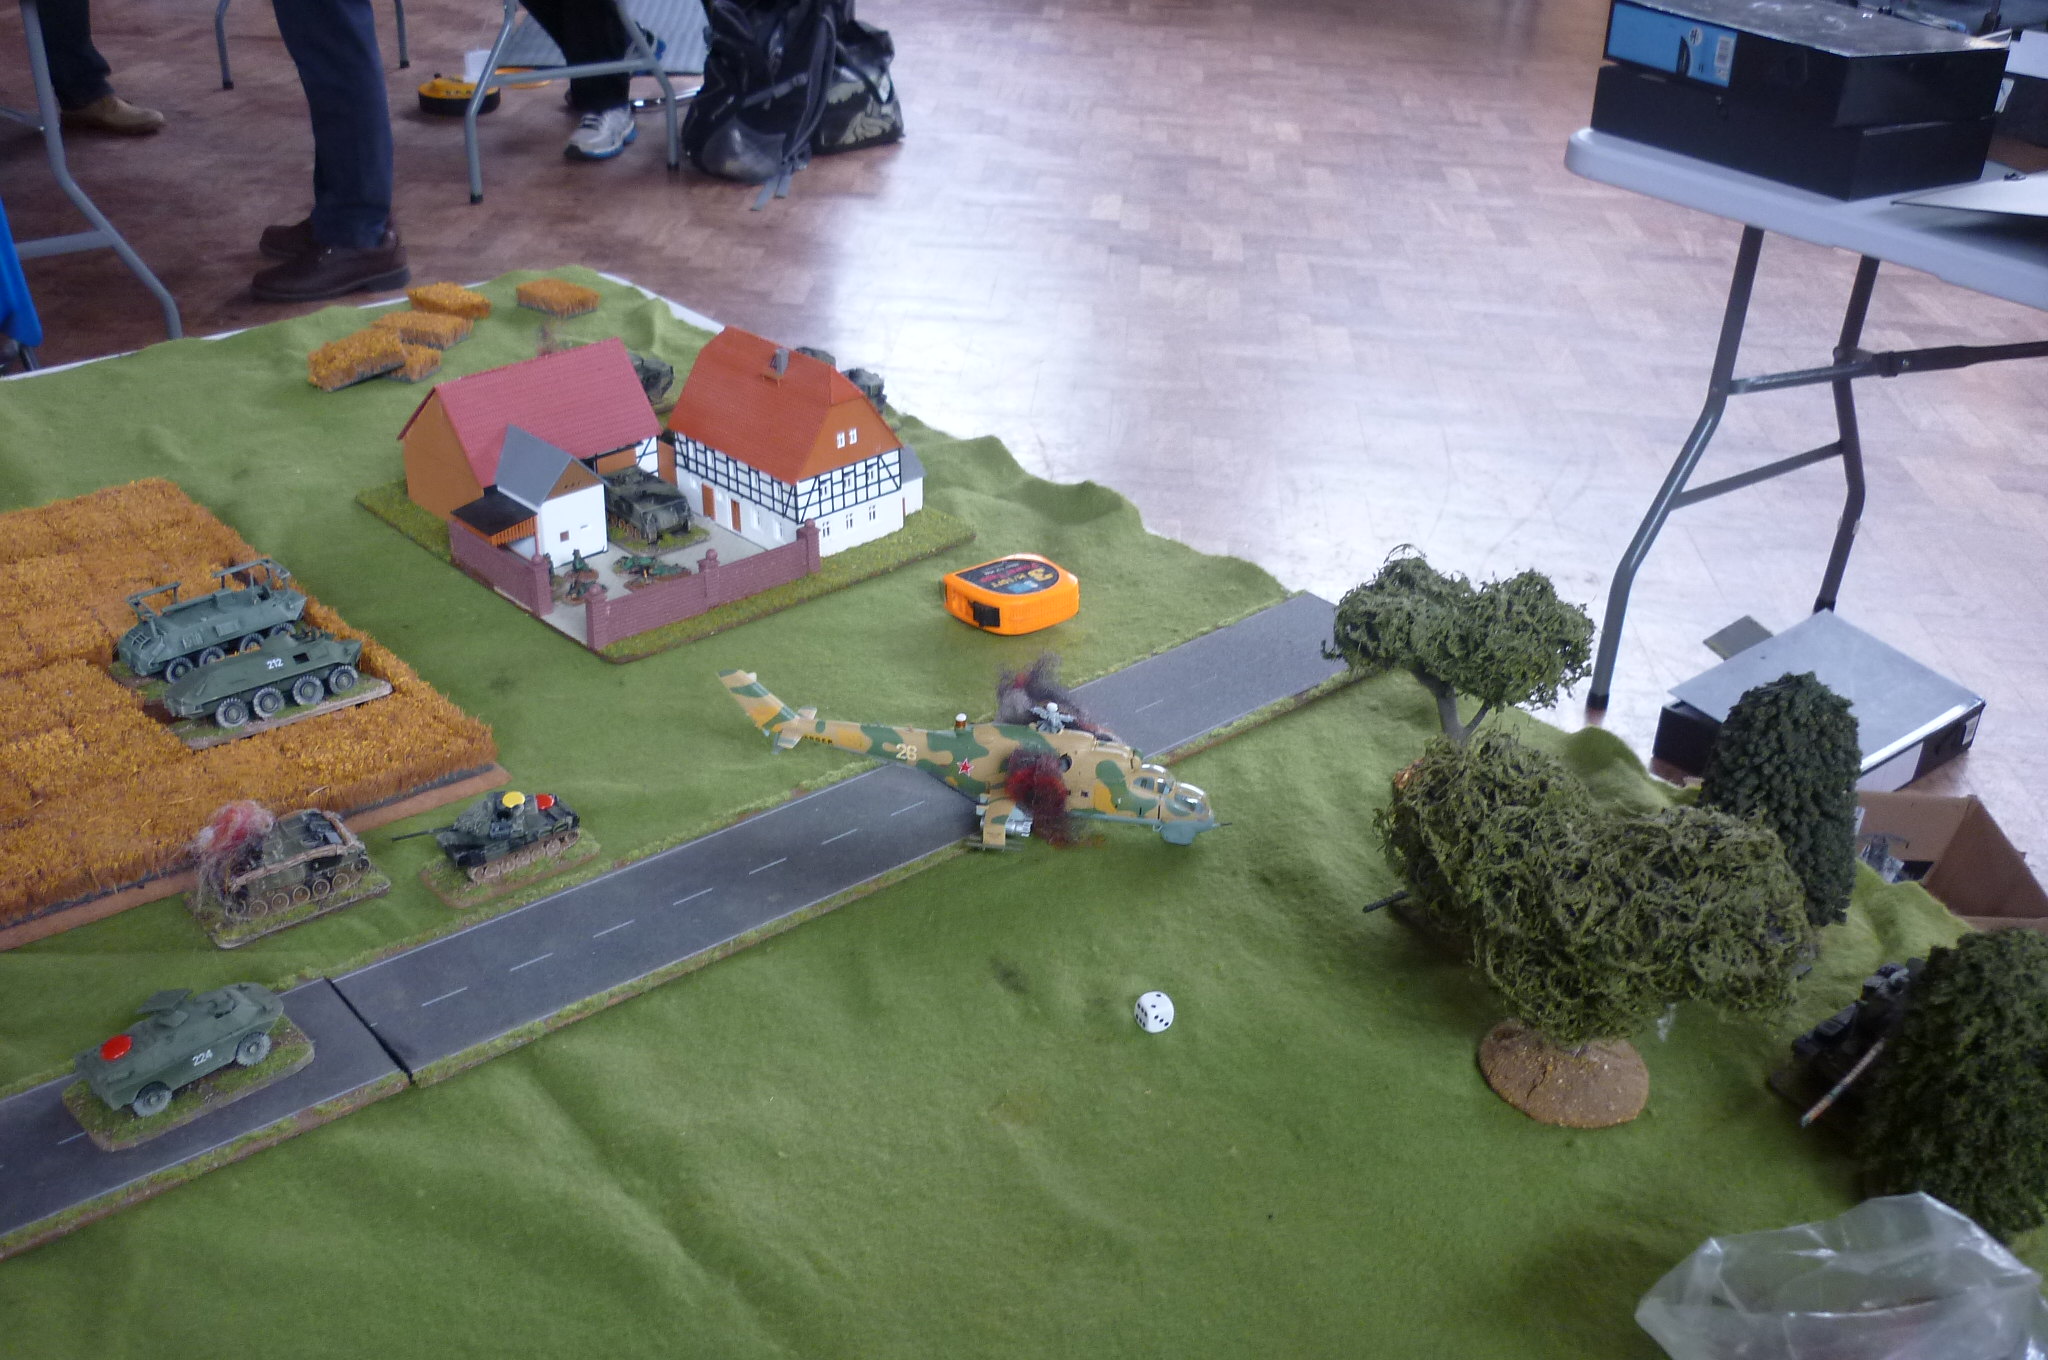
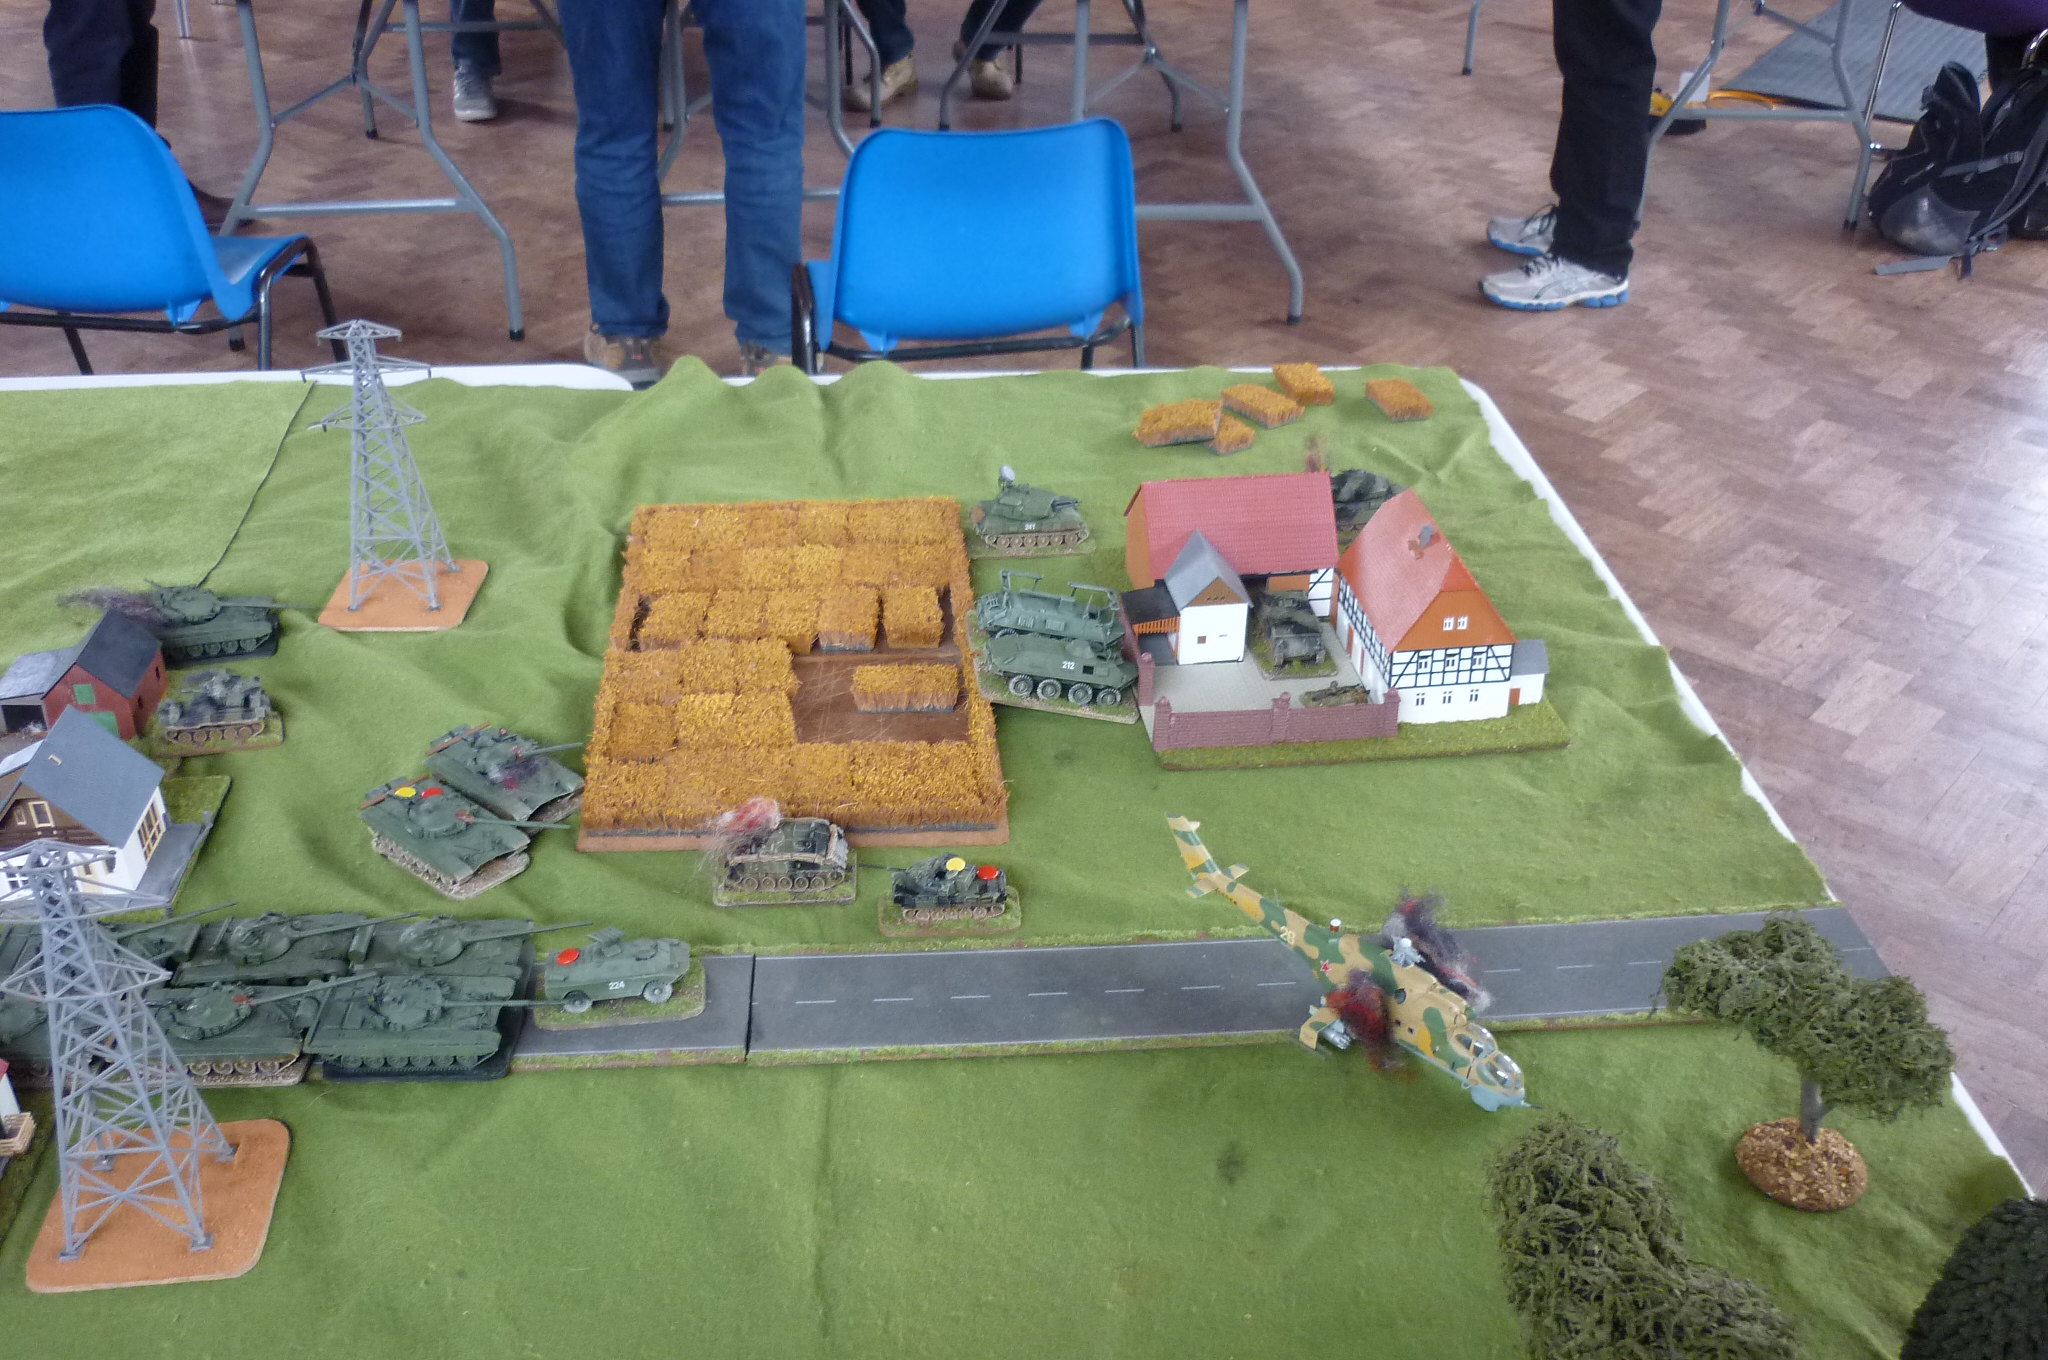
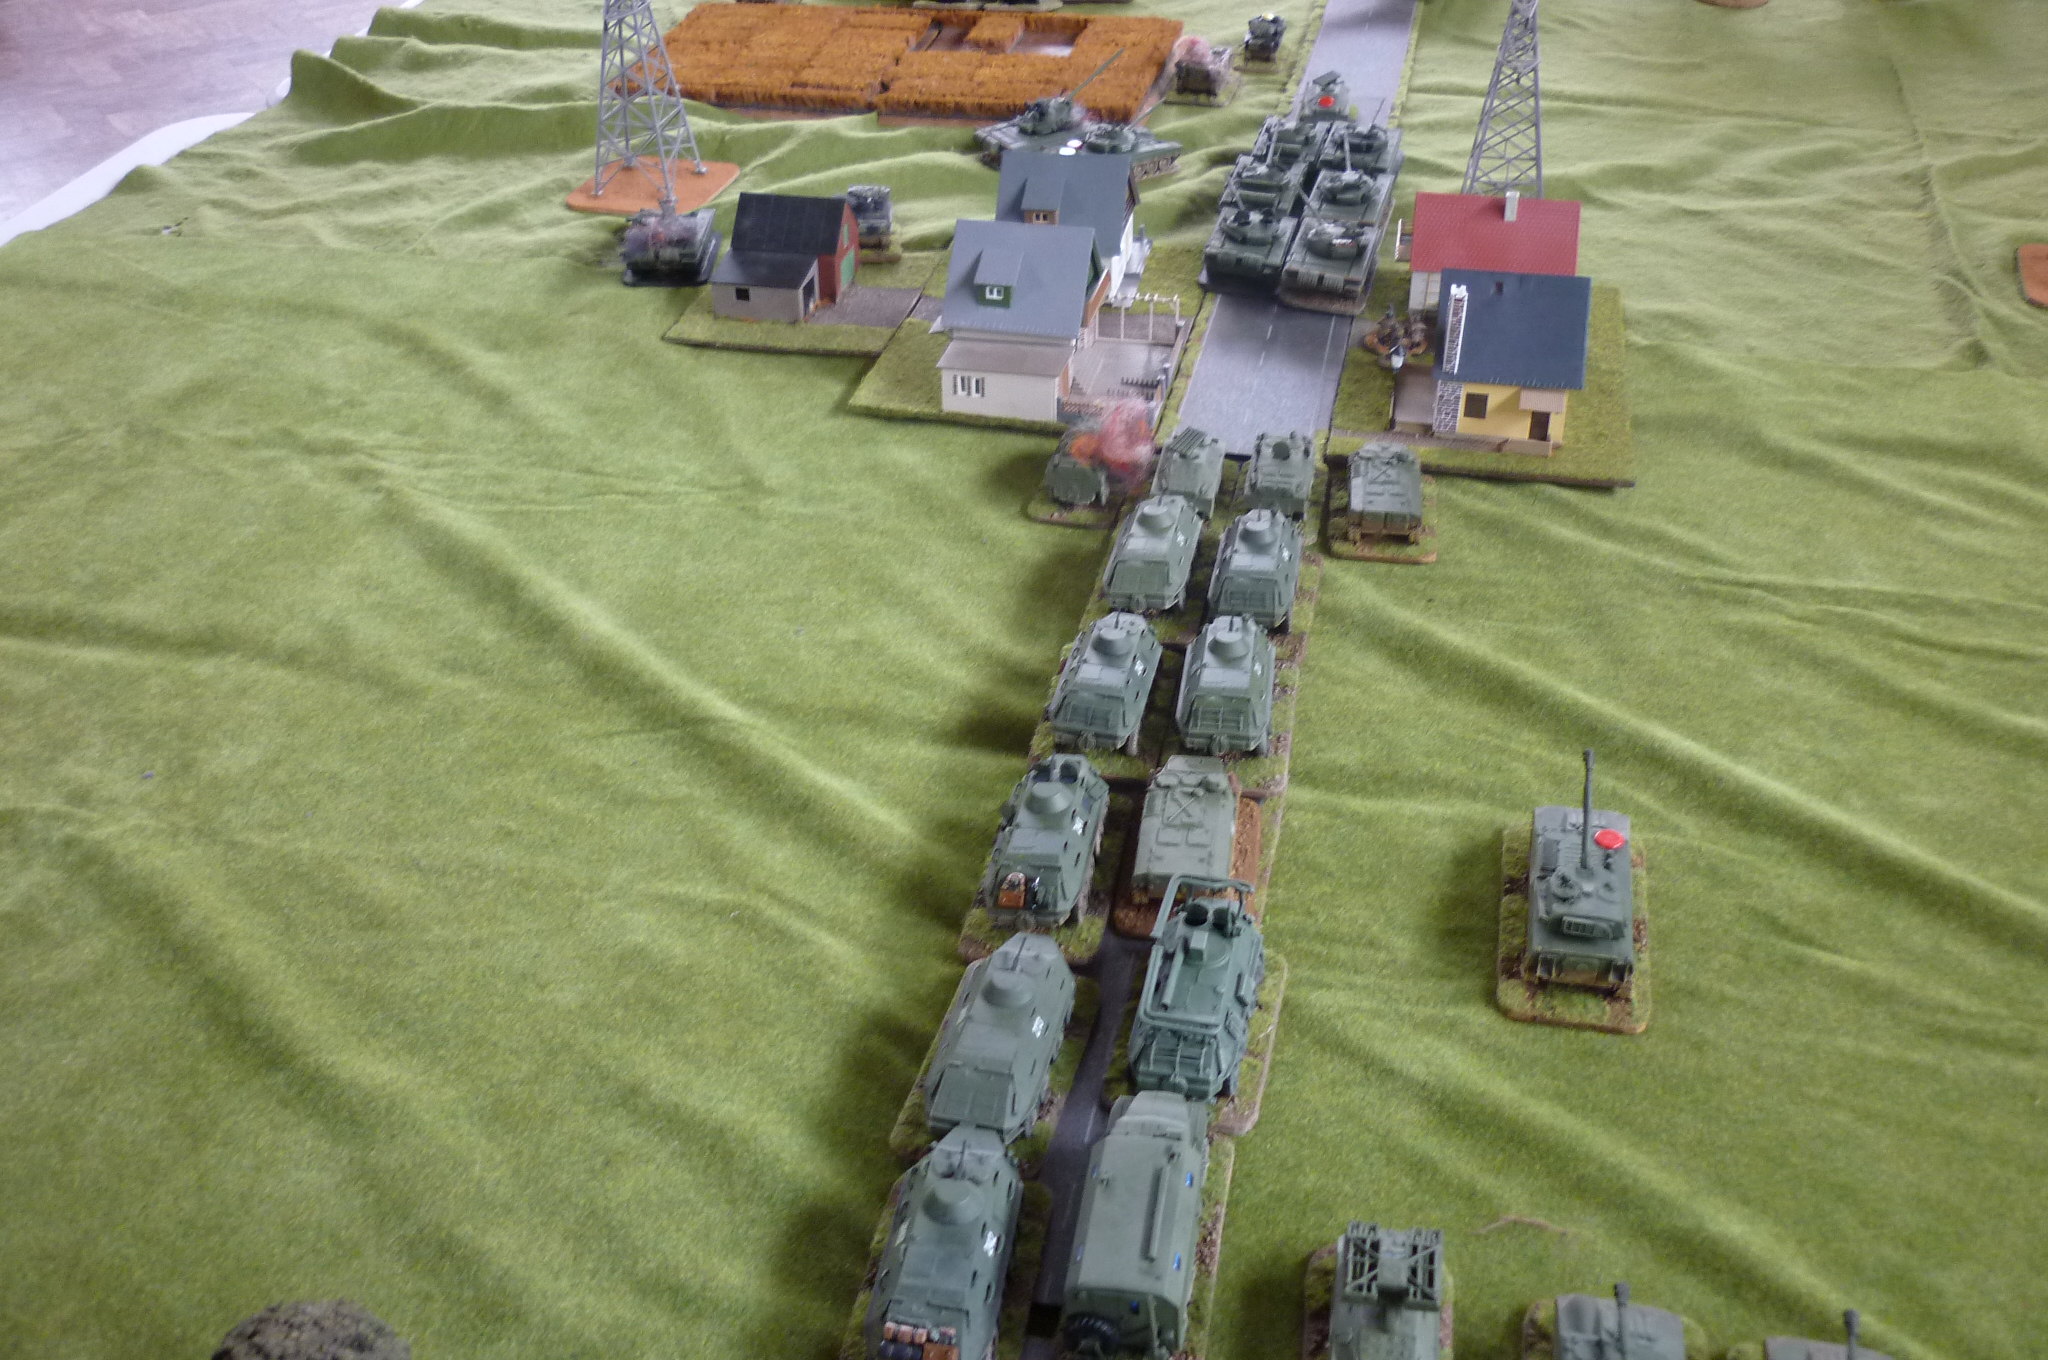
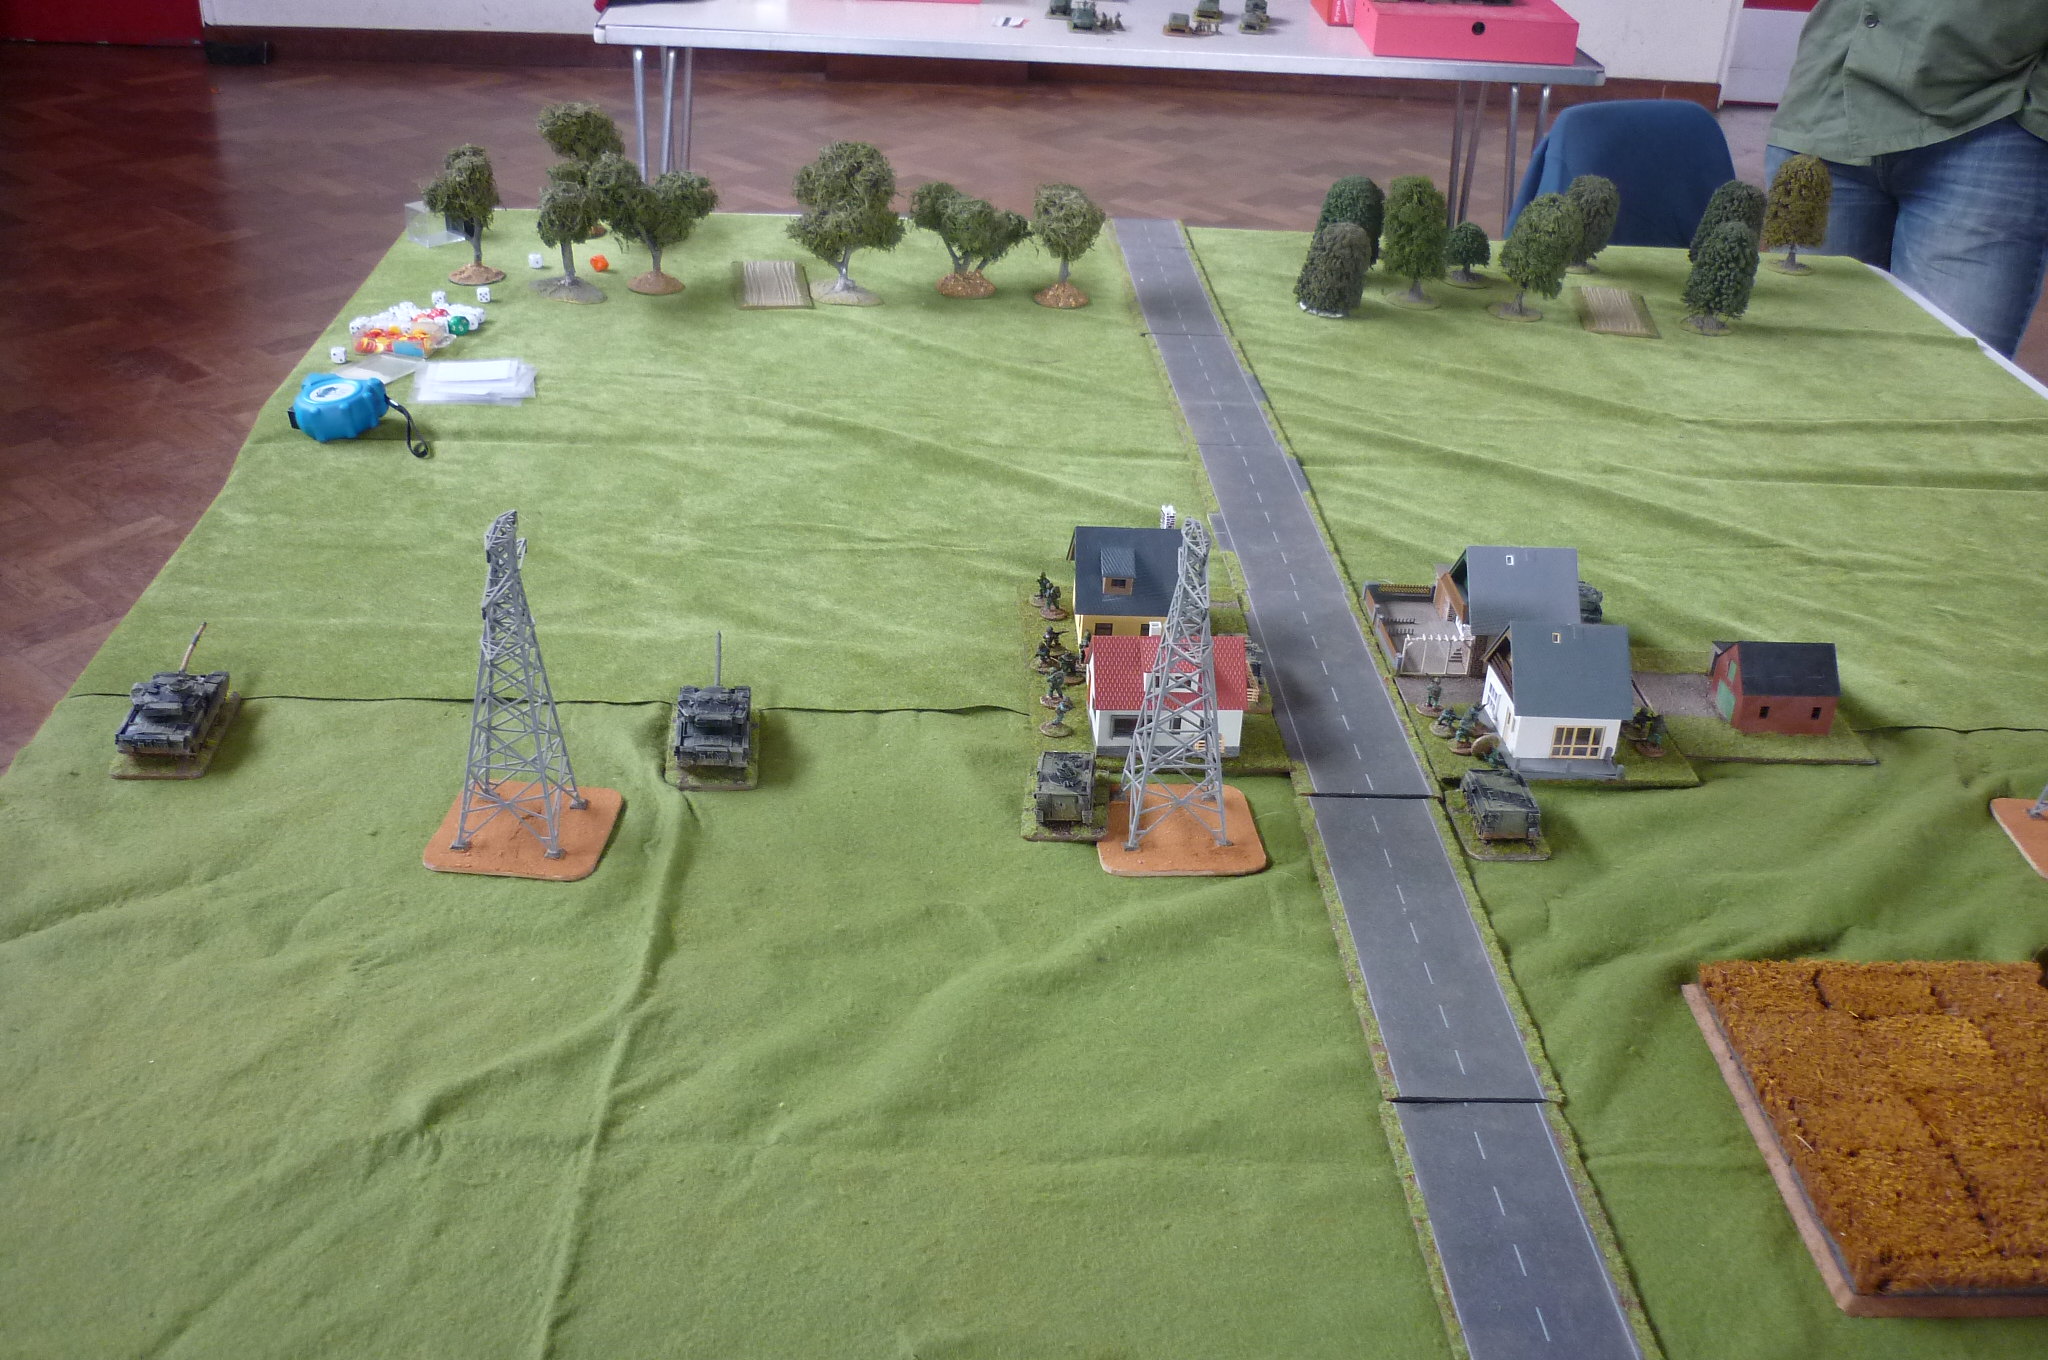
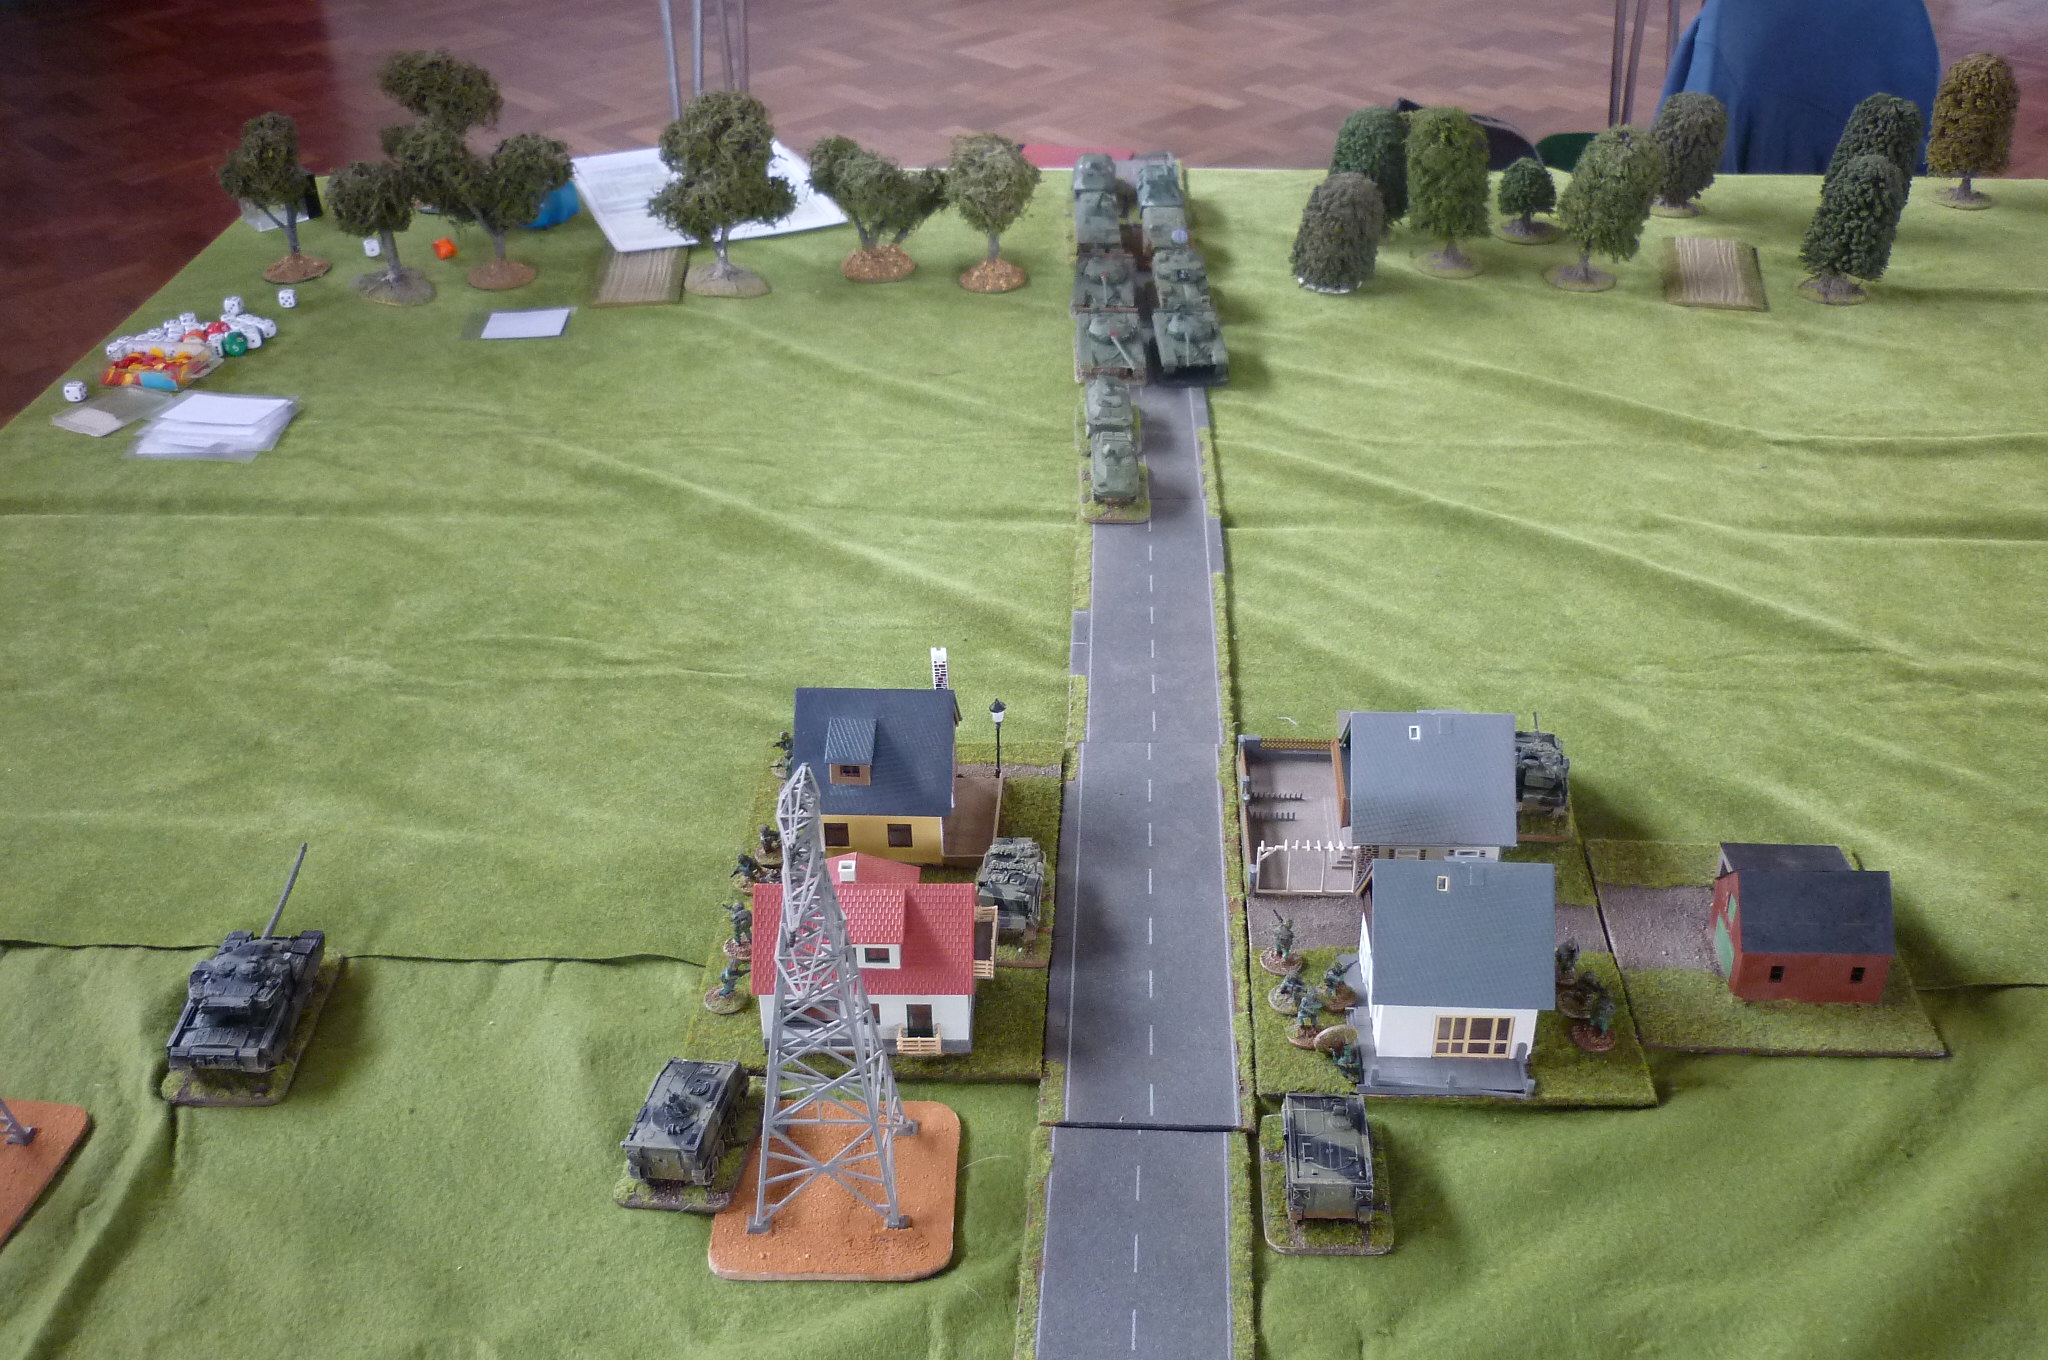
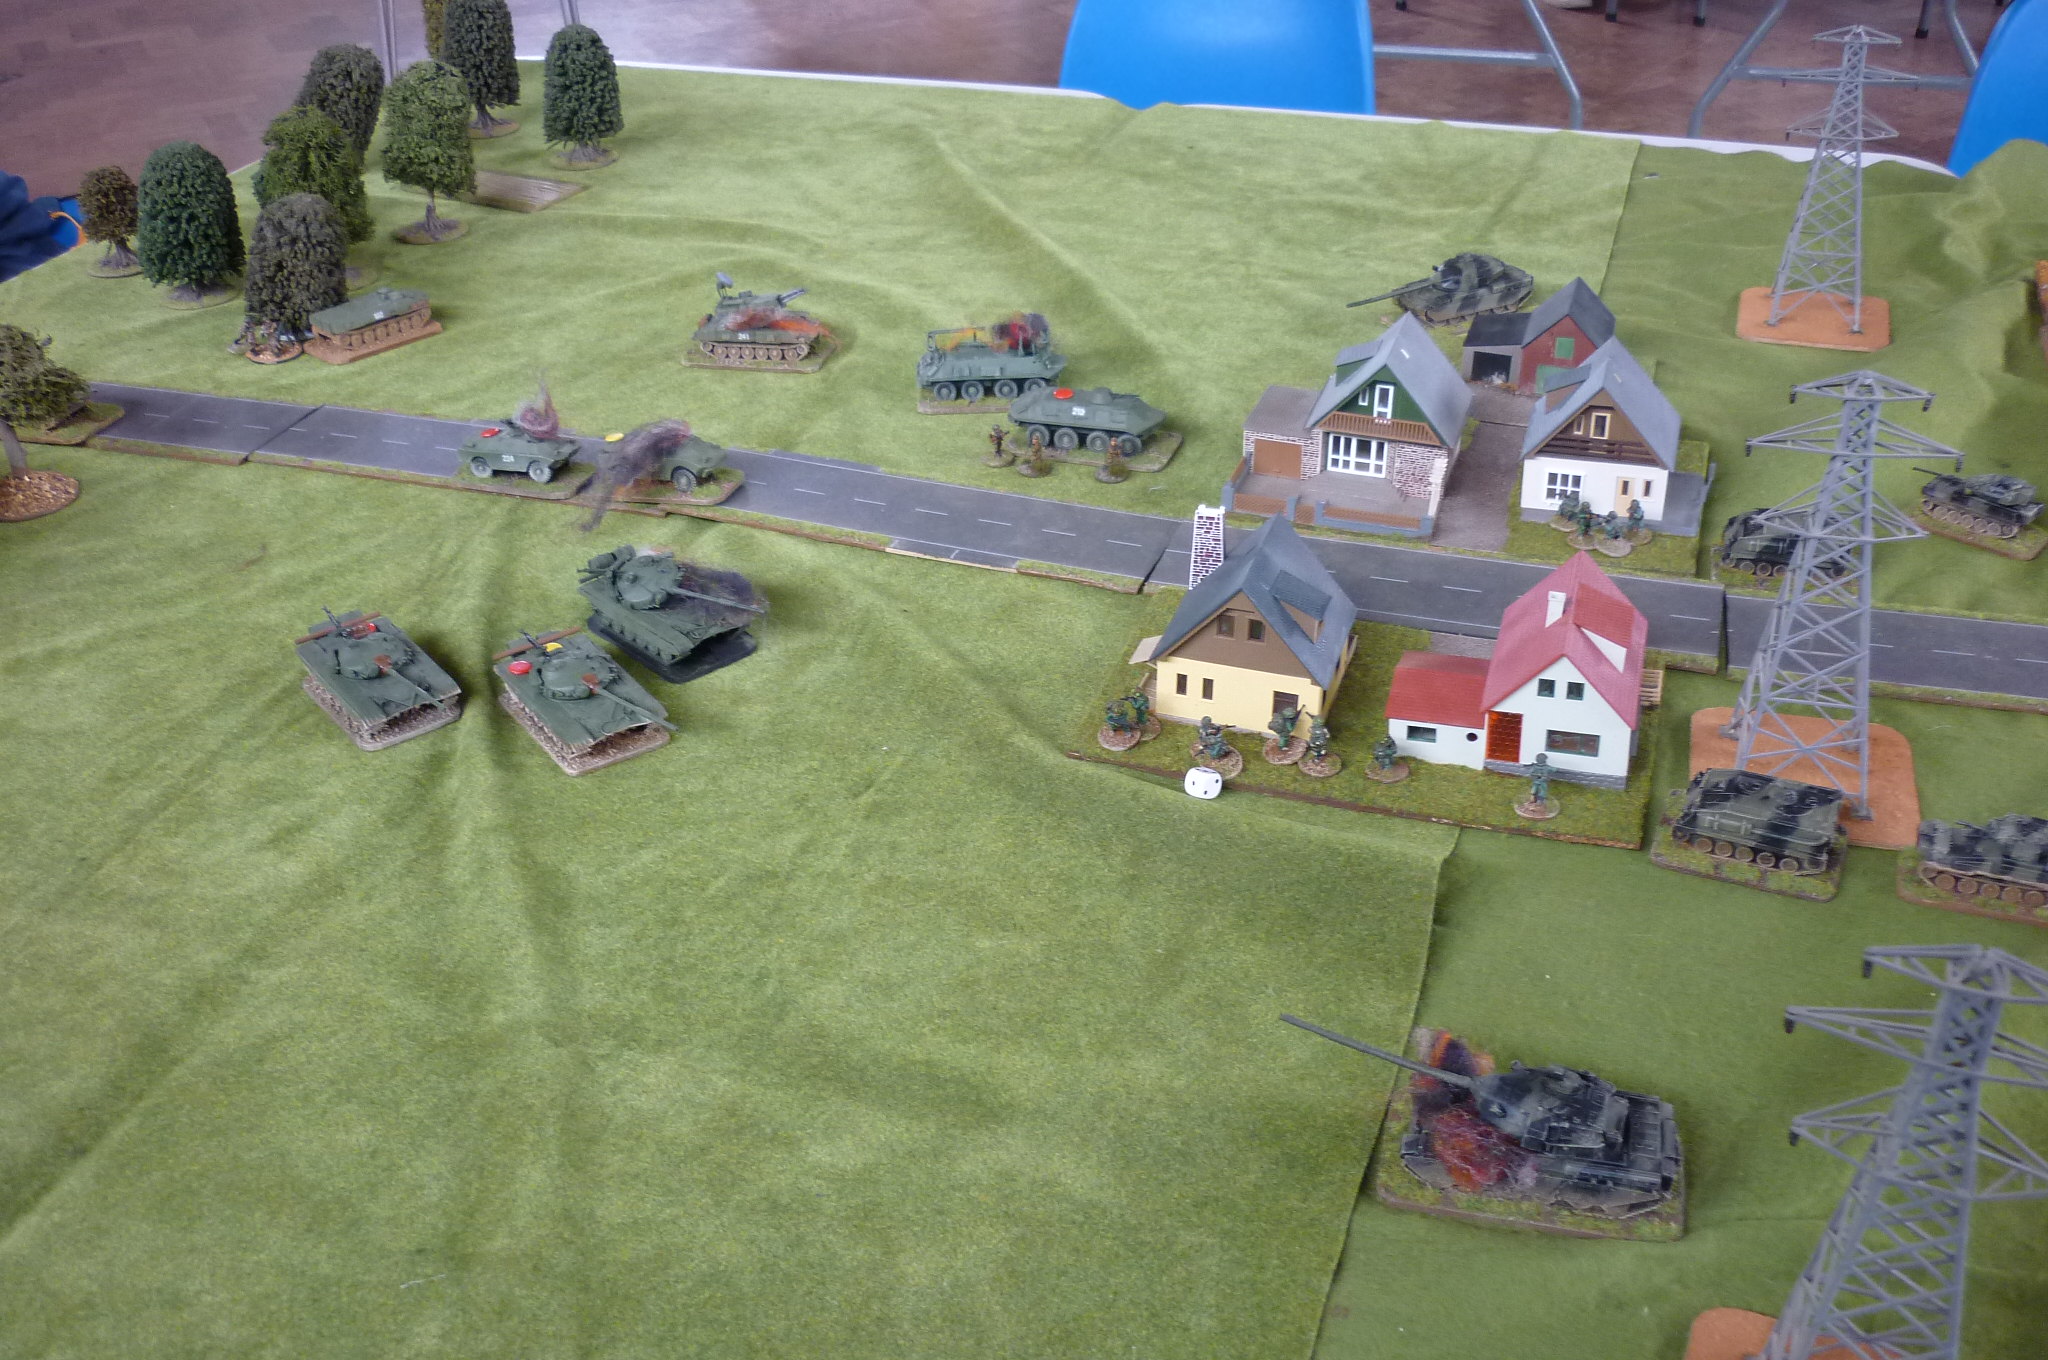
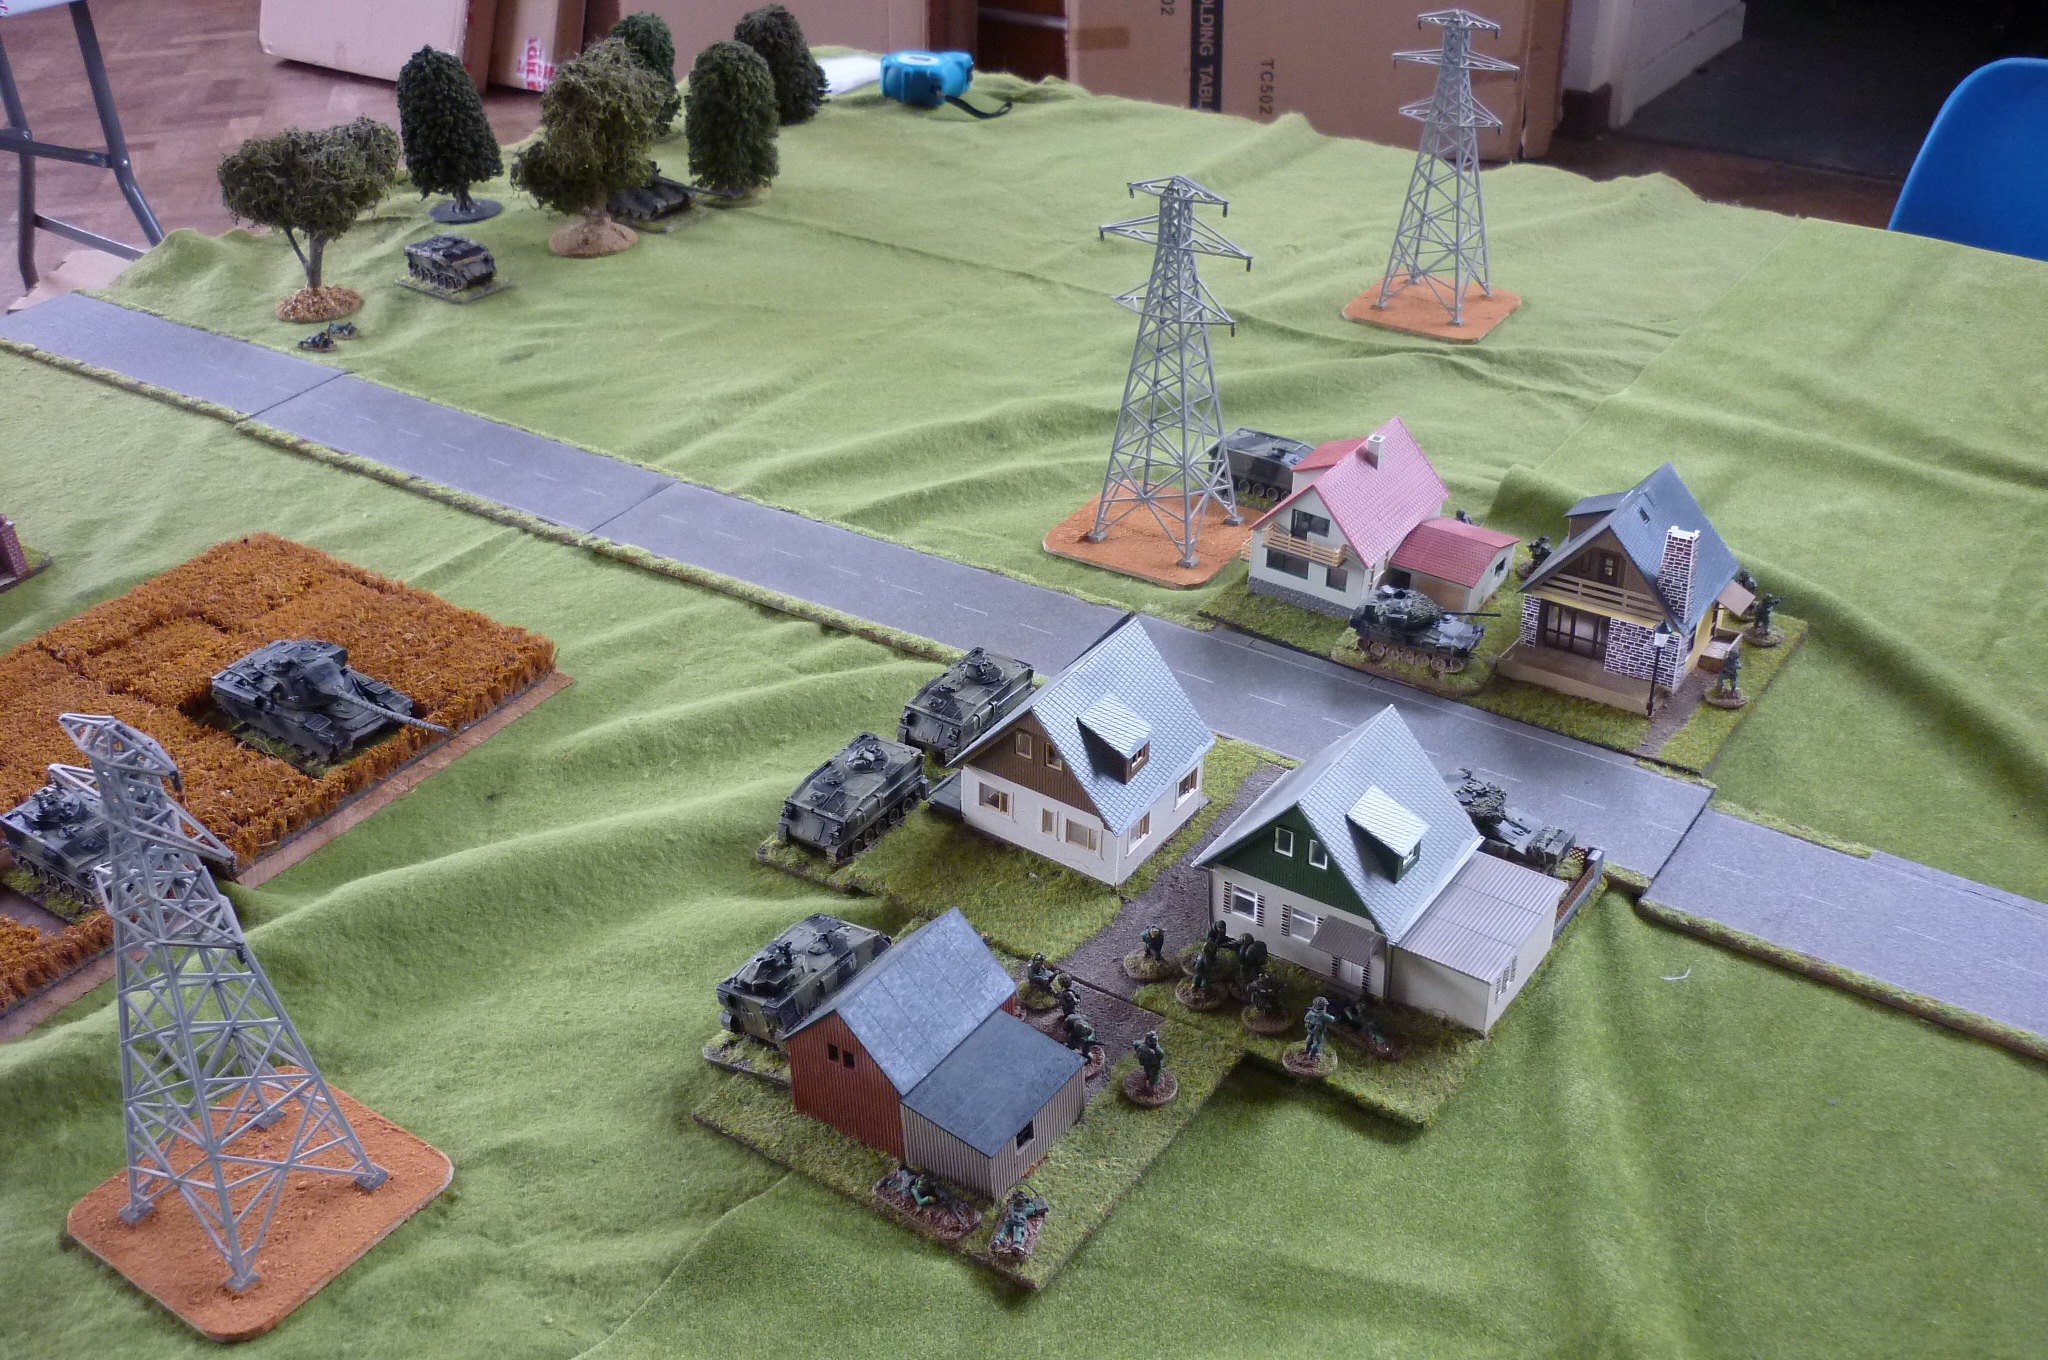
For this scenario it is set immediately before the bridge scenario that we played last time. Tony Baker played the NATO force and I played the WARPAC forces. The WARPAC forces was made up of an advance element and a main force. The NATO element was a battlegroup.  For this I drove my advance force down the main road only leaving it once contact had been made. The Infantry pushed to the town to force their way in. The armour pushed forward to press the baseline. The NATO forces where deployed with the Tank Troop at the baseline and the infantry in the village. After four turns the main WARPAC forces started deploying to the table. By turn six it was all done and dusted.


Game 2 
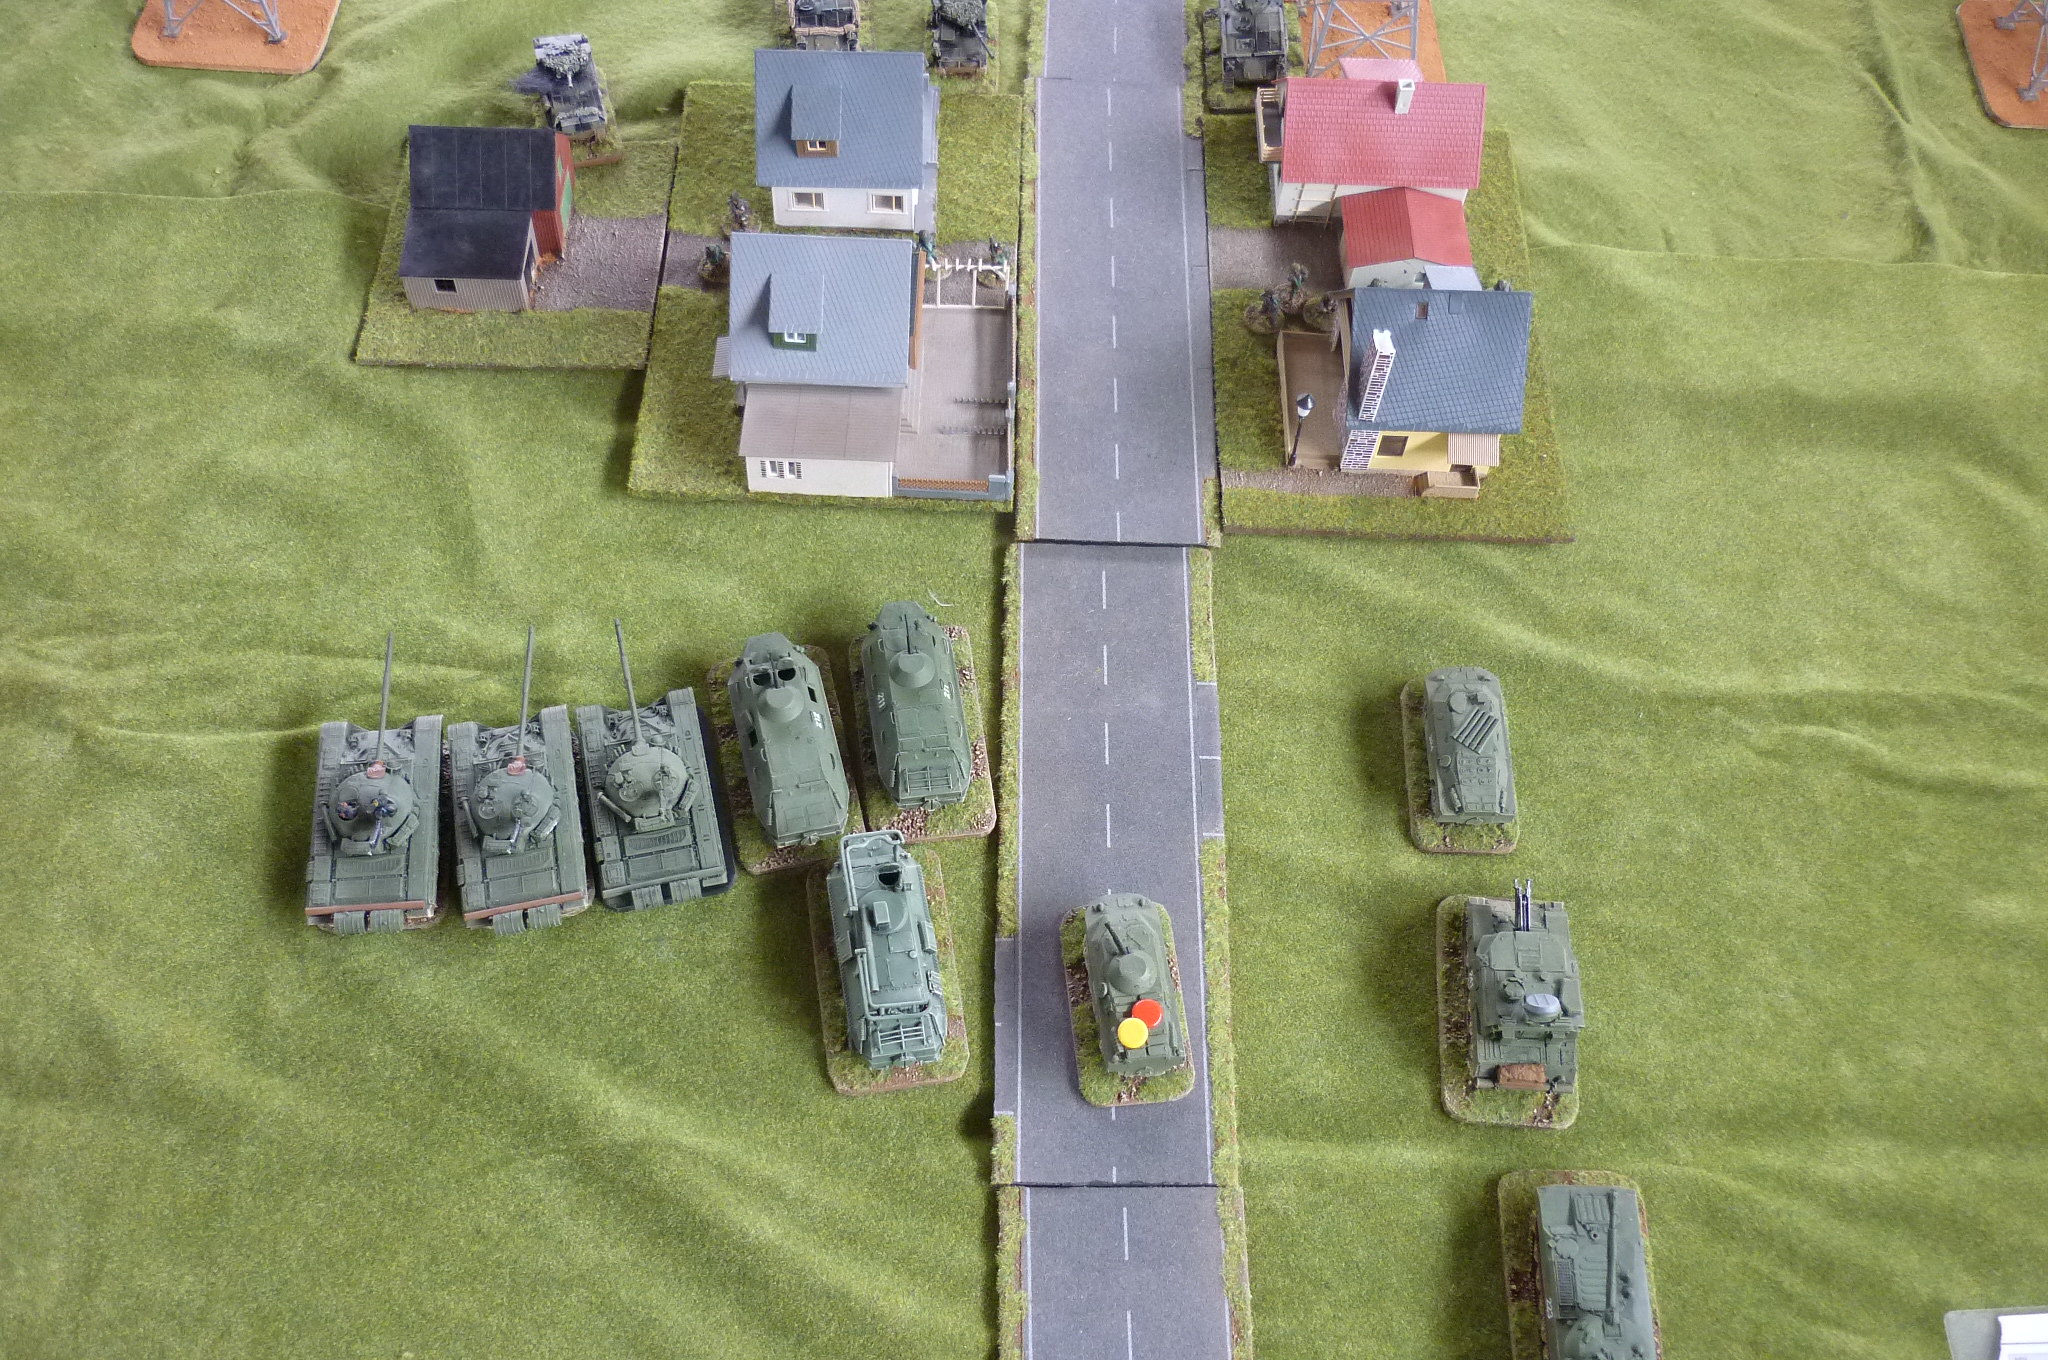
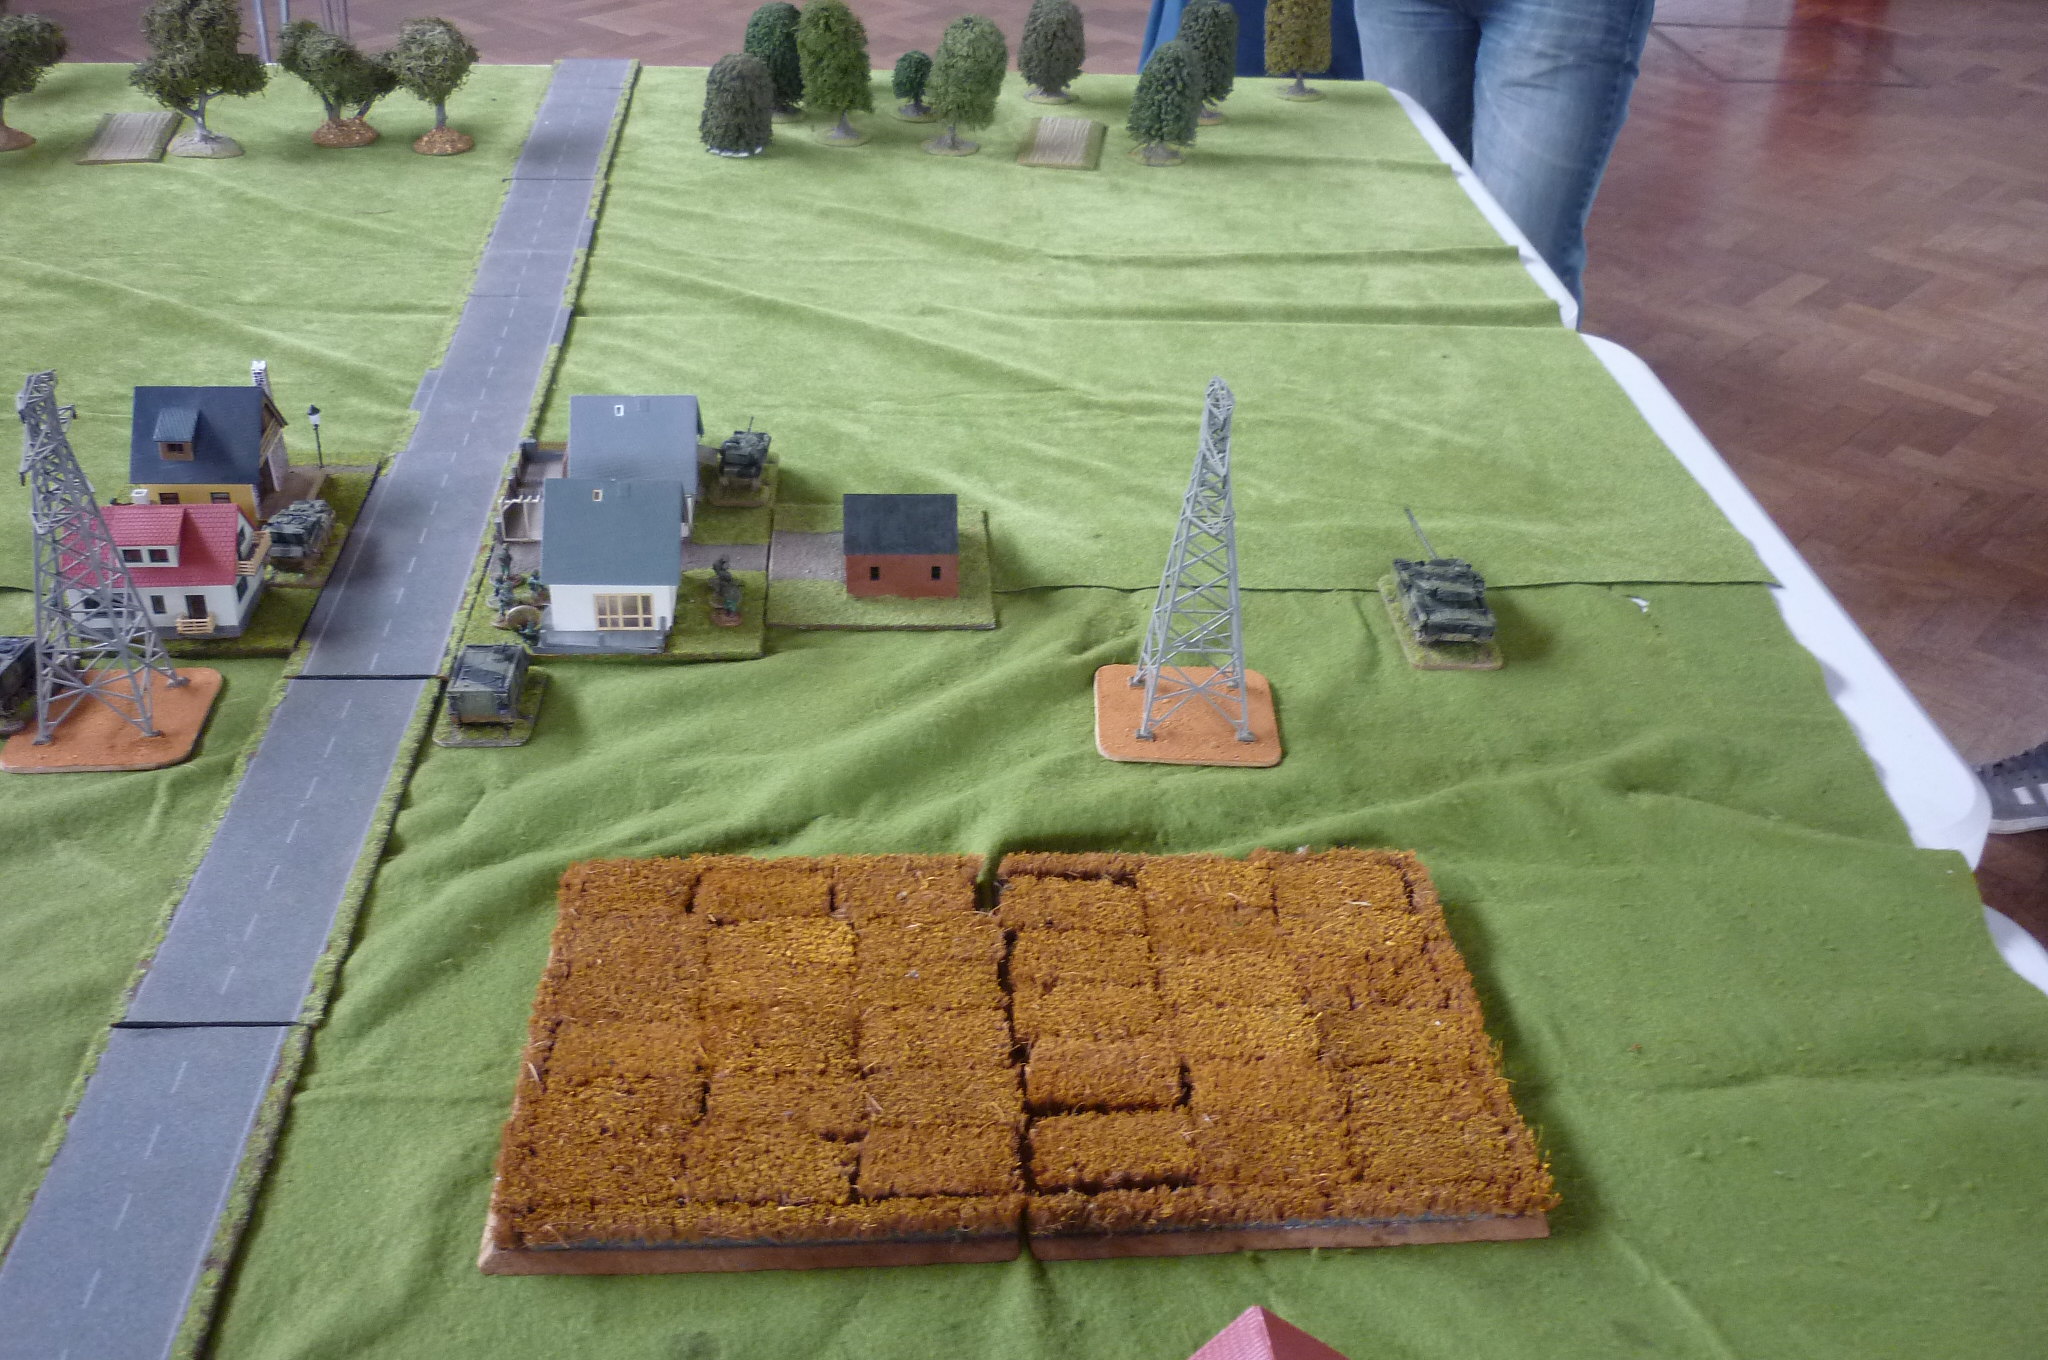
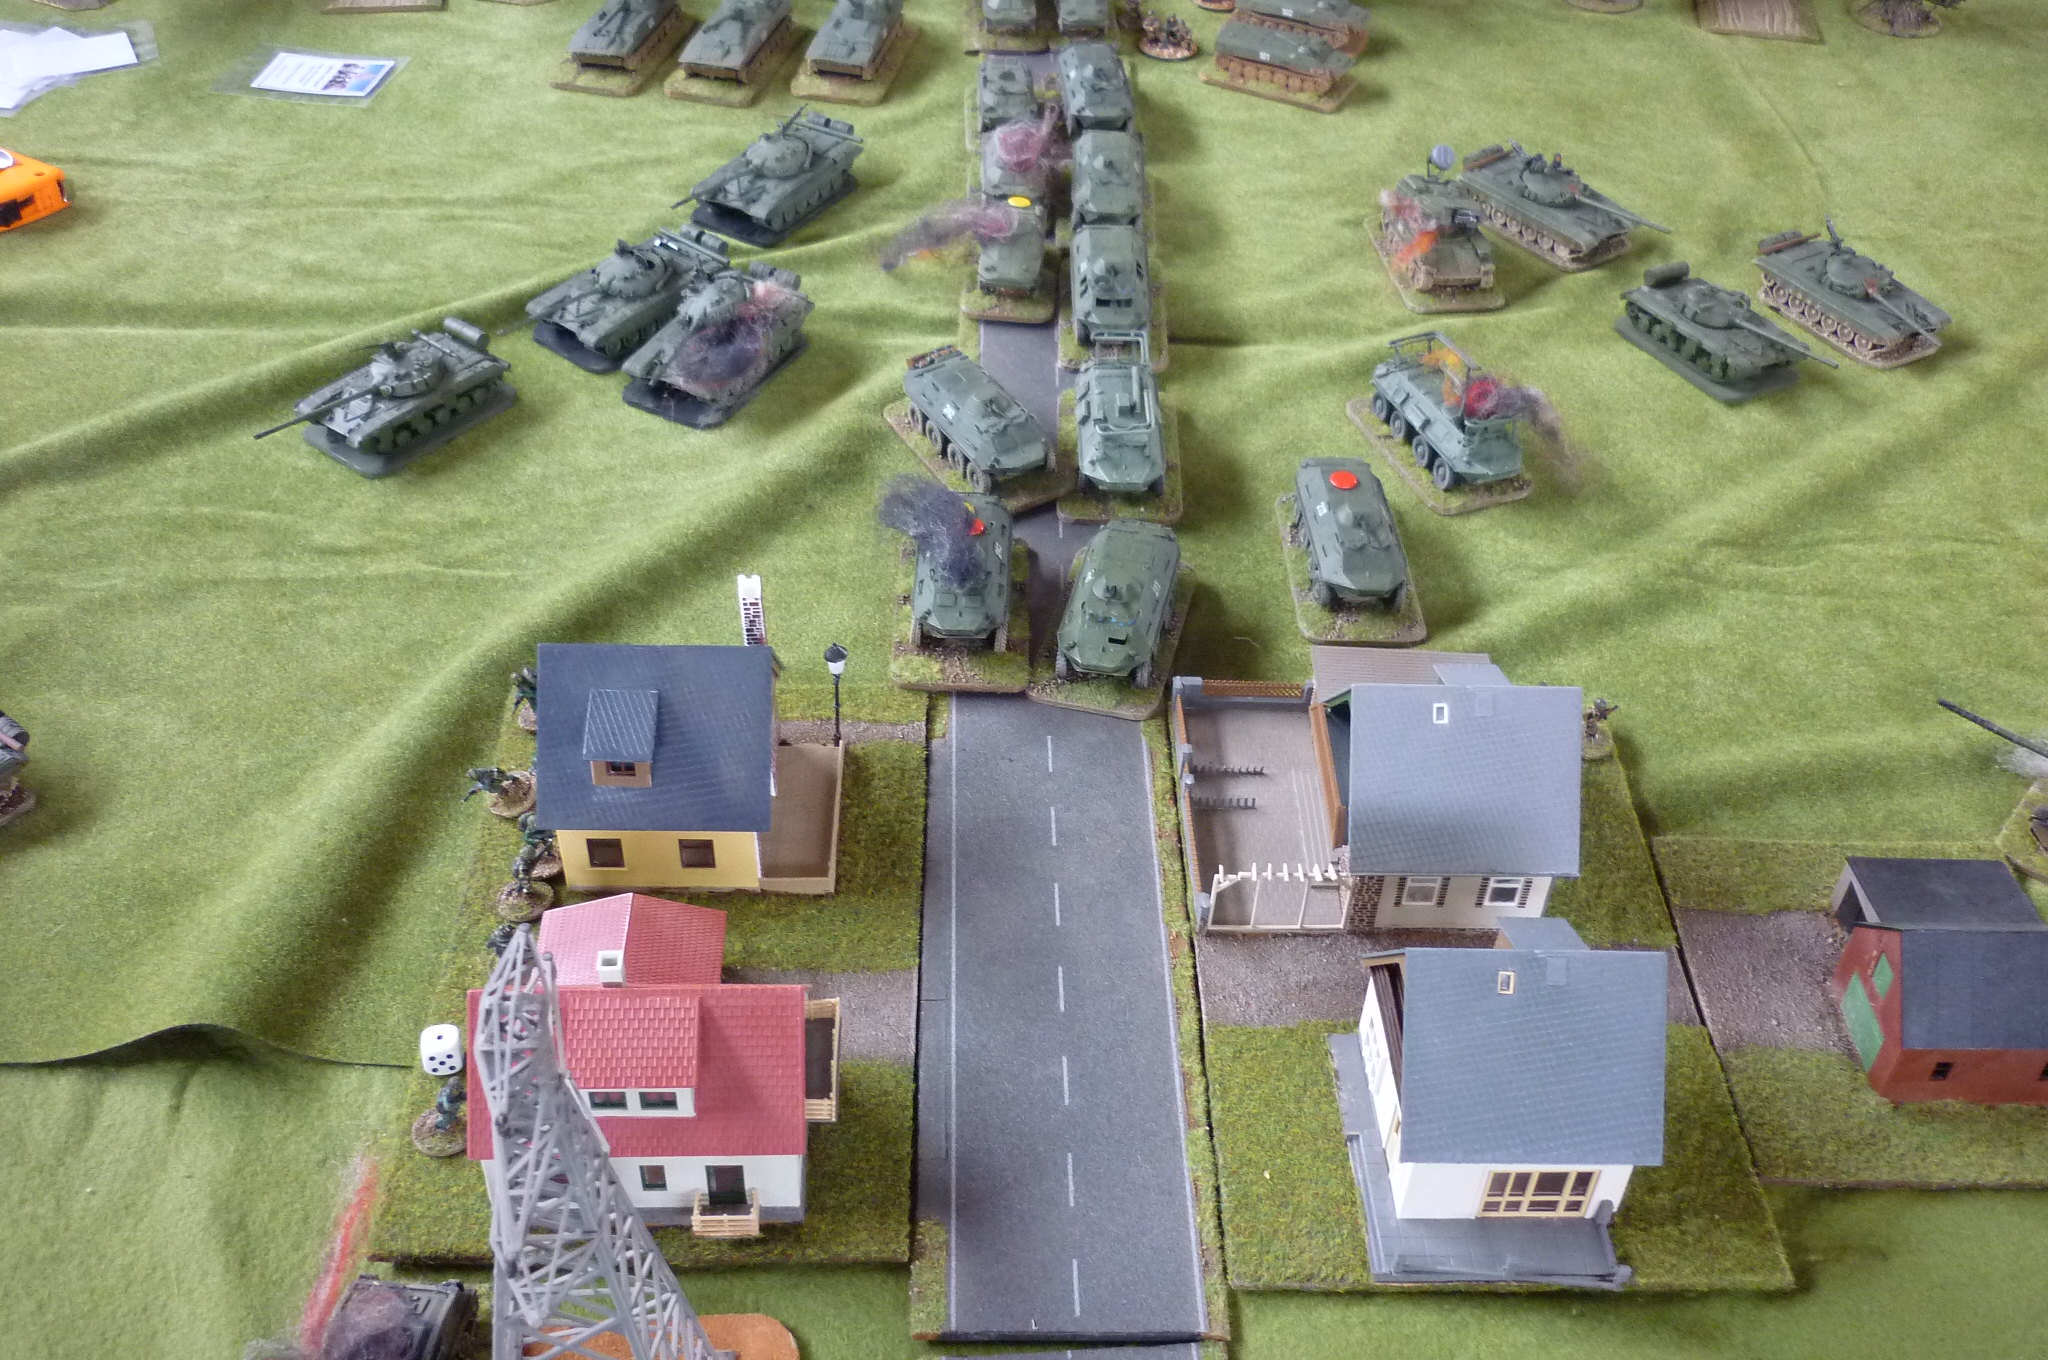
This was an exact copy of the previous game but with the payers reversed. Tony Baker played the WARPAC forces and I played NATO forces. For this I deployed the NATO forces with the Tank Troop quite far forward too allow quick and early contact.  Again after four turns the main WARPAC forces started deploying onto the table and by turn six the game was complete.


Game 3
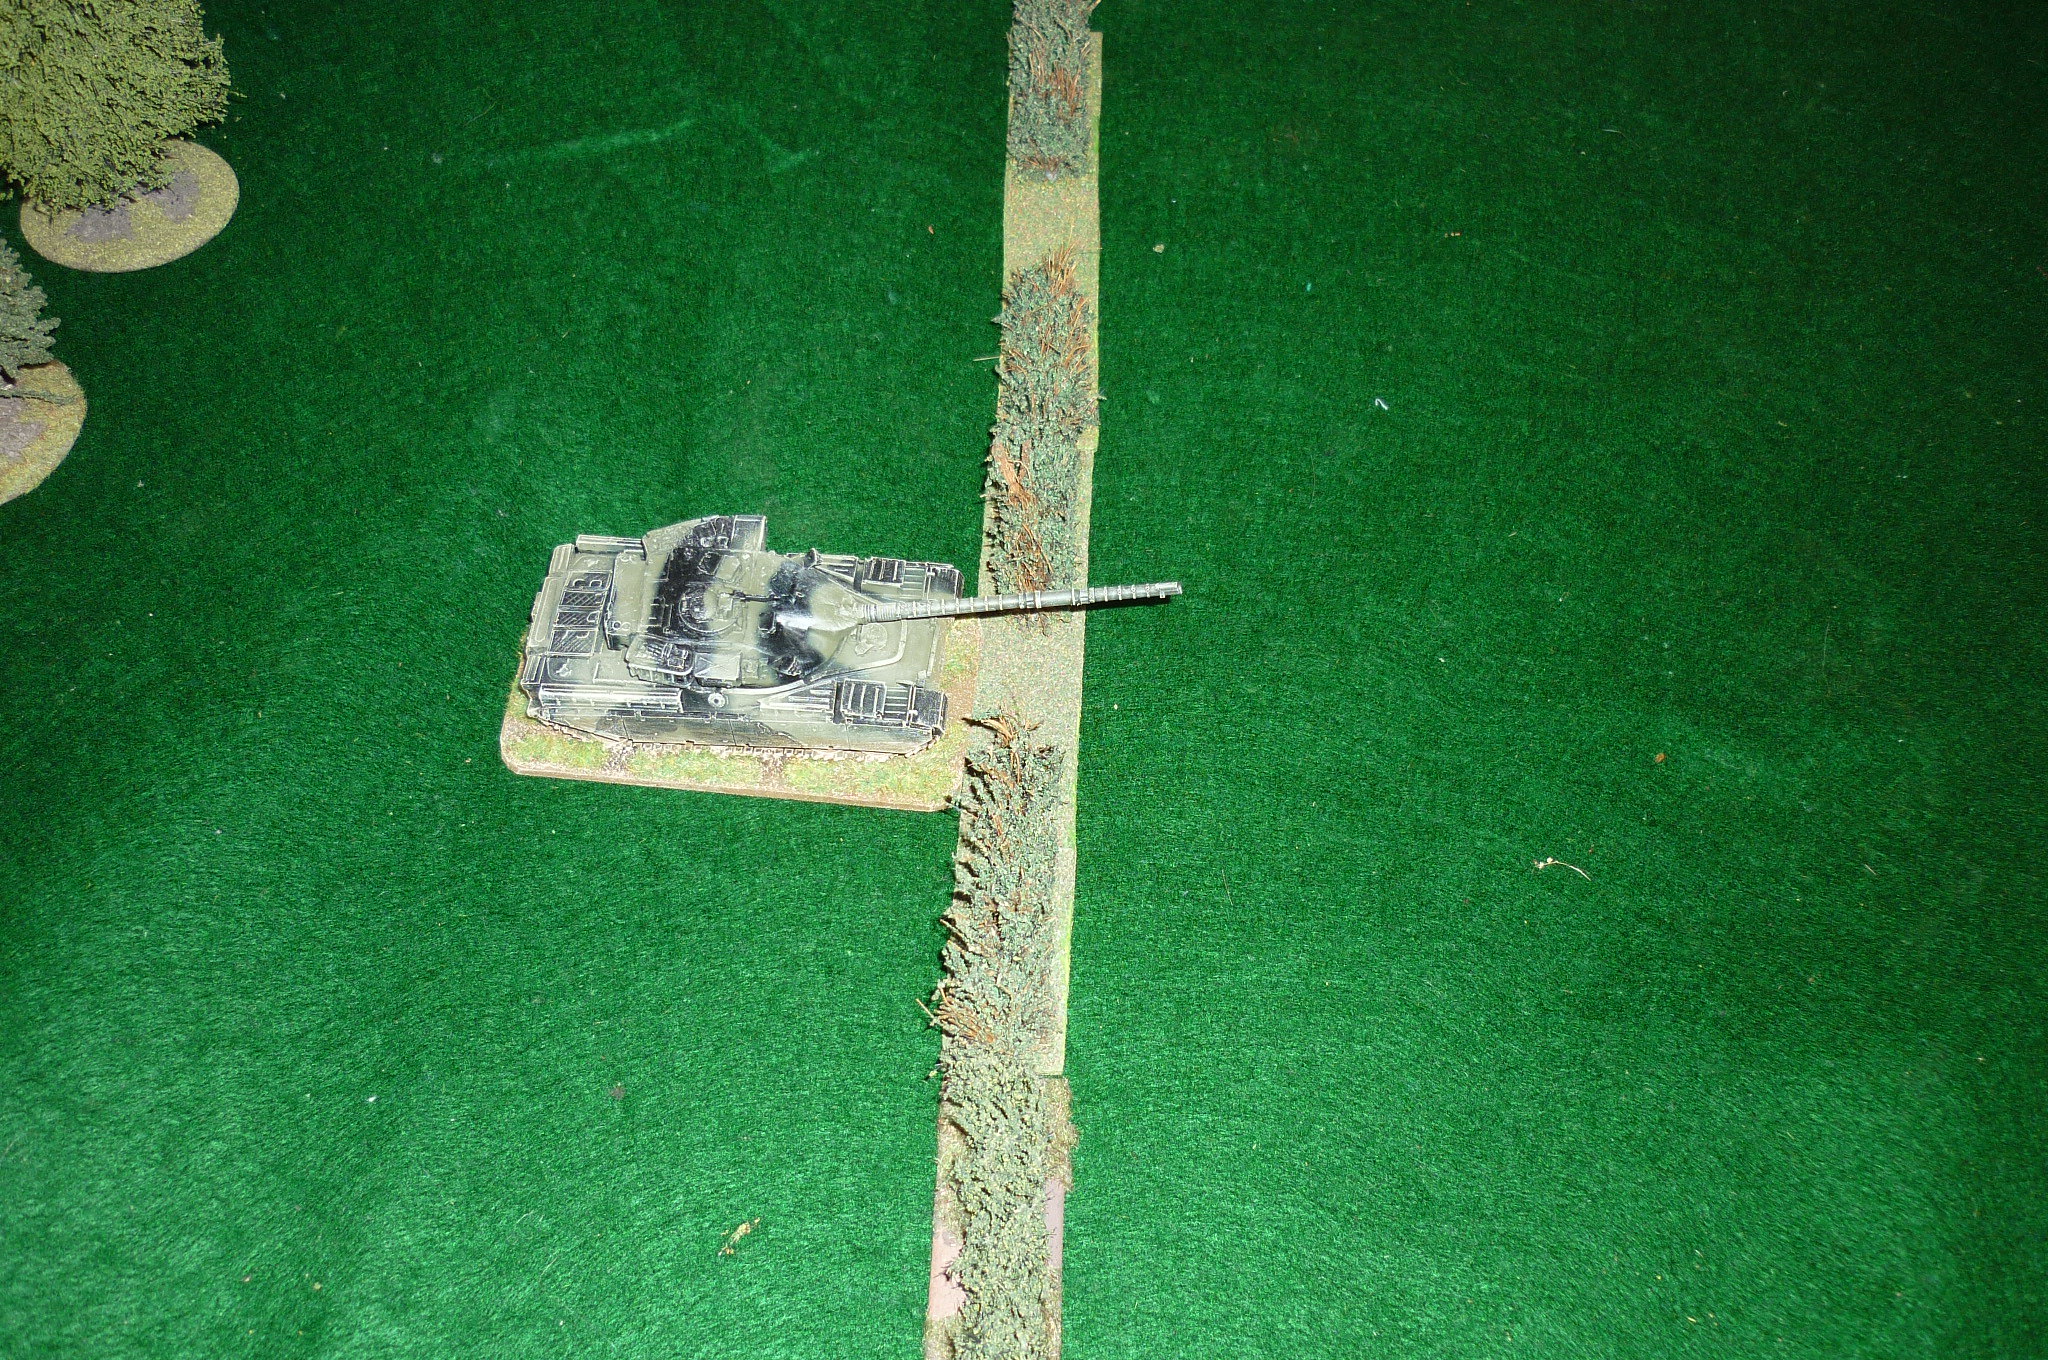
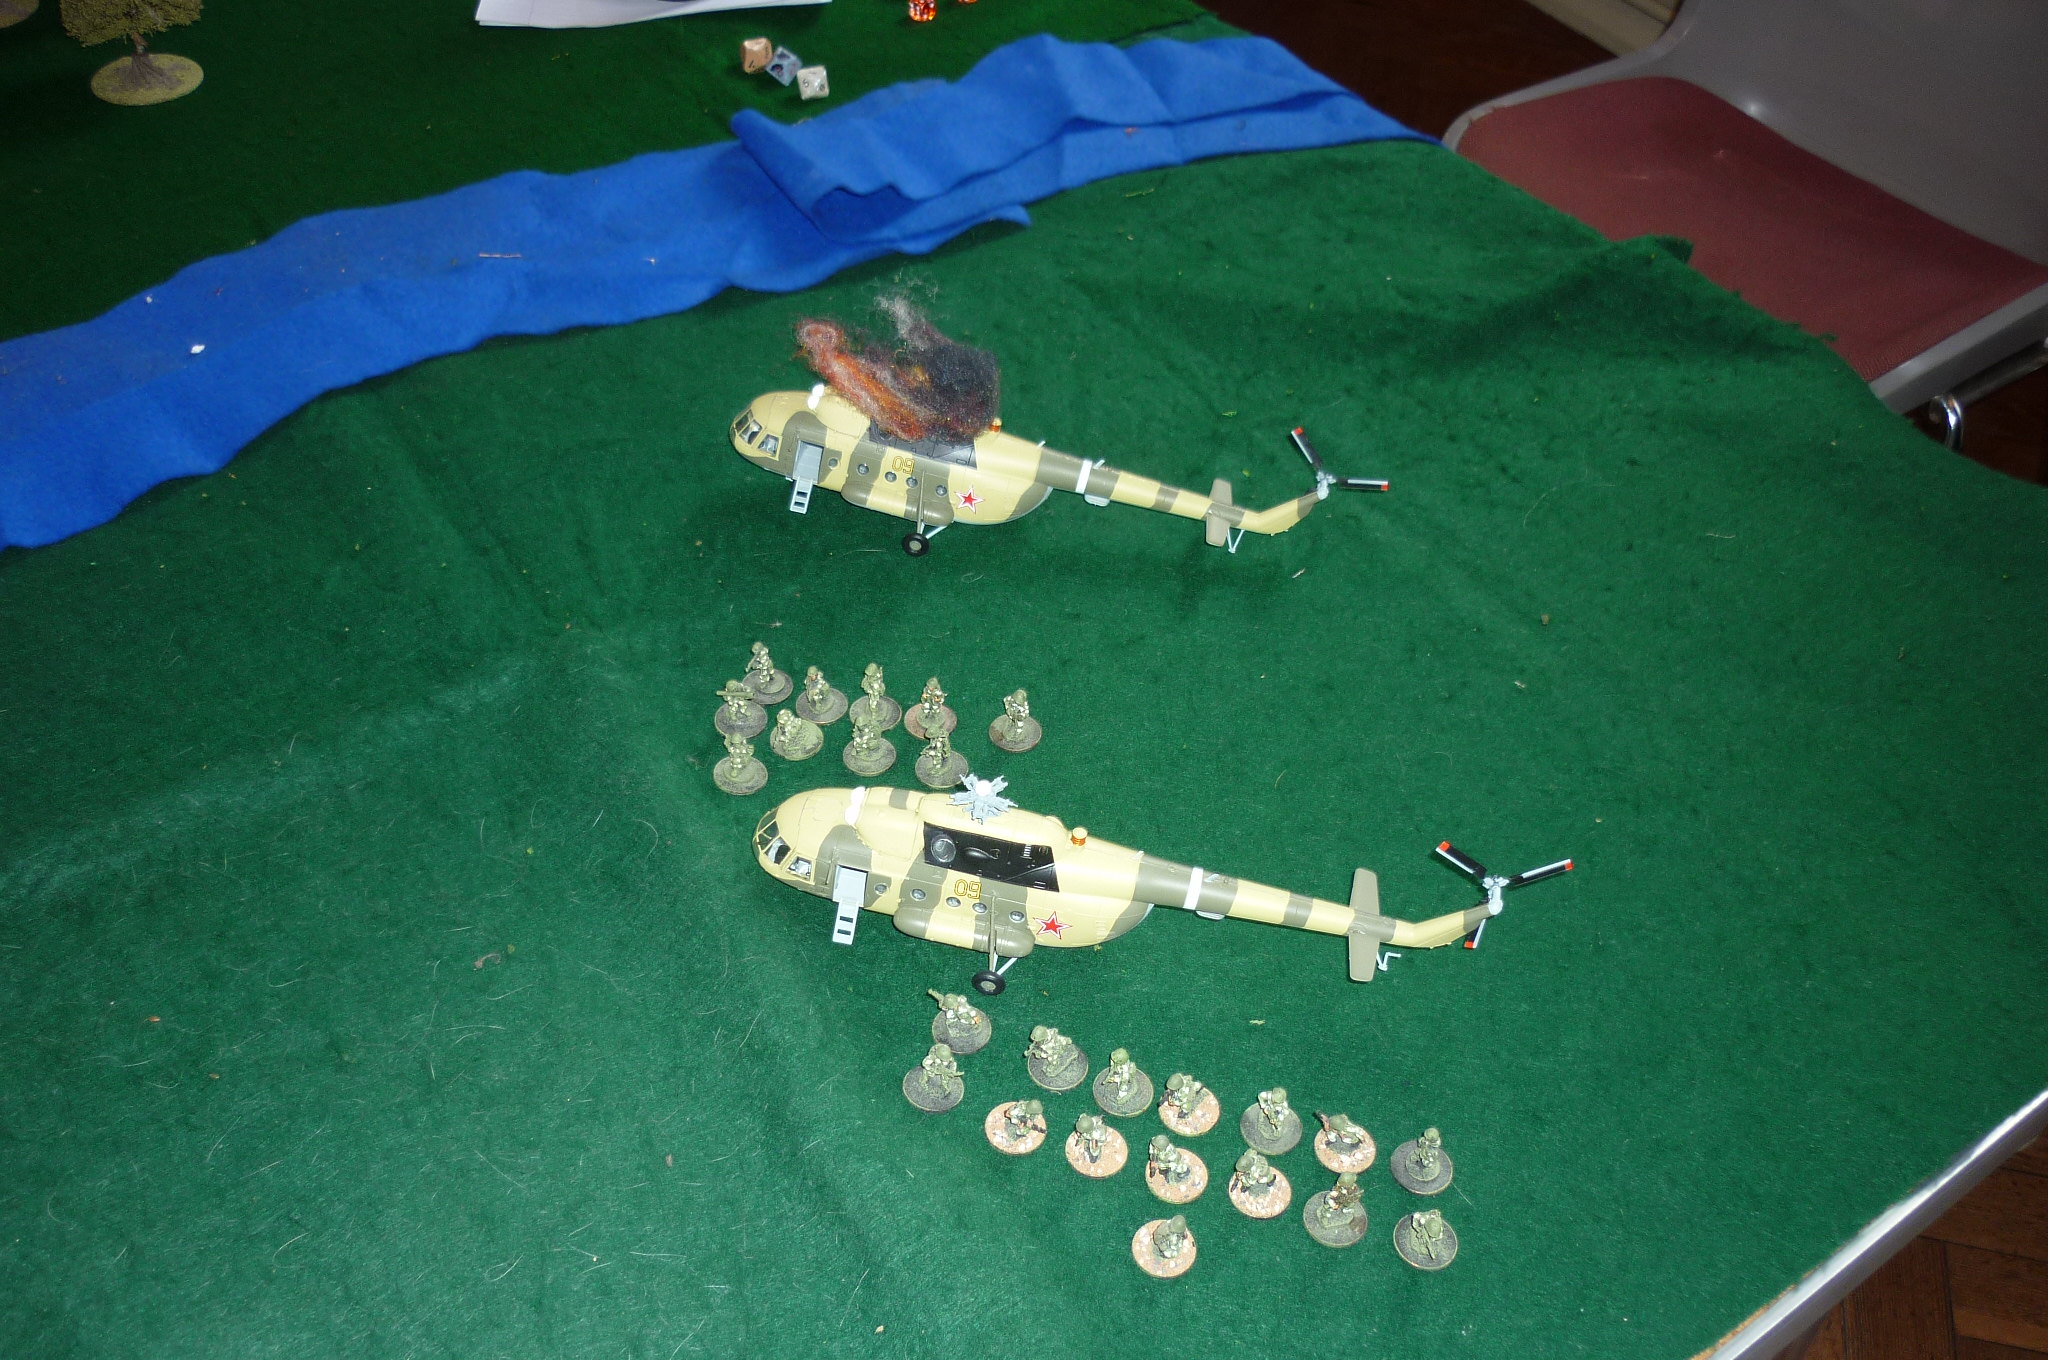
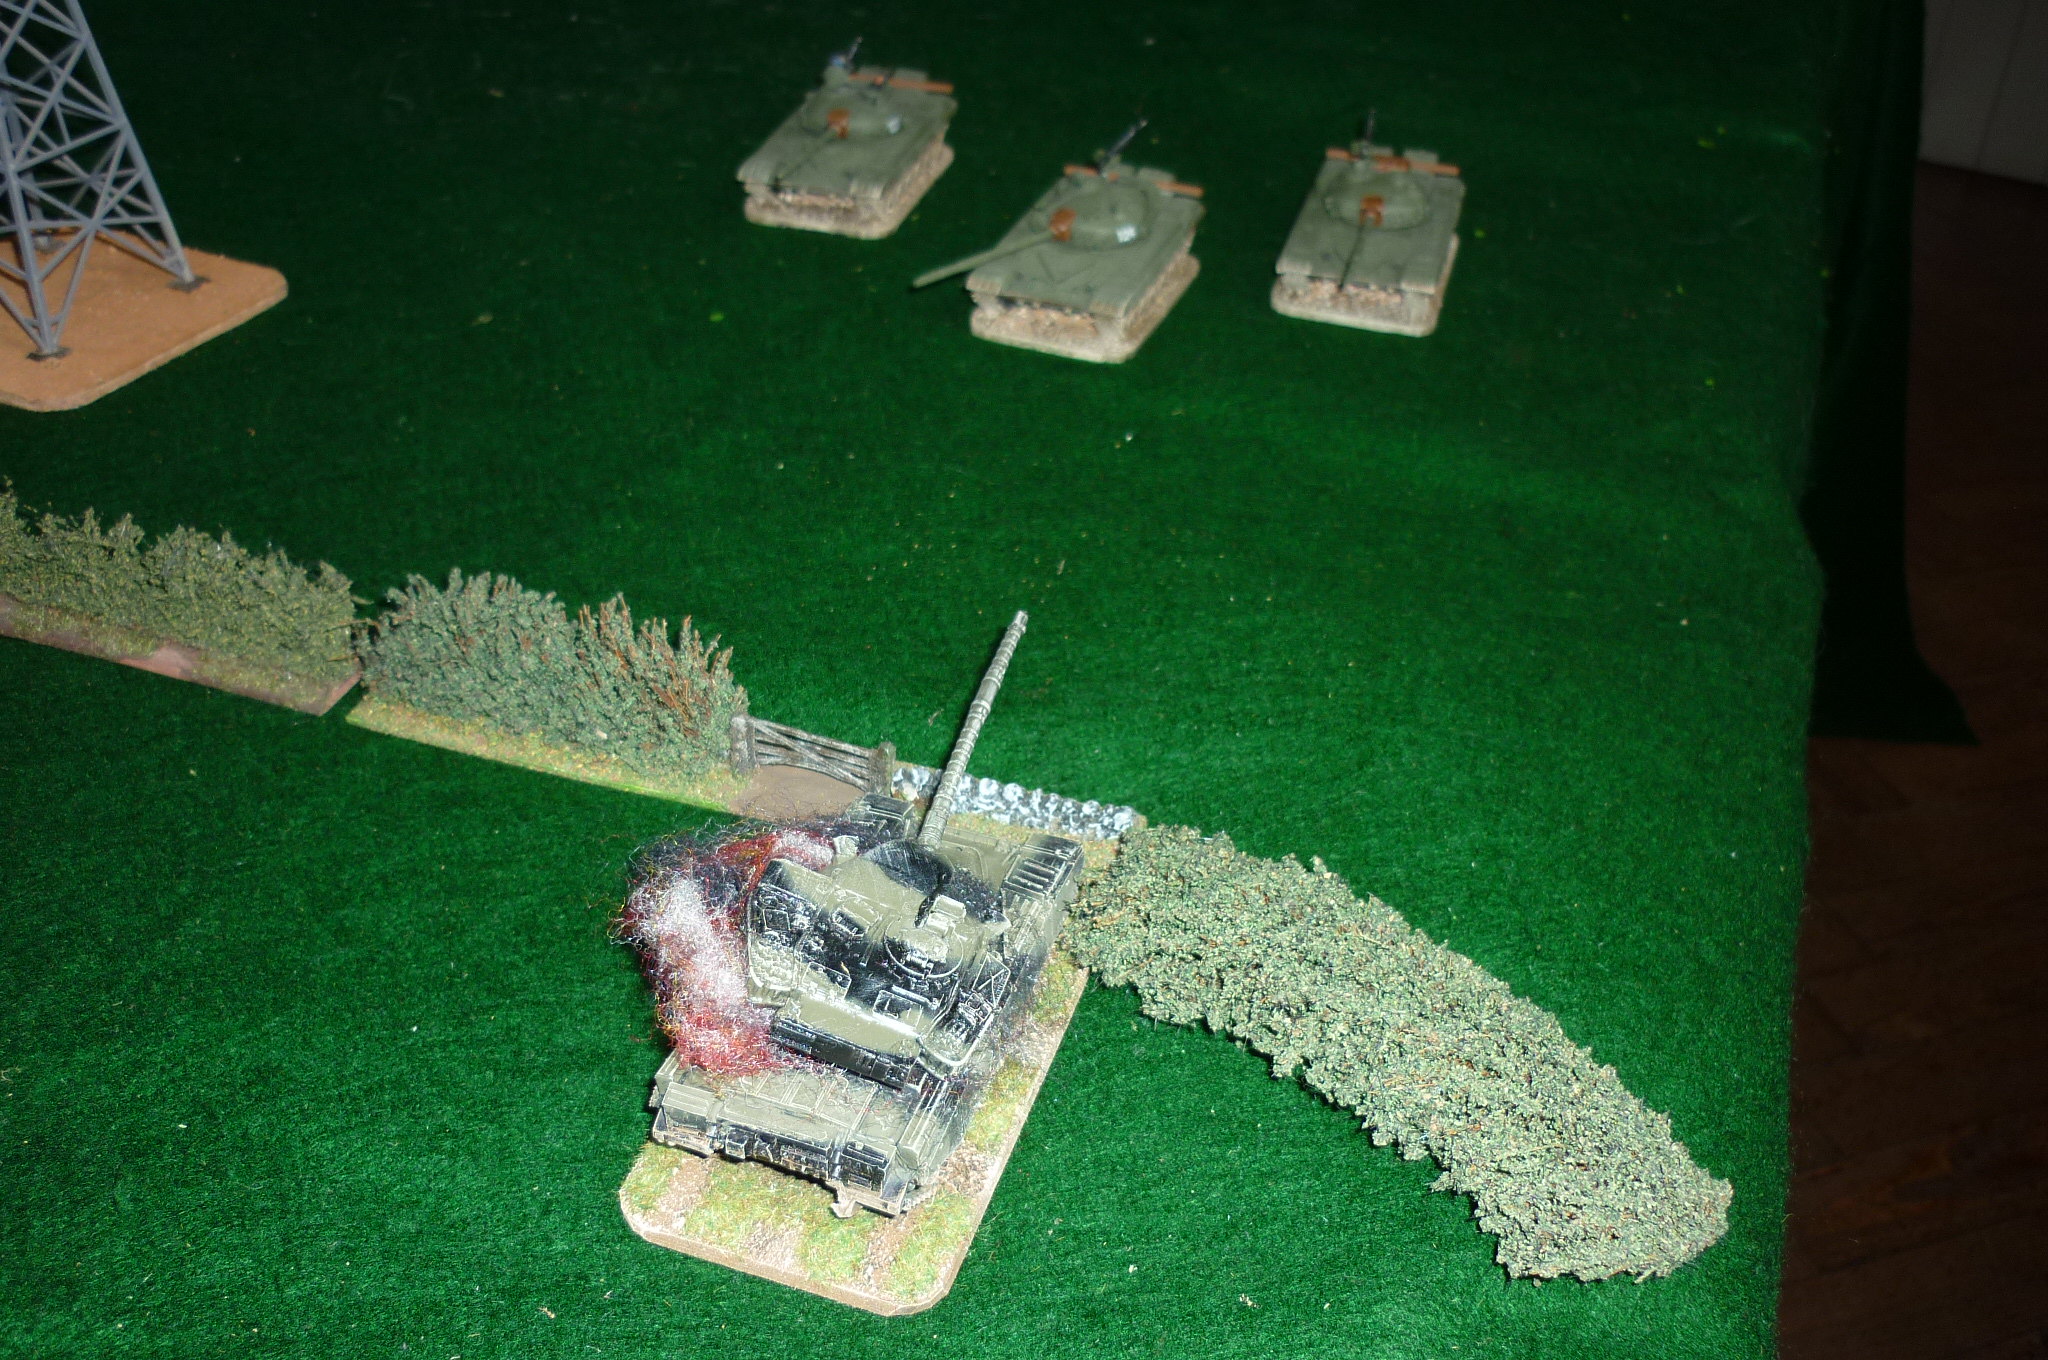
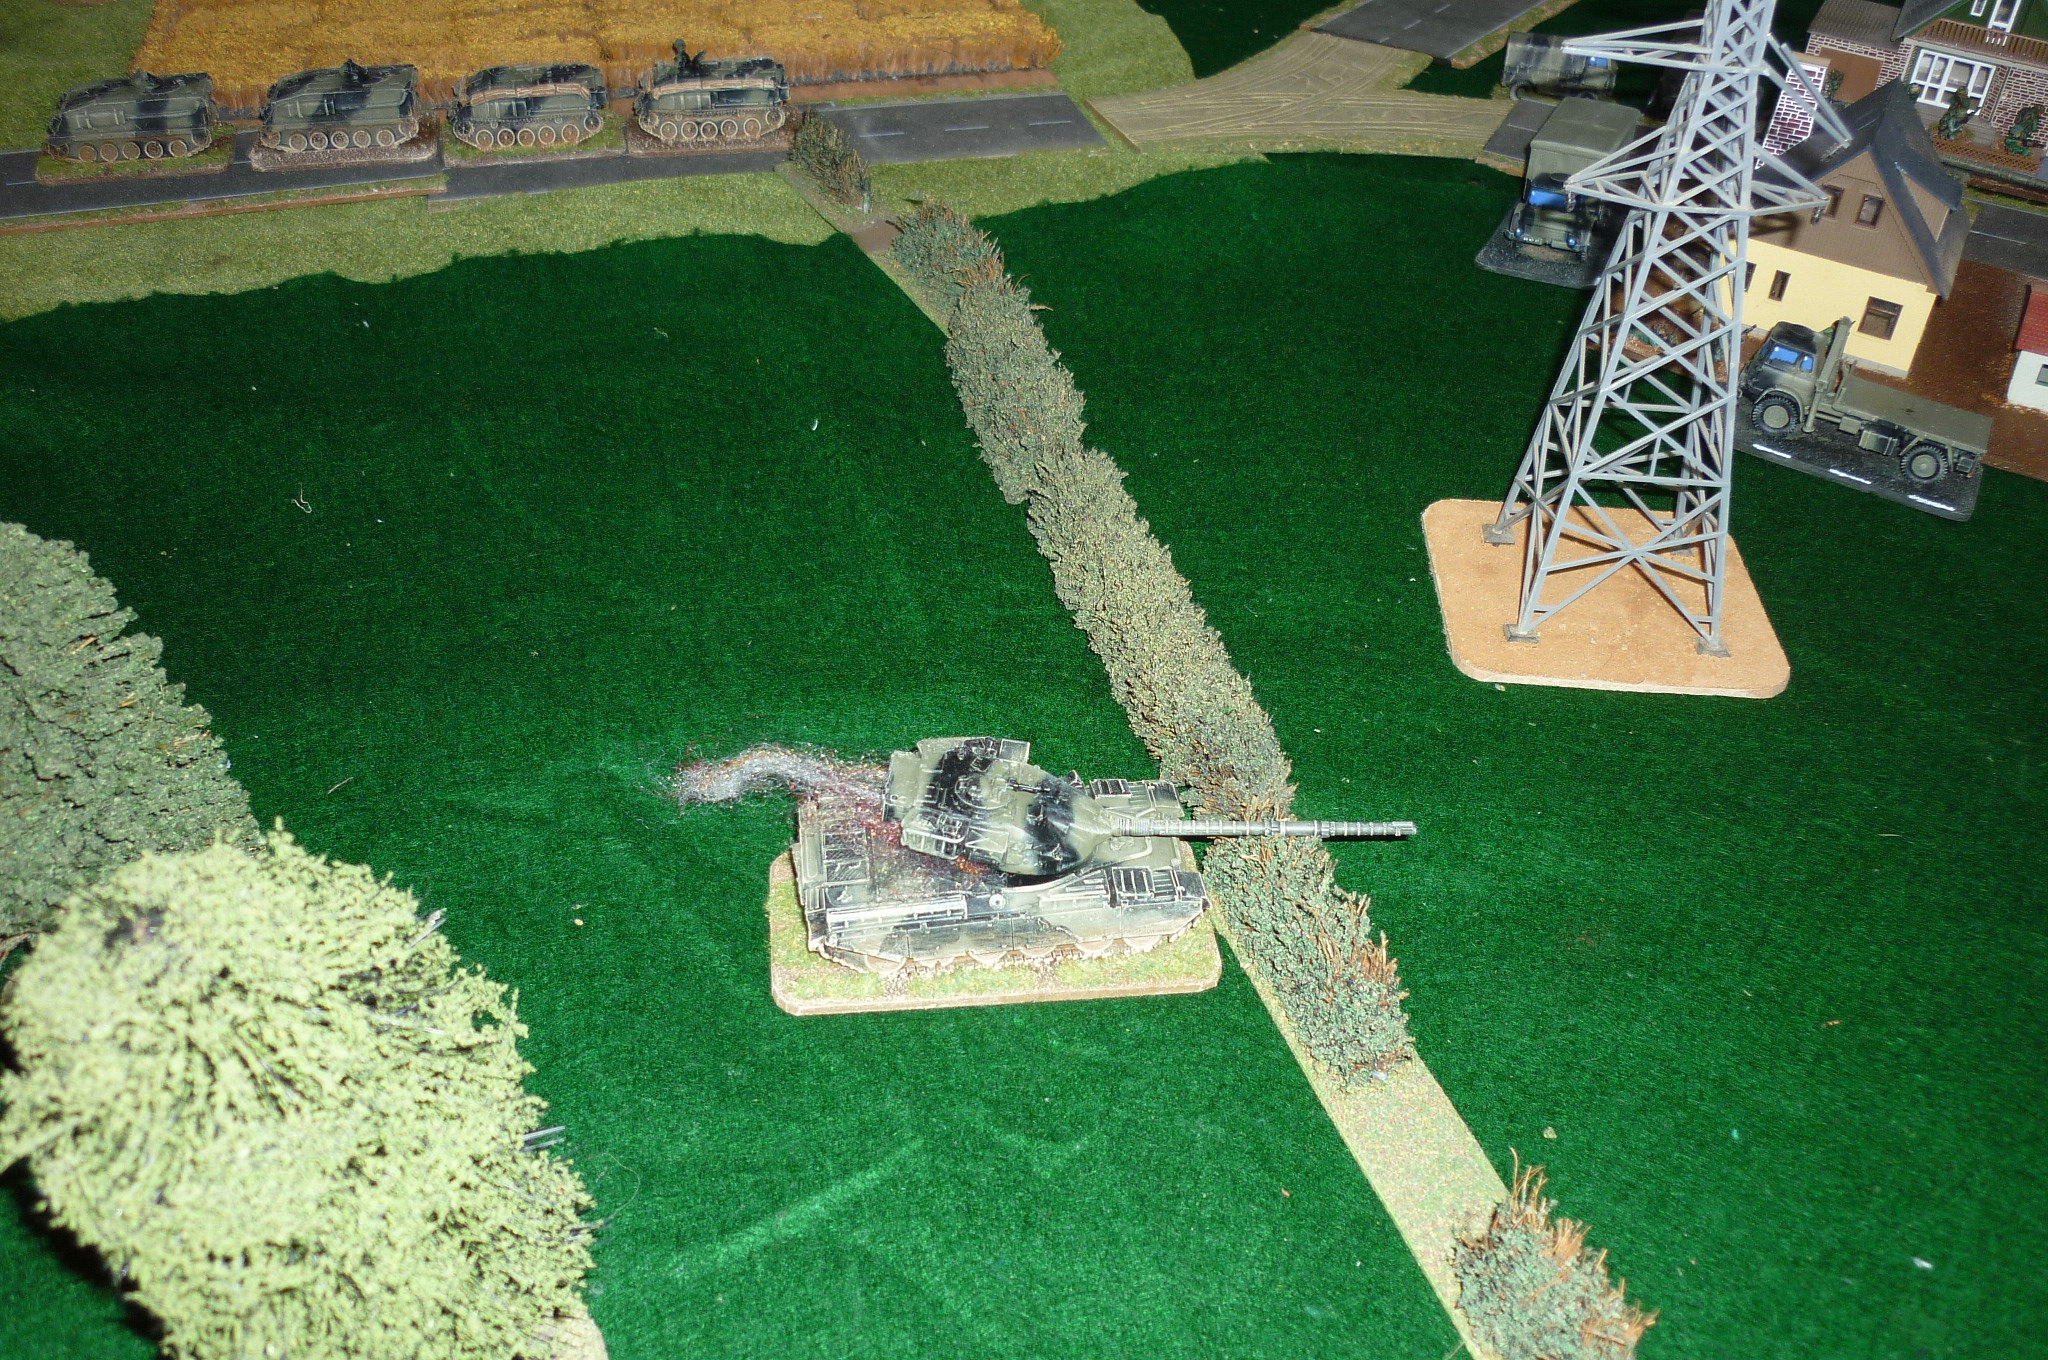
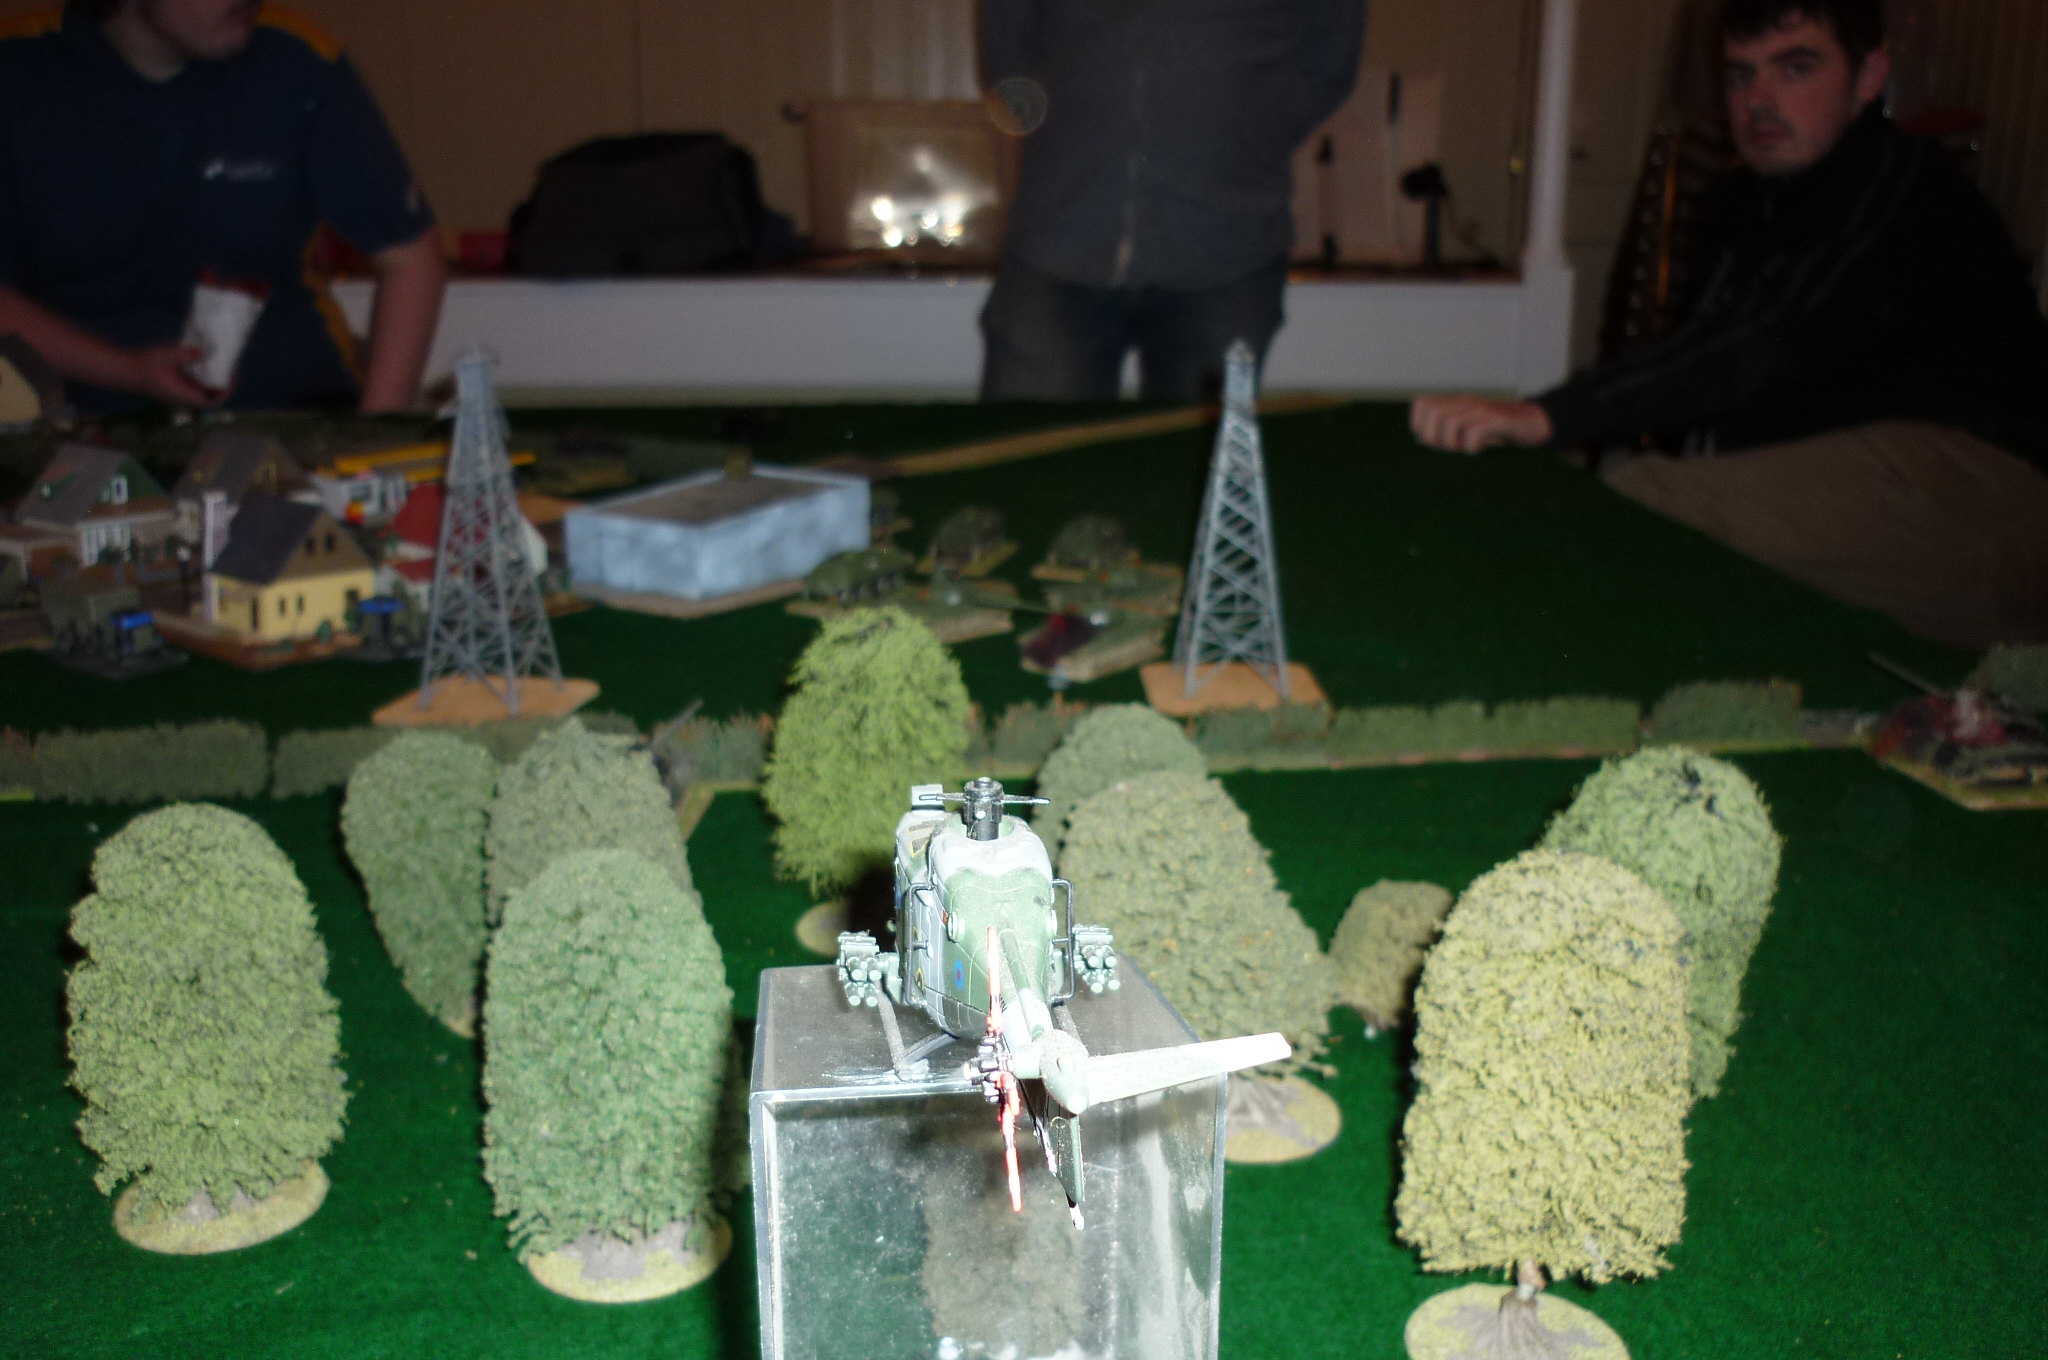
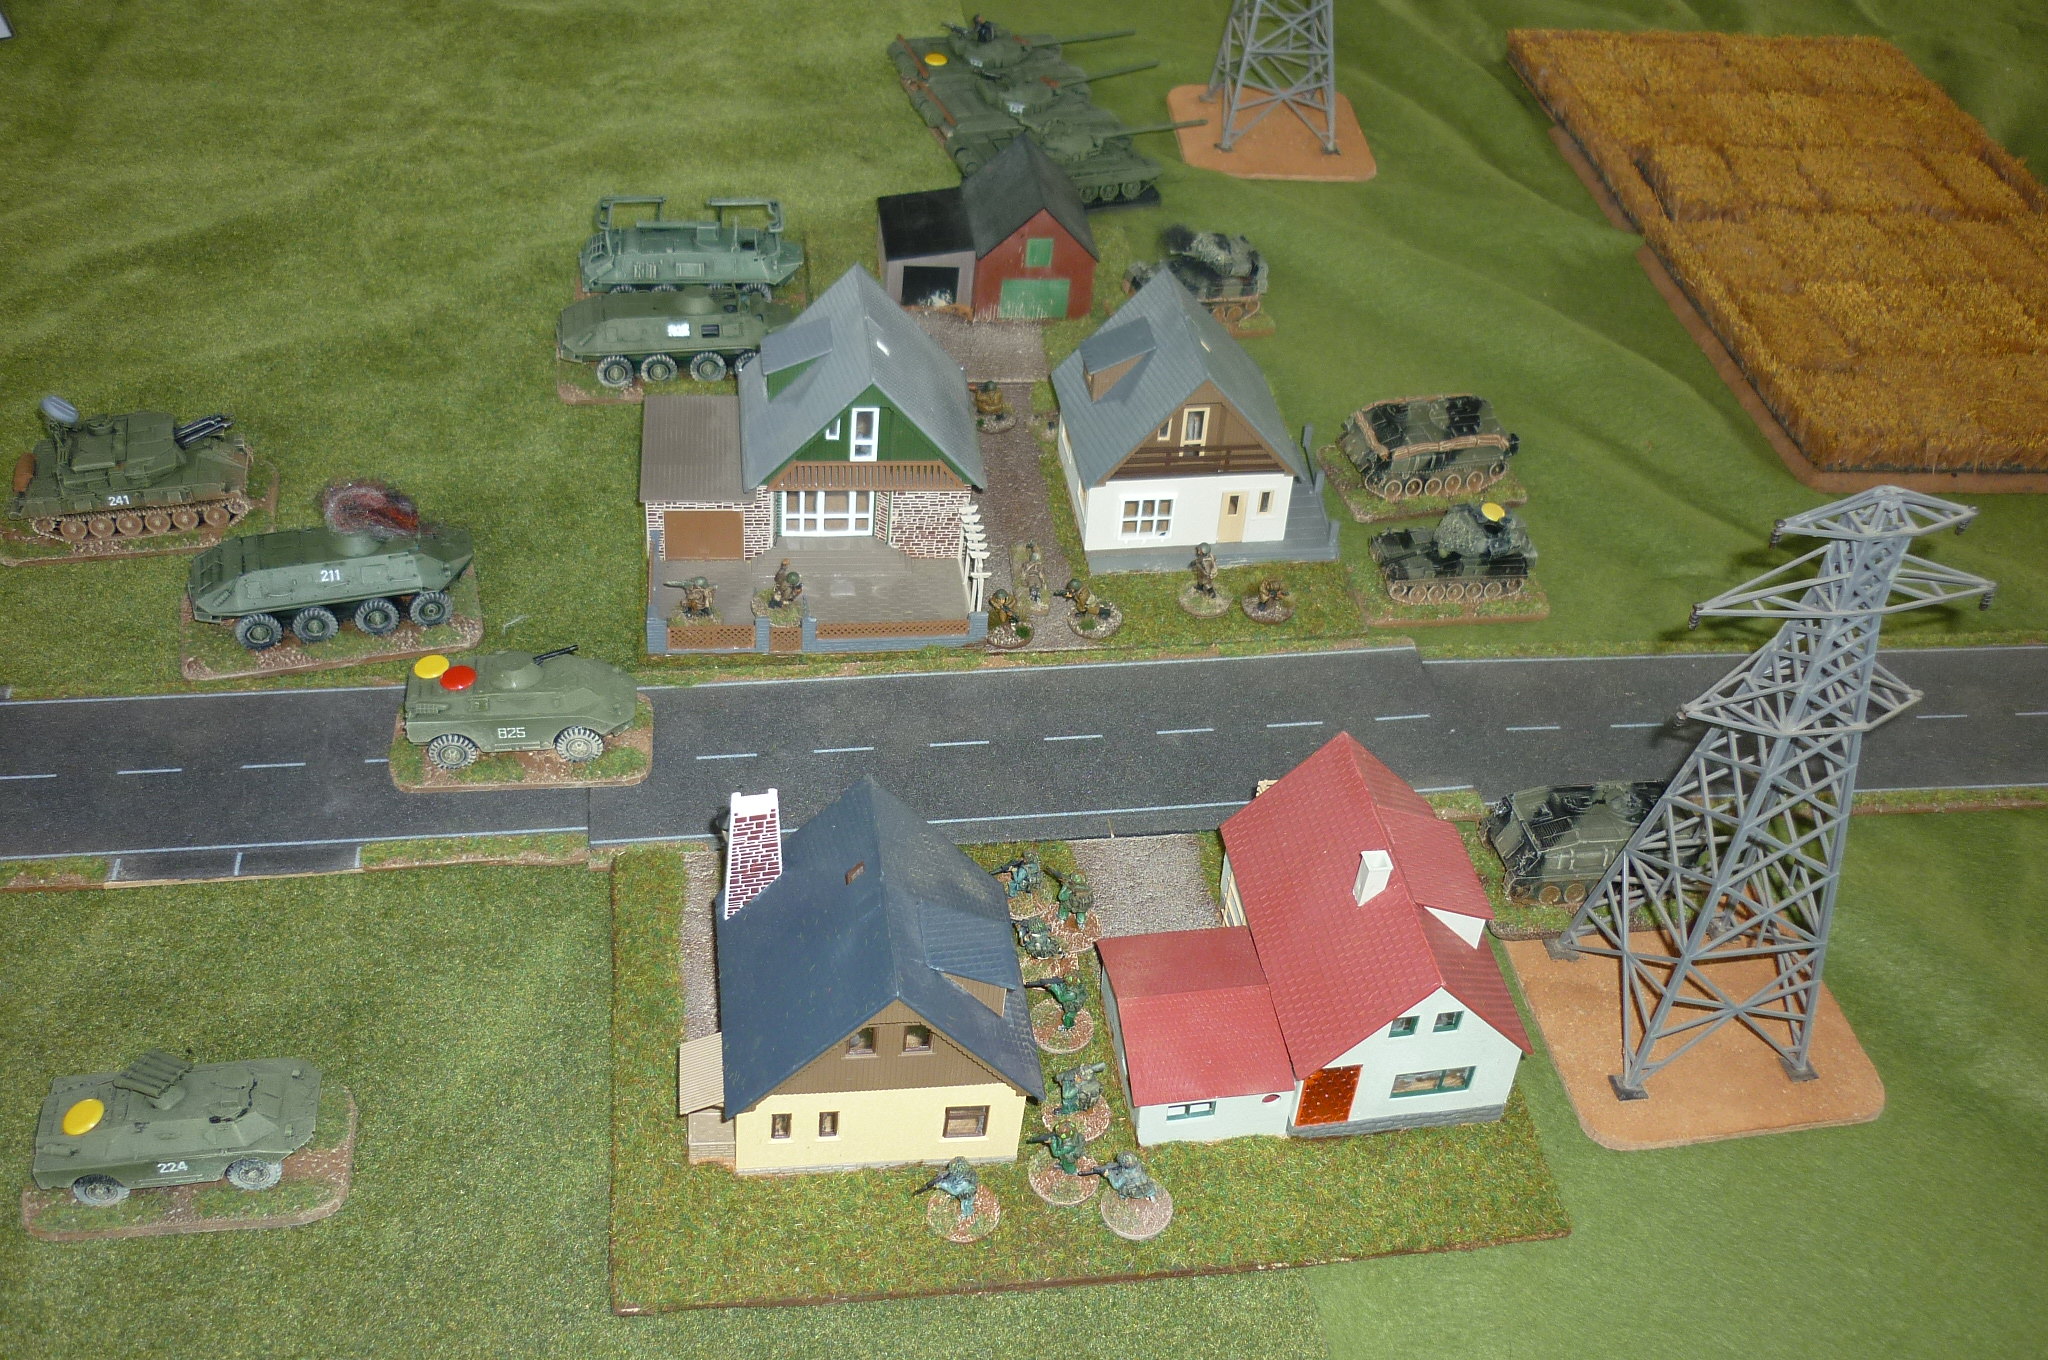
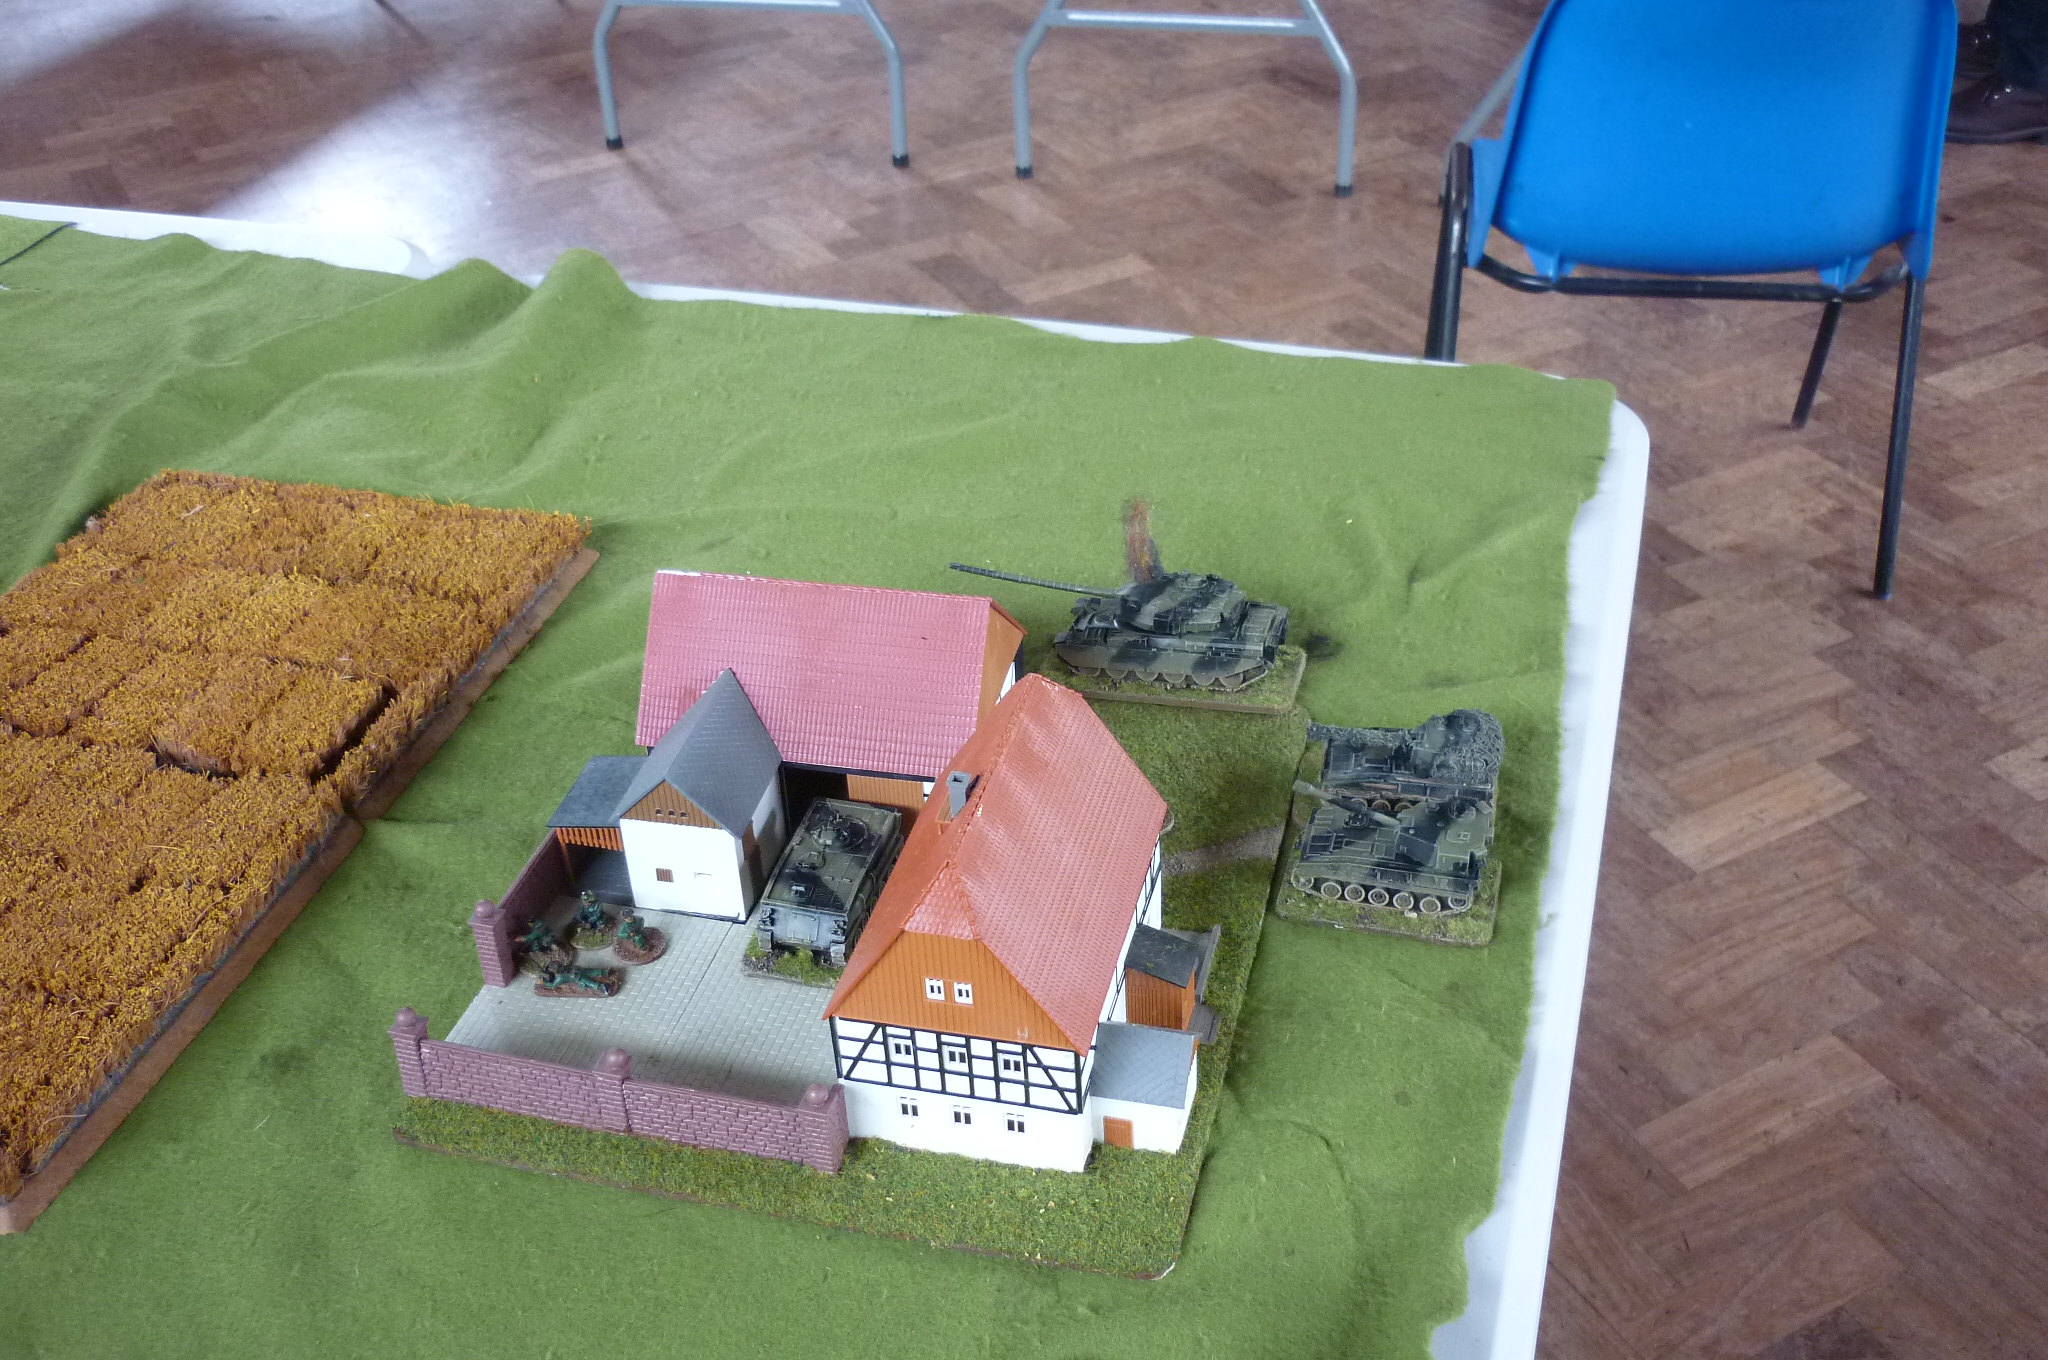
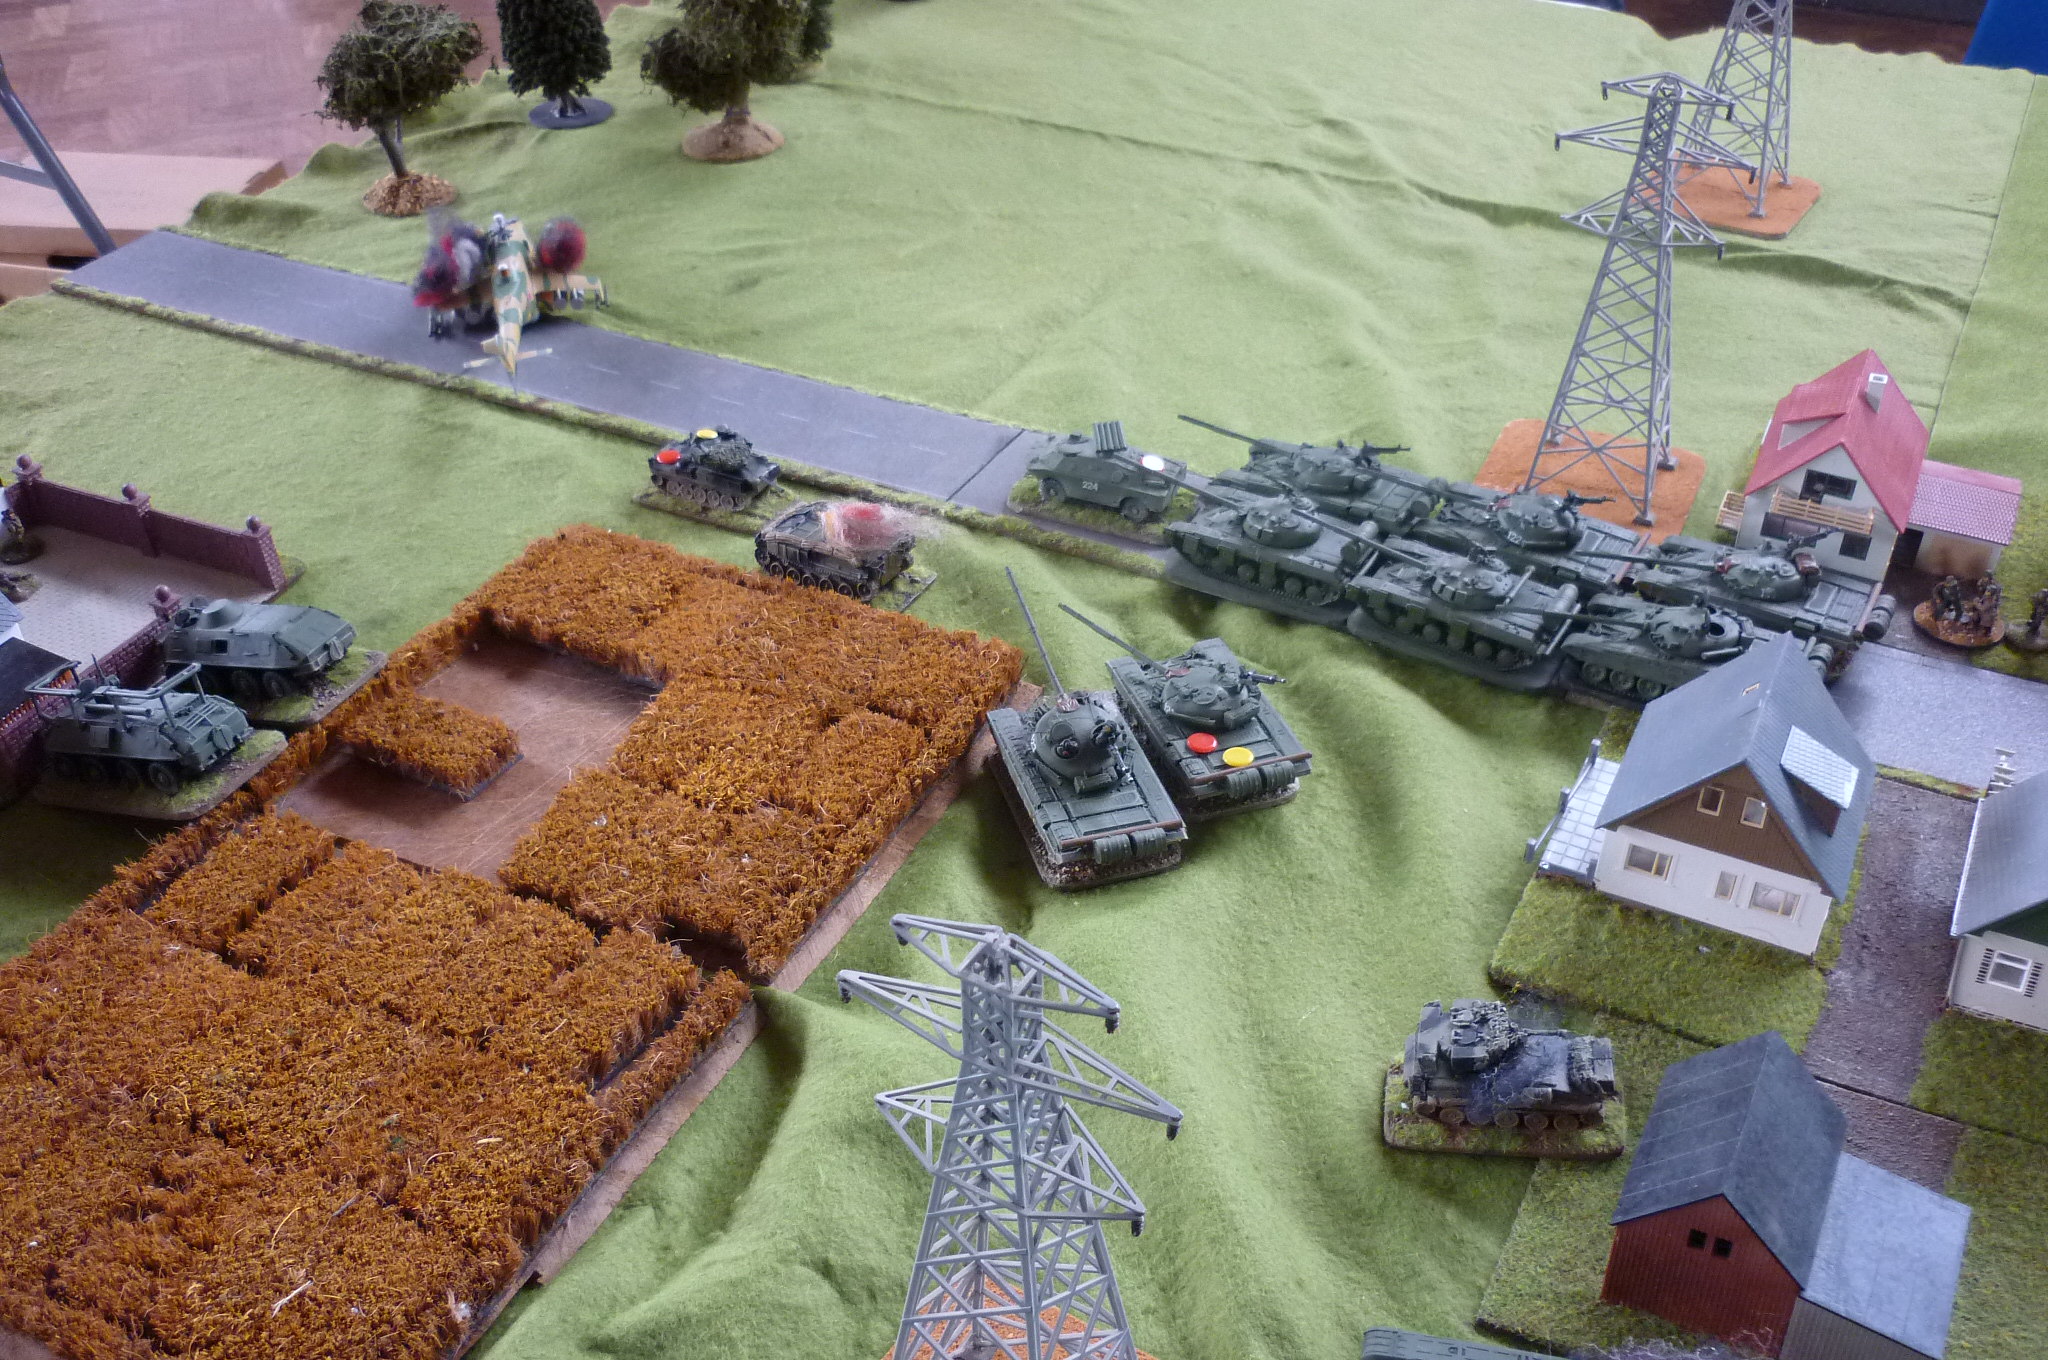
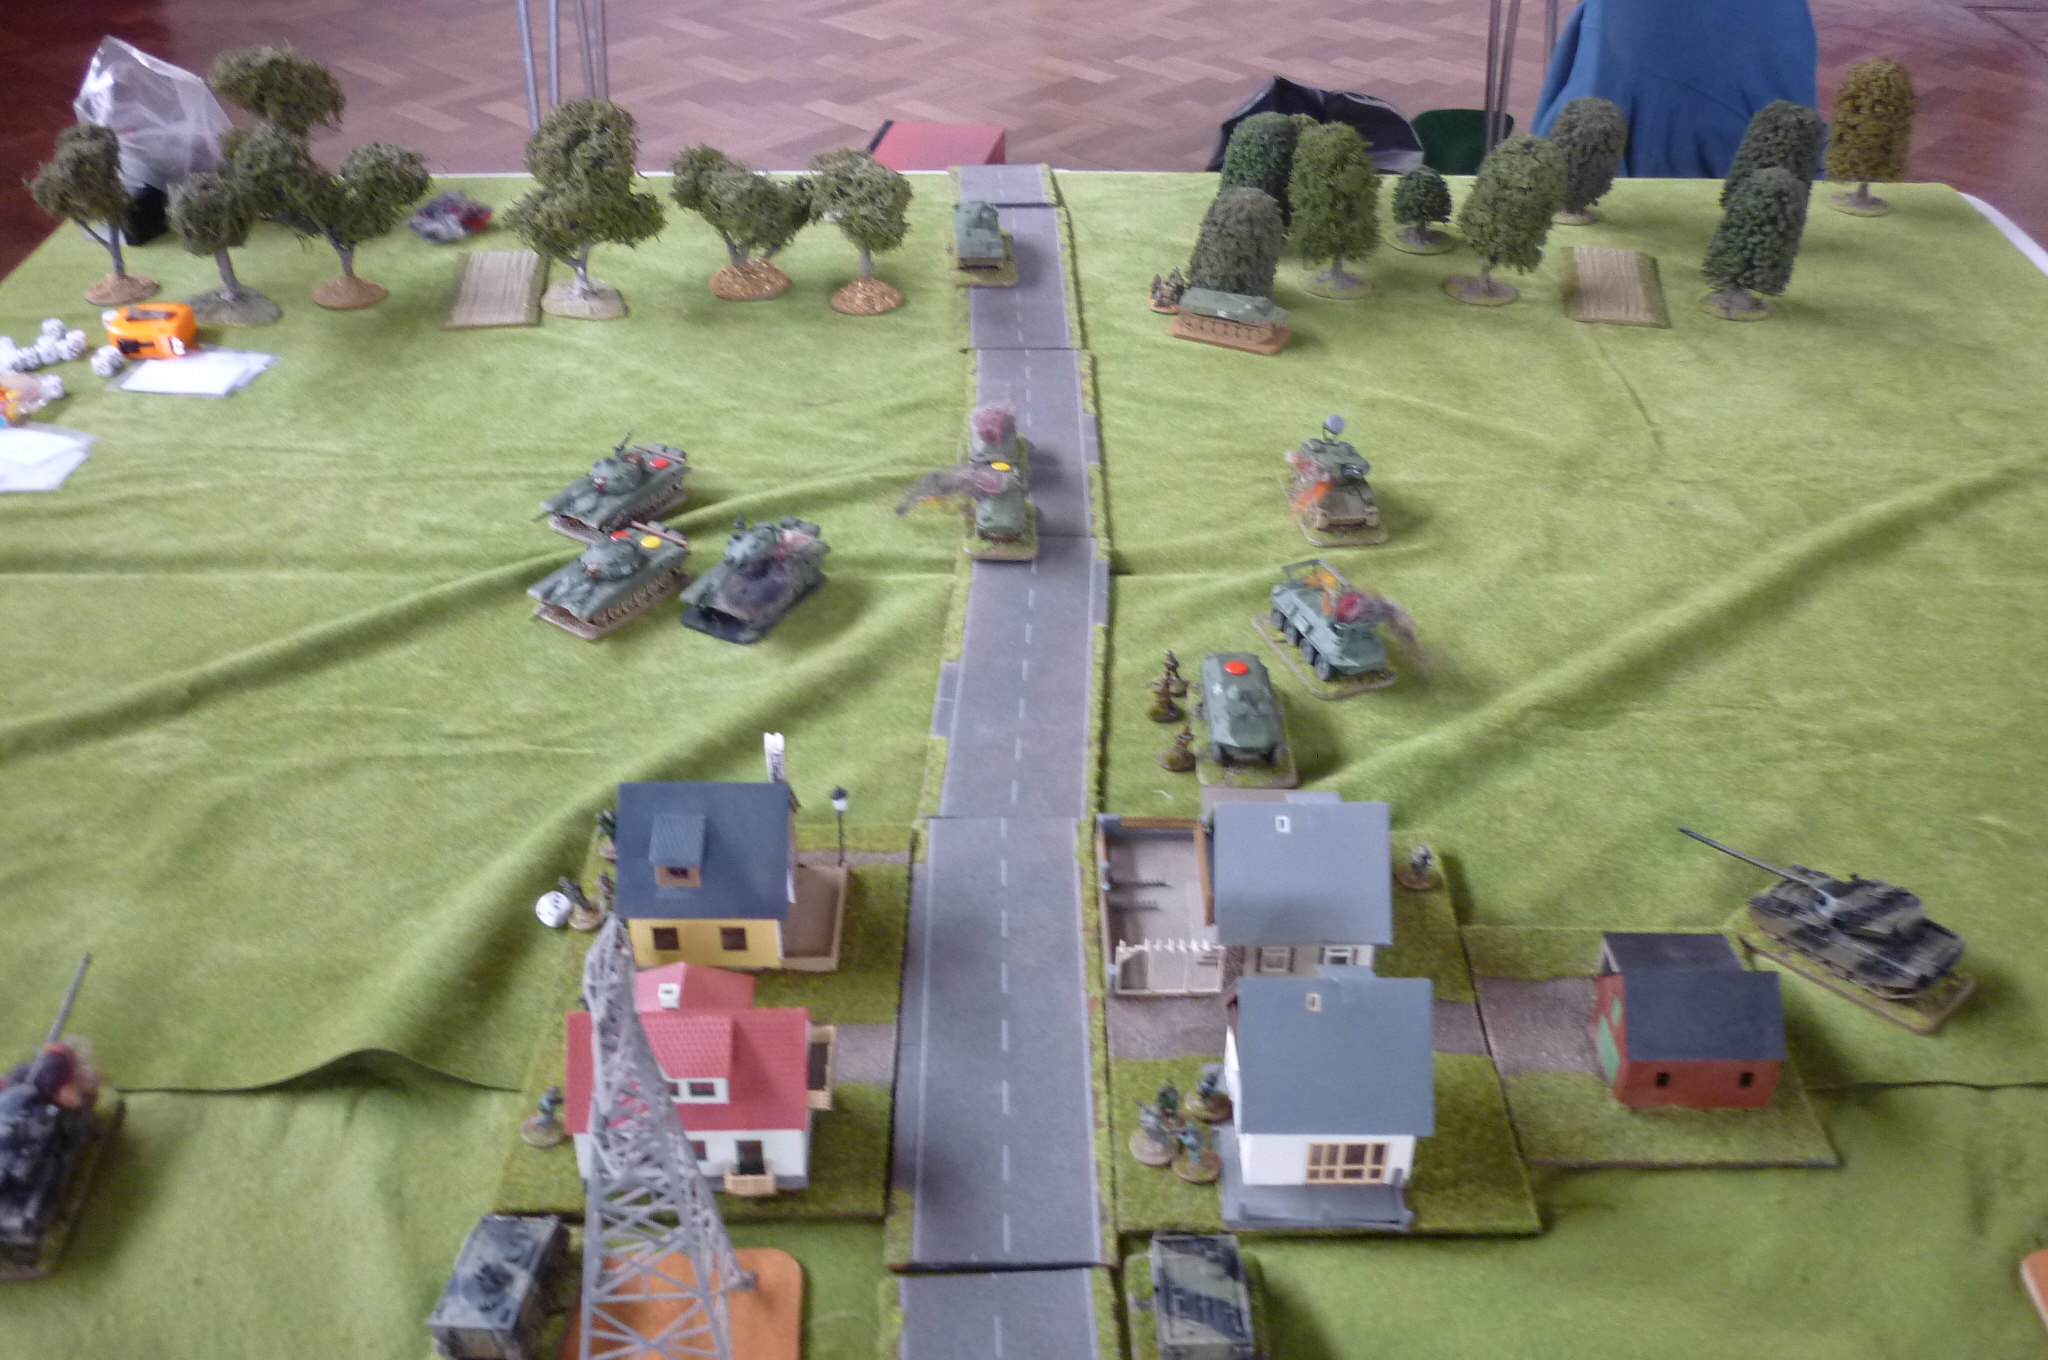
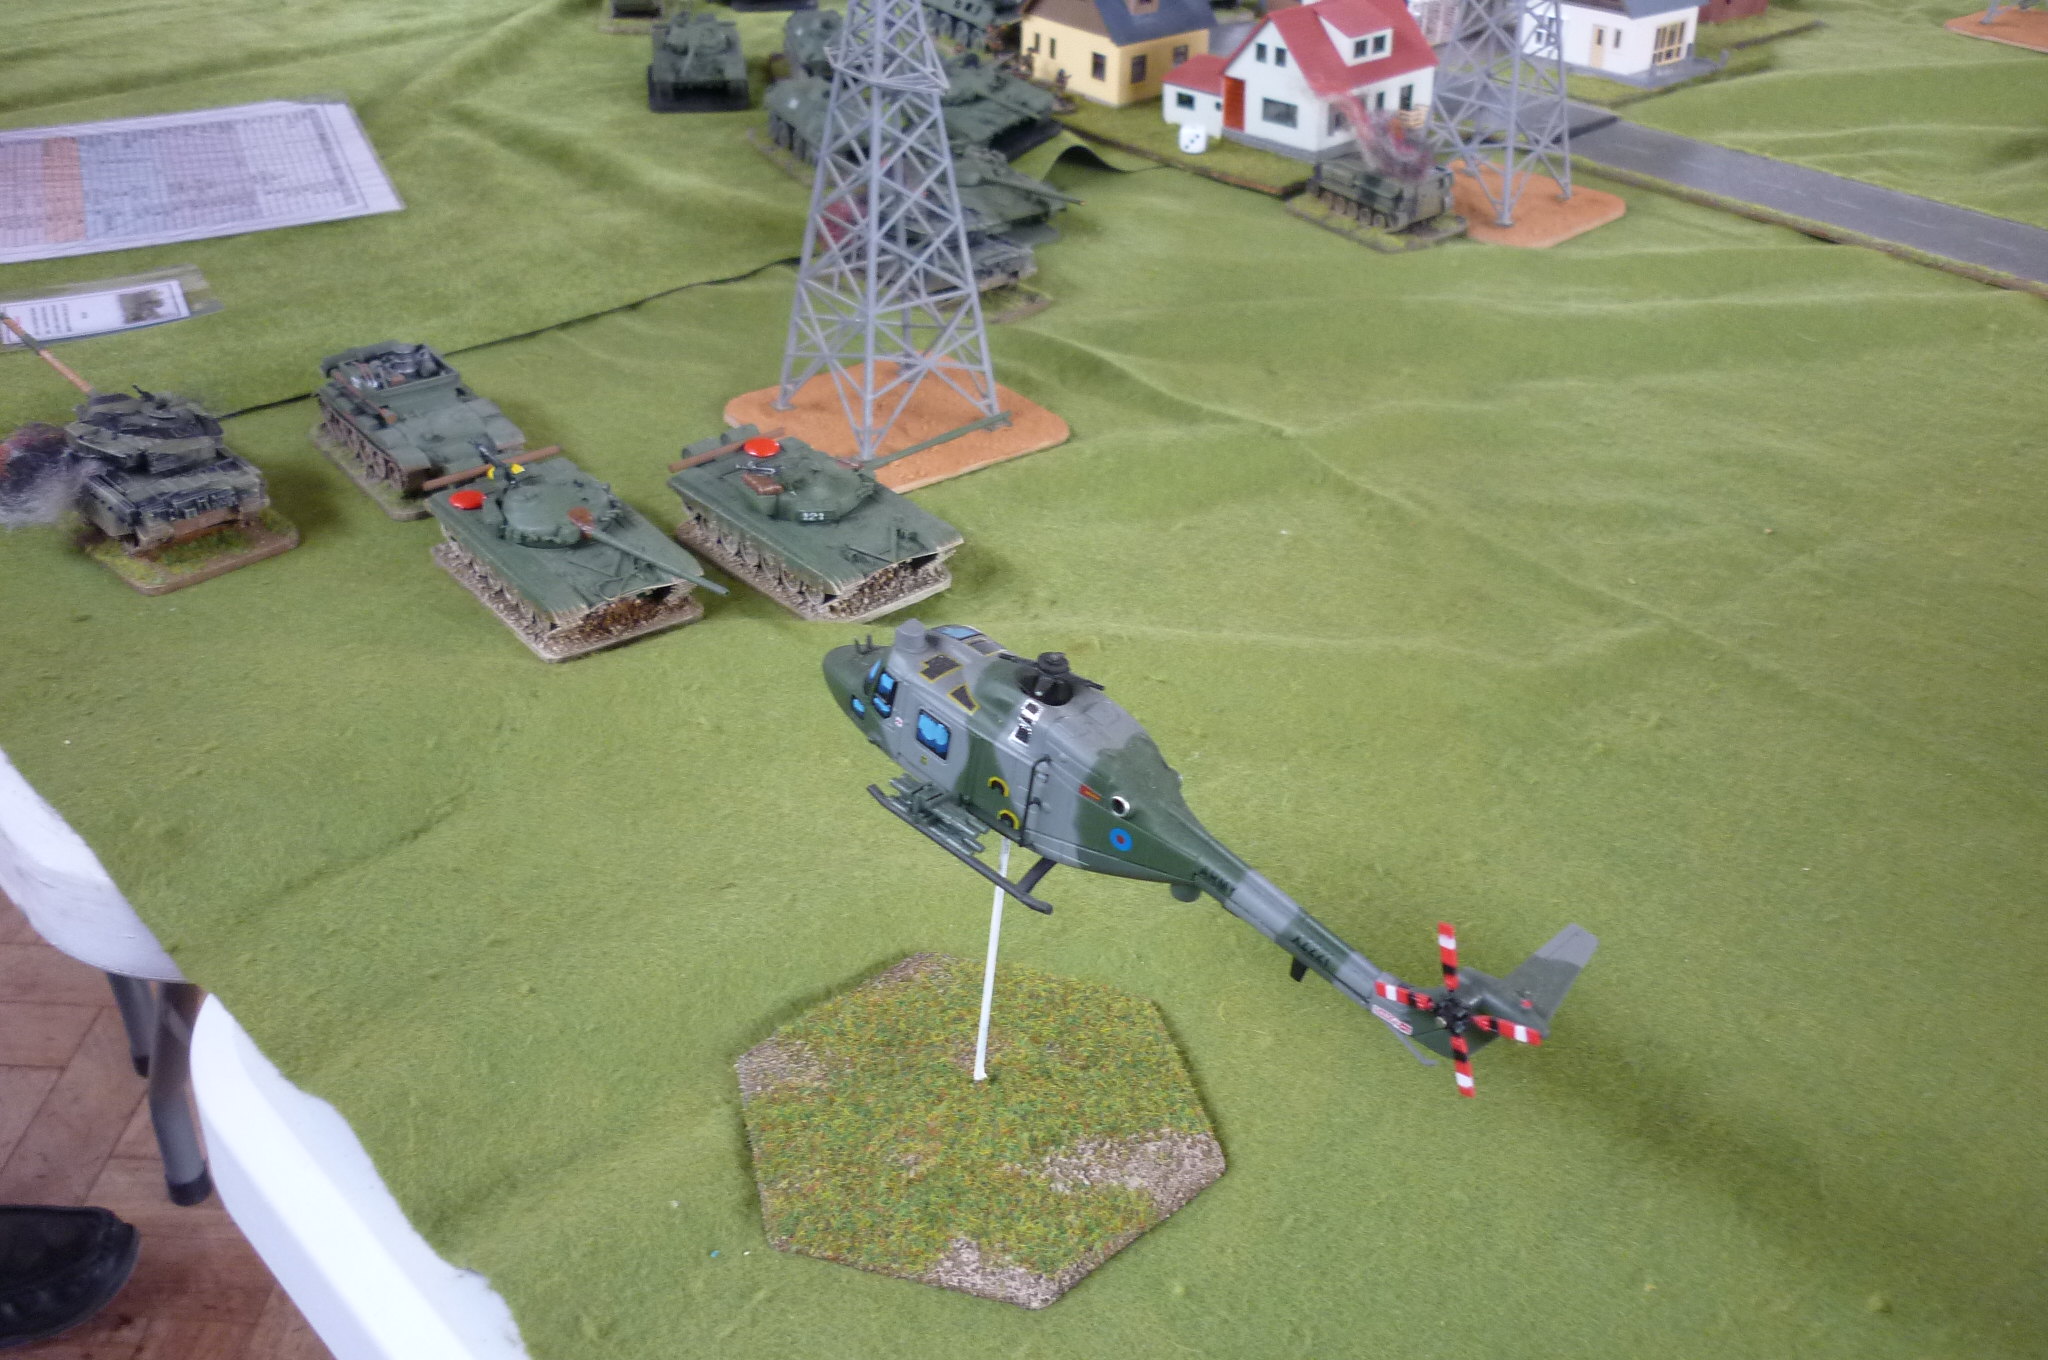
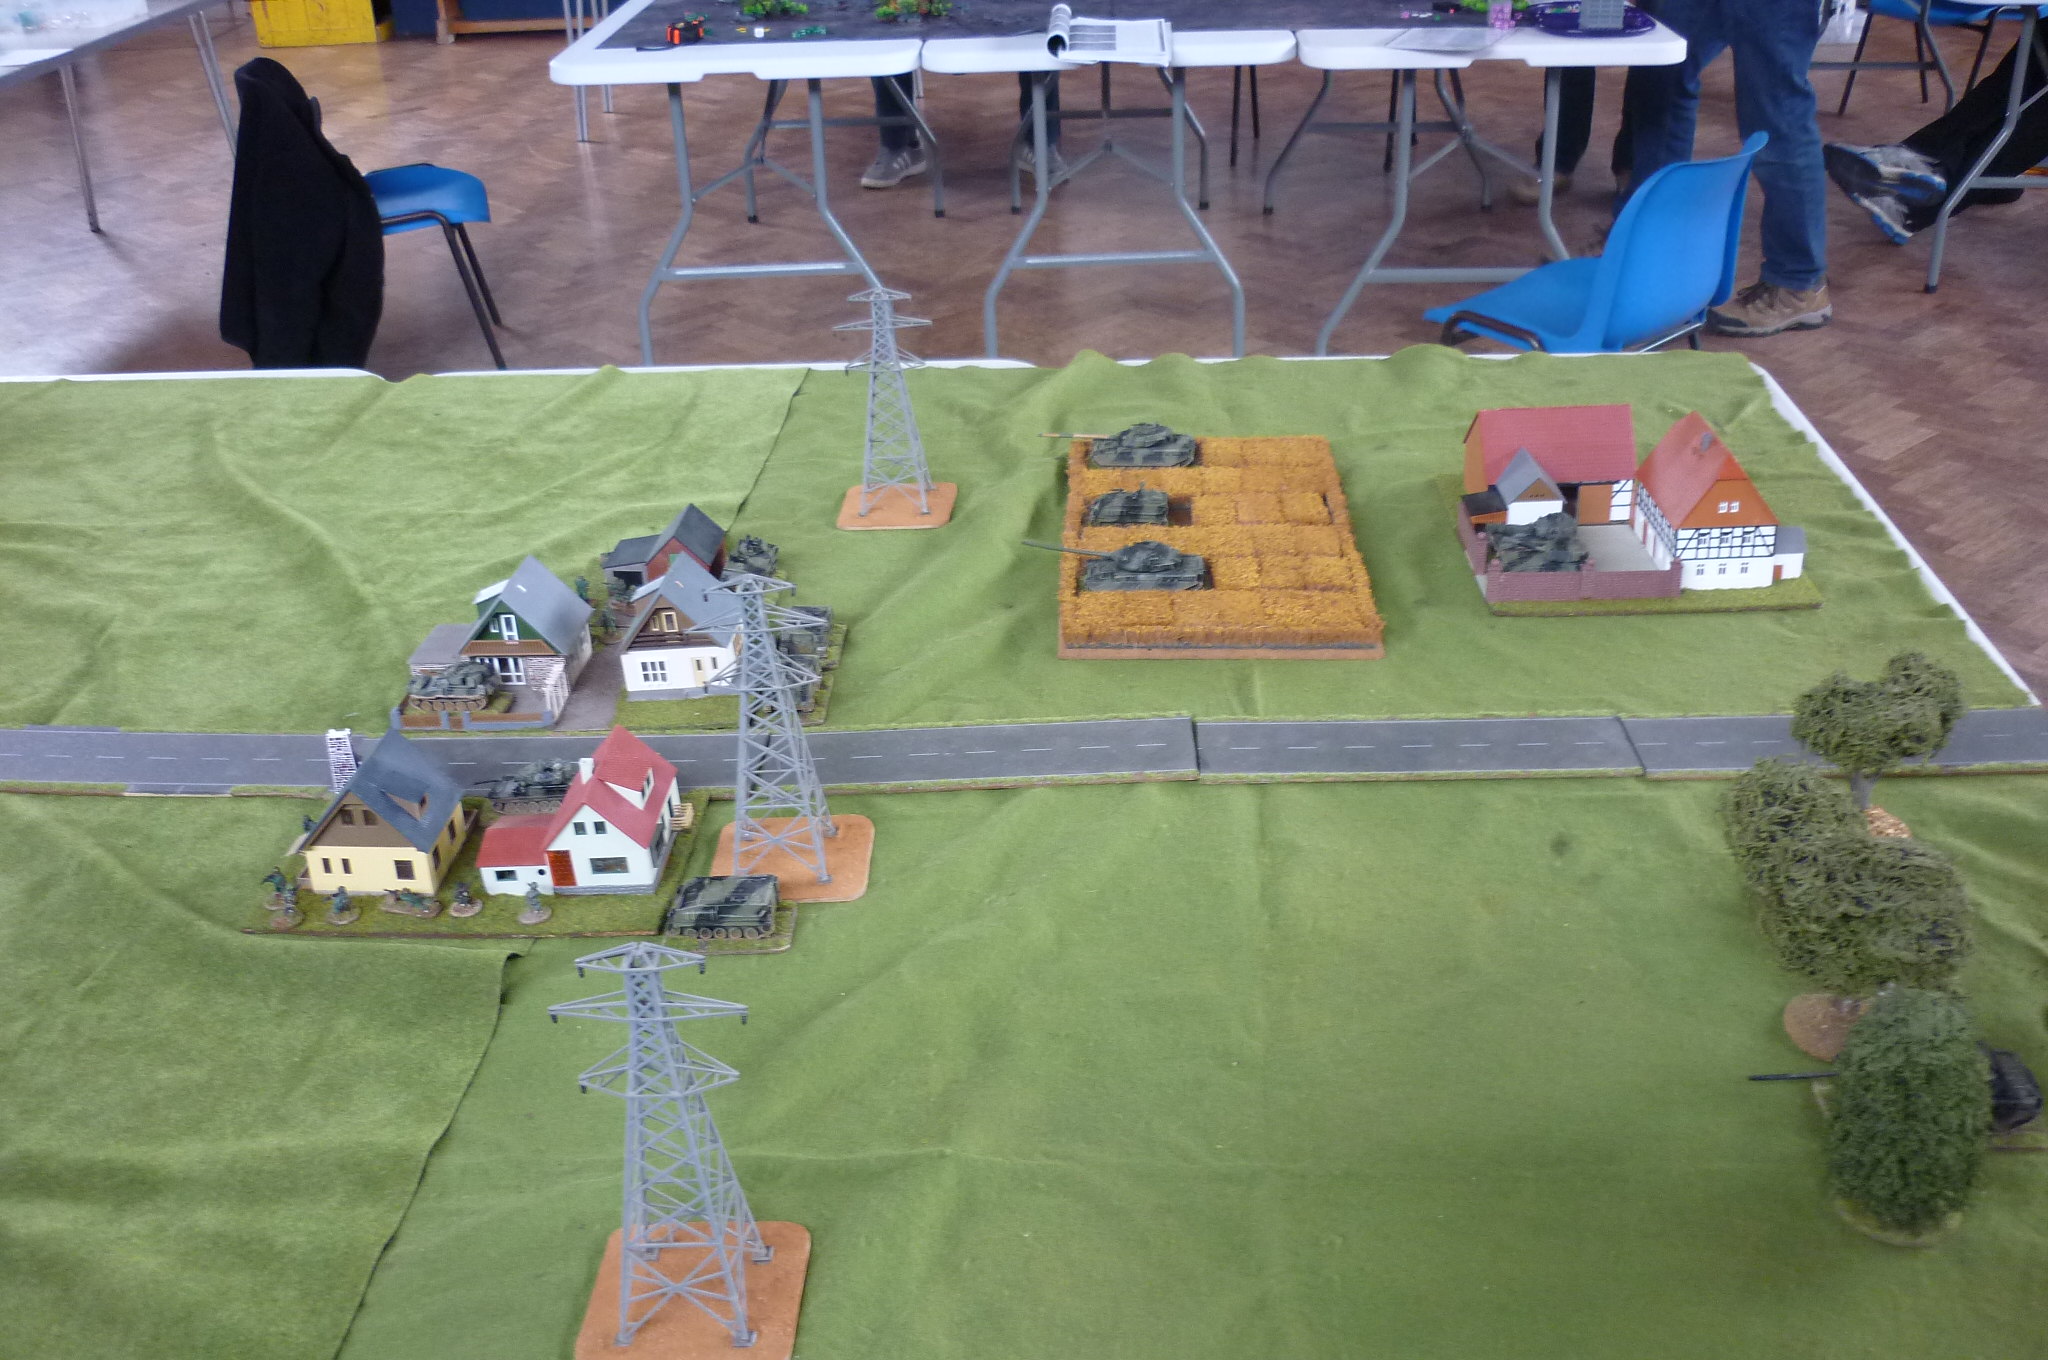
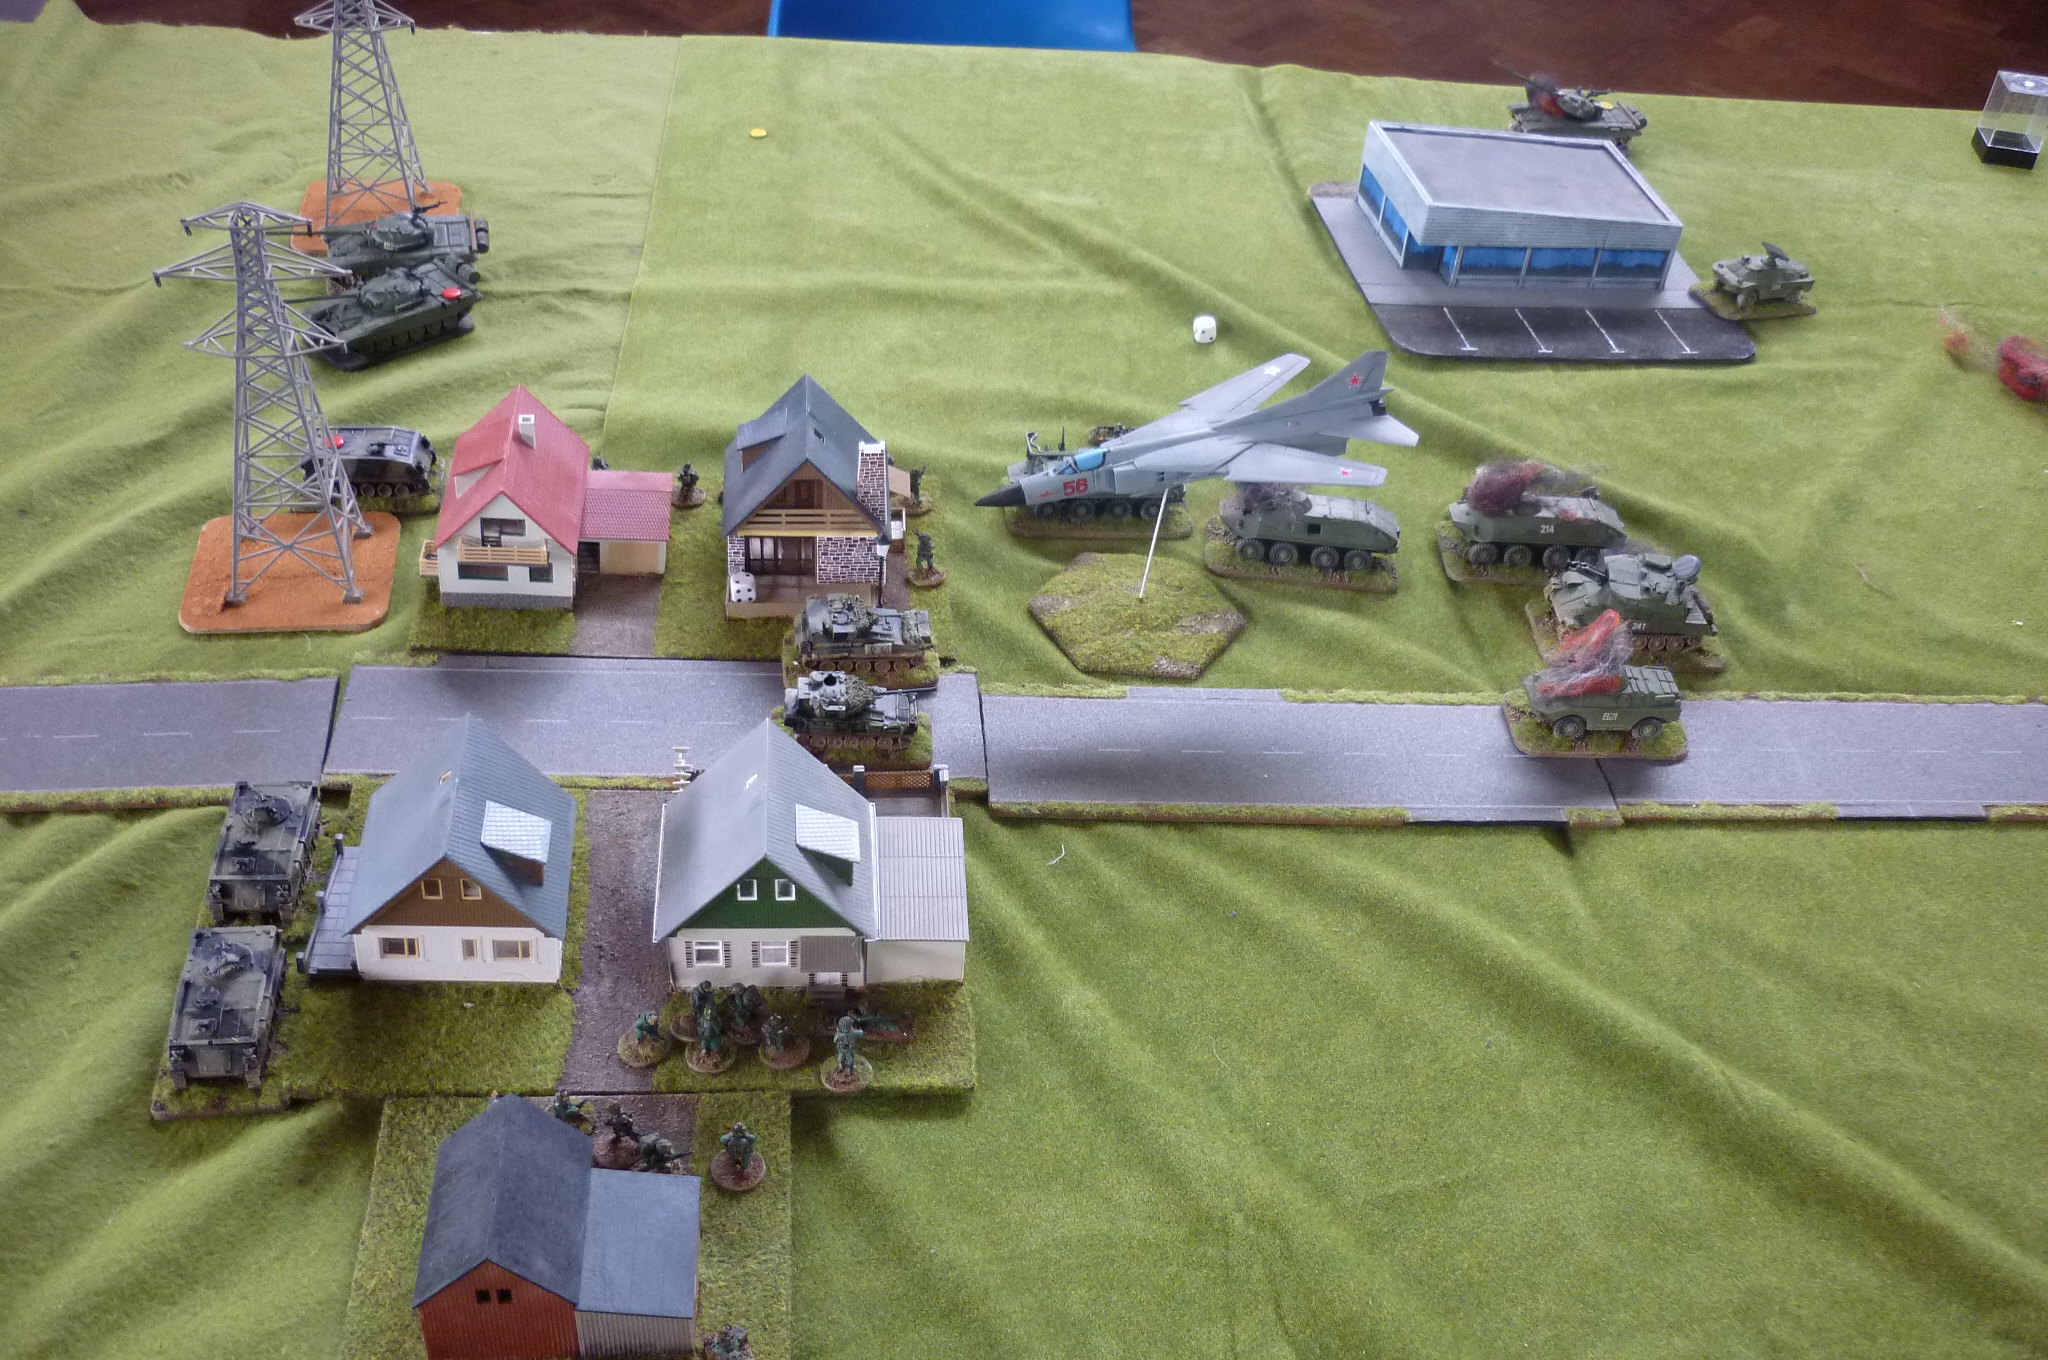
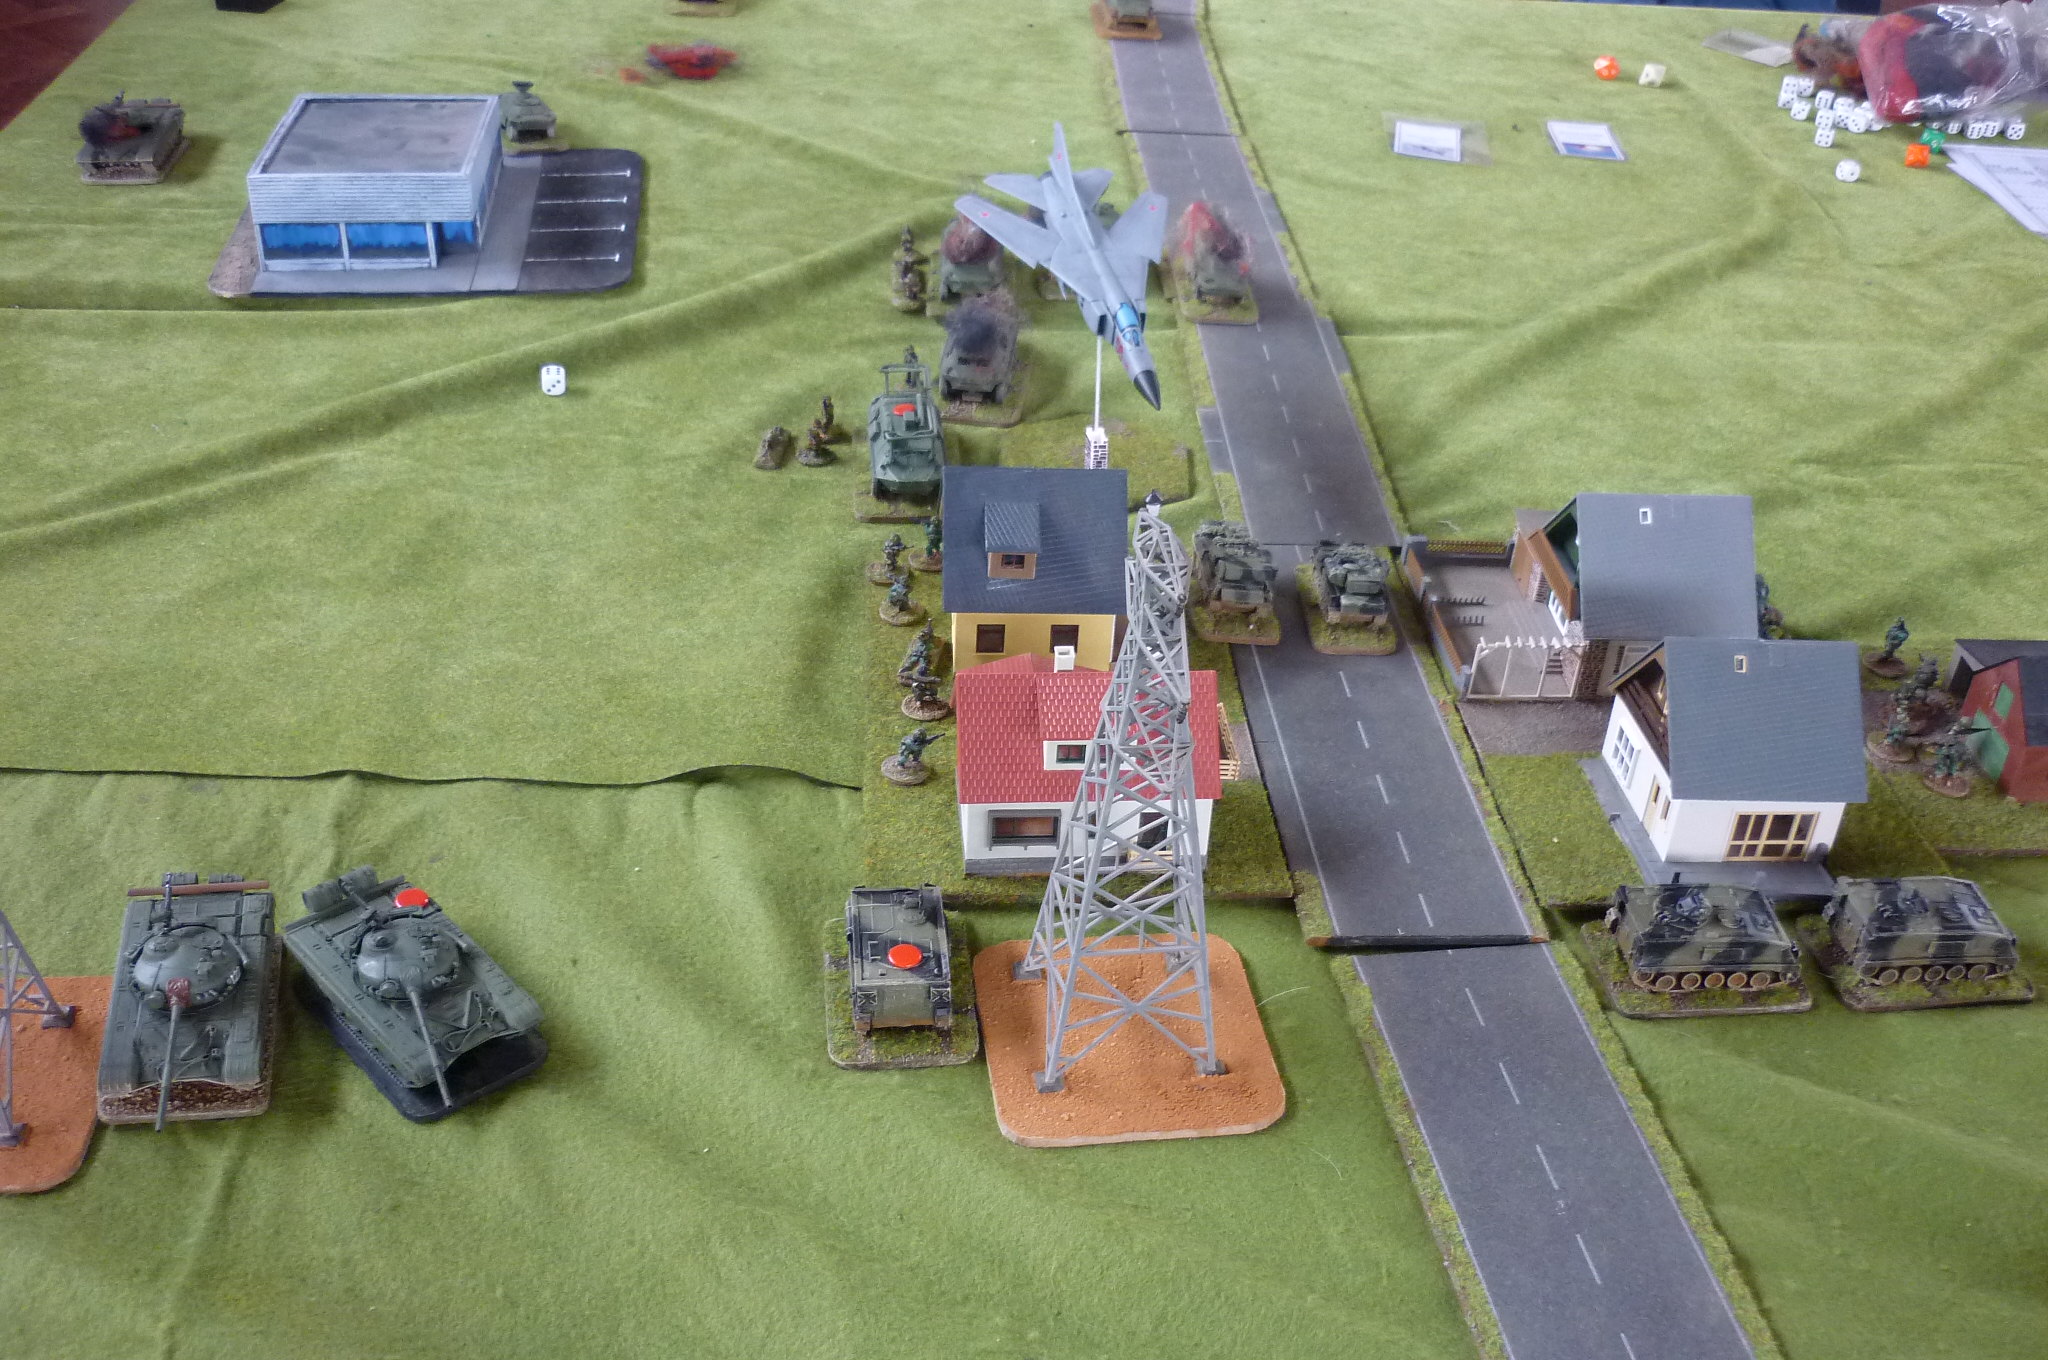
For this game we used the same forces as before but added a Divisional air asset and two Striker elements to the NATO force and a Divisional air asset to the WARPAC forces. The scenario was changed slightly with it being a  holding action with three objectives on the table and the players having to hold at least two of the three to win the game. To decide who played which side we rolled off and I got to choose. Having chosen NATO as my force. I decided to concede one objective and defend the rest hard. I placed the Tank Troop at the back and in the cornfield. With Striker placed forwards with the Scimitar and Scorpion and infantry elements. The WARPAC force split and infantry elements rolled down the road towards the village. For this NATO operated a “Shoot and Scoot” policy the Scimitar, Scorpion and Striker elements moving frequently having fired. The Tank Troop (with Class one guns - stabilised) stuck firm on the baseline firing as targets of opportunity presented themselves. Moving if no targets looked likely to be present. Time forced us to shorten this game after four turns but as it was it was looking closer to call than the previous games. In this game there was more of a presence from air elements. 


Conclusion 
A good day’s gaming was had by all. We are starting to get a good handle on the rules. The random event cards worked really well and we will be using them for the Demo games when we take it on the road. Our plan is that we play this scenario on the first day of any show and the Bridge scenario on the second day. With the results of one feeding into the other. 


As always I have a load of people to thank. MADGamers Club for hosting us. Tony baker for being a gracious and courteous opponent. As I said earlier if you see me at the shows or on the forum or Facebook group do drop me a line or chat as I am happy to talk about this.
--------------------------------------------------------------------------------------------------------------------------Author

Denis Jackman is a stocky Irish man with a love of history and a passion for designing and running games. He can be seen at some of the regular shows (mostly drooling over other people's work). He works in IT and writes his own blog at TableTopMadness. He can also be found lurking in the various forums and groups. Do drop by and say hi.

Tuesday 13 March 2018

Demolition Guard! by Denis Jackman

If you have followed my blog for any period of time you will know that I run a birthday game each year. It is usually a chance for me to play and each I try and pick something I have not done before and normally get someone else to run it. 

This year is no exception and  my good friend Tony Baker put on an all day “Cold War gone Hot” game. This would be in 20mm using Rapid Fire rules “Abel Archer 83-84” 

This particular scenario is based on the “Demolition Guard!”  -  and would feature elements of NATO Forces (Primarily British) versus Warsaw pact forces. The briefing for the game is included here for your perusal as are the special rules. 


Tony Baker was running the game. I was the NATO commander and my youngest Xavier was my WARPAC opponent. 

Some pictures of the setup 


As NATO forces are defending I had to deploy first. 
I opted to place one platoon in Vimburg and one platoon at the bridge. The tracked rapier support was in the open ground to best track any in bound enemy air assets as they come in. And two of my three tank troop forward on a gun line and one back. 


Once everything was set up we set off into the first turn. 
Just prior to the first turn the WARPAC played his saboteur (one of the civilians attacked the wires on the bridge this had the affect of remove D6 or our preparedness for bridge demolition. This had the real effect of cancelling out the NATO bridge preparedness roll. The Soviet turn started with a WARPAC air attack from a MiG 23 - Flogger which was driven off by the tracked rapier. Turn two to four continue in a similar fashion. The highlight being the shooting down of a Flogger in turn four. Turn five saw WARPAC elite troops arrive on the table in two Mi-8 Hips. A a fast response by the NATO contingent sees one of them shot down. The remaining troops dismount and begin to mount an assault on the bridge and environs. The NATO reaction to this is to bolster the bridge defence with the tank troop (three Chieftain Tanks). The Tracked Rapier continues to see off the air threat. Turn six sees the beginning of NATO elements falling back through the battle area to a staging point at the rear (off table) of the battlefield. First through here are a number of west german army elements. From this point on an number of elements move through the combat area during the game. Turn seven through ten sees the NATO and WARPAC elements engaged at the bridge. By turn eight the preparedness number is up to forty (halfway to target) and yours truly is feeling confident of achieving the target.  At turn ten three things happen , the air attacks stop, artillery starts and the WARPAC armoured elements enter the table. The WARPAC artillery cannot be countered and is adversely affecting the bridge preparedness which in conjunction with my poor dice rolls is now a problem. So much so that by games ends I will have only gained eighteen more of the forty points I need to drop the bridge. The NATO tank troop is out of position and wastes valuable time repositioning itself to counter the WARPAC armour. All the while NATO elements enter the battle area and exit to the rear. Around turn fifteen a troop of Chieftains (two tanks , one recovery vehicle and tank) move through area lending their firepower as they go. This event should help but in fact turns out to be a disaster. my WARPAC opponent manages in one turn to brew three Chieftains (two in the defensive troop , one the passing troop).  This is a disaster for the defenders and leaves the anti-armour element as one Tank and two Milan teams (one of which is at the rear near the bridge). The WARPAC forces push to the village of Vimburg and a vicious house to battle ensues. NATO air elements join the attack to a mixed results thanks to a ZSU-23-4 Shilka being present. At the rear elements of an elite WARPAC Helicopter borne forces push towards the bridge in another effort to press the advantage. The NATO Bridge guard manages to see that attack off. 
As the game ends the WARPAC forces have managed to get a foothold into Vimburg and are pushing the NATO elements out. The Bridge is not ready for demolition although all retreating NATO elements have managed to get through safely. The end result (as agreed by both sides) is a slim victory for the WARPAC forces.


Conclusion 
A good day’s gaming with an interesting period and ruleset. This is a game and a scenario we will come back to. Our plan is to Demonstrate this game at some shows (watch this space).


Finally thanks to all who took part. Tony Baker for taking time out to organise and run the game. Xavier for being a good opponent.  

--------------------------------------------------------------------

Introduction

The Demolition Guard. In North West Europe the rivers and canals play a profound part in the politics of the countries they flow through. In times of Peace commercial highways in time of war formidable obstacles to any military operation .Since most of these waterways flow from South to North the control of the bridges over them are of vital strategic value to the defence of the west.Many will be destroyed as soon as hostile forces threaten them these are termed preliminary demolitions.A much smaller number essential to the movement of friendly forces in attack and defence and capable of demolition in a single phase would be kept intact until the very last moment these are termed reserve demolitions and as well as bridges the term defines any point on a route who's use and closure the tactical commander wish's to control. It could be a minefield gap or an important defile but whatever form a reserve demolition takes high priority must be given to its defence right up to the moment of its destruction this is the task of the demolition guard commander.its often been said he who would live in peace must prepare for war so most reserve demolitions would be earmarked well in advance of hostilities giving the guard commander ample of opportunity to plan his defence. 


--------------------------------------------------------------------
NATO BRIEF

THE MISSION 

D, company combat team is to deny the bridge to the enemy until Currie force has withdrawn the home bank of the river Eissen.

EXECUTION AND GENERAL OUTLINE.

You will hold the bridge with two platoons, one Tank troop, a close Recce troop, one Milan firing post and one blow pipe firing post.10 platoon and two tanks are the forward platoon/troop in the Village of Vimburg and will cover the road block.11 platoon will be the close guard platoon on the bridge and will cover the open ground to the rear of the bridge.12 Platoon is the reserve platoon and will cover an open area code named black pig.And the close recce troop is to provide a screen to the east of Vimburg. All other element's to be deployed at the guard commander discretion. Currie force is currently digging in to cover the Autobahn code named 73 Easting where they will briefly engage the enemy then withdraw across the bridge at Vimburg. There is a detailed plan for withdrawal but in the fog of war units may well be delayed YOU must be sure that all of Currie forces Serial are accounted for before you begin your own withdrawal and demolition of the bridge.

--------------------------------------------------------------------
WARPAC BRIEF 
You are the commander of the 212 Motor Rifle regiment your task is to capture in tact the bridge at the German town of Vimburg to help you do this various other elements not attached to your regiment such as Divers, East German sleeper agent's (sabotage) , air attack ,Artillery and VDV (heliborne) infantry will be available to you.

--------------------------------------------------------------------
SPECIAL RULES


Starting from turn 1 The Brits need 80 points to get the bridge to state 1 ready for demolition, to get the bridge to state 1 roll 1x D10 at the start of each turn until you reach 80 points. For each piece of sabotage or each hit on the bridge the Soviets achieve the Soviets Roll 1 x D6 this is deducted from the Brits total points.

--------------------------------------------------------------------
Author:

Denis Jackman is a stocky Irish man with a love of history and a passion for designing and running games. He can be seen at some of the regular shows (mostly drooling over other peoples work). He works in IT and writes his own blog at TableTopMadness. He can also be found lurking in the various forums and groups. Do drop along and say hi.

BLUE on BLUE Training EX - AAR by Dan Mclean

64 point BLUE on BLUE Training EX   by Dan McLean Warsaw Pact Forces Armoured Calvary Troop HQ Call Sign RED HA...